Thursday, March 30, 2017

Victoria Sponge

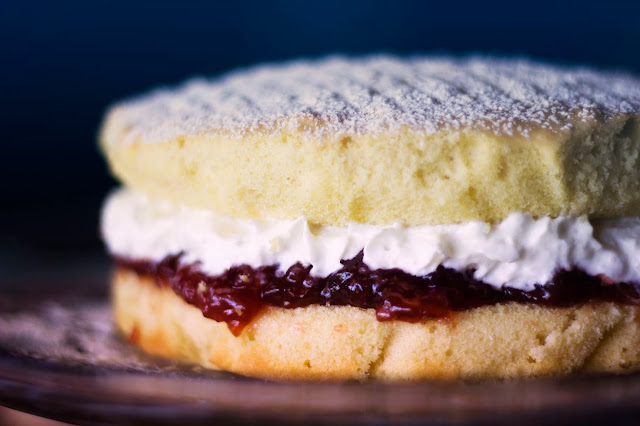
If I were told to pick just one dessert, whatever it was, to have for the rest of my life, the choice would be simple, Victoria Sponge.  With Strawberry Jam and fresh whipped cream.

I can't begin to tell you how delectable this cake is.  It tastes like a million bucks, but it's actually quite easy to make, when you have the right recipe.

I struggled for years to get it right.  I always ended up with a not so spongy sponge cake, it was flat, it was chewy, it was terrible and nothing like what it's supposed to be.

After trying many recipes, I almost gave up on the idea of being able to produce a delicious Victoria Sponge, that is until I realized that the perfect recipe had been sitting in my pantry all along.

A few years ago I bought 2 cookbooks packed with British recipes, the best of the best the most common cakes, desserts and breads. 

So this afternoon while browsing through one of the books, I came across the recipe and I almost didn't make it for fear it would just be a waste of ingredients again, but I decided to set those fears aside and go for it.  I am SO glad I did.

THIS is it folks, this is the perfect no fail Victoria Sponge. 

But I'm going to stop talking and just share the recipe so you can go ahead and make it for your family too.....or for yourself.  Trust me, I know.  I have to be very careful not to inhale this baby all on my own.


VICTORIA SPONGE

1 and 1/4 cups self rising flour, sifted
3/4 cup sugar
3/4 cup soft butter or margarine
3 large eggs
1 tsp vanilla extract
Strawberry Jam
Powdered sugar for dusting

Preheat the oven to 325 F.  Grease and line two 8 in. round sandwich pans.  Put all the ingredients except the jam and powdered sugar in a standing mixer and beat the living daylights out of them.

When the batter is fluffy, very pale and almost mousse-like, divide it between the two pans and smooth out.  Bake for about 20 minutes or until a toothpick inserted in the center, comes out clean.  The cakes should be springy to the touch.

Cool on a wire rack, and when cool sandwich them together with strawberry jam and dust the top.

If you want to use cream as well, use a layer of whipped cream on top of the jam before placing the second cake on top.

Enjoy!!!

{ Pressure Cooker Boiled Eggs - Instant Pot }

I've been meaning to add more Instant Pot recipes to the blog, but I haven't had a chance to update it or get back into my usual posting.

Two Christmases ago, my husband got me this instant pot which he knew I had been wanting.  Seemed to be all the rave at the moment and to be frank, I wanted one but was very intimidated by the thought of using it in my own kitchen.

My run ins with pressure cookers were in my greatgrandmother's kitchen.  That huge metal thing would sit on the stove and whistle loudly, the little pressure valve quickly snapping back and forth.  It terrified me.  It didn't help that I would hear horrible stories of pressure cookers blowing up in the kitchen.

But I also knew the perks and advantages of having one and now that they are electric and pretty much do their own thing, I decided it was time to bite the bullet and go for it.

I am so glad I did, I use it a lot, and it's become a wonderful addition to my kitchen.

I'm hoping to add a few more recipes here as I try them, but I thought I would share how to make boiled eggs, especially with Easter right around the corner, knowing that we are all going to be making a ton of these for deviled eggs and decorating with the kids etc.


Pressure Cooker Boiled Eggs


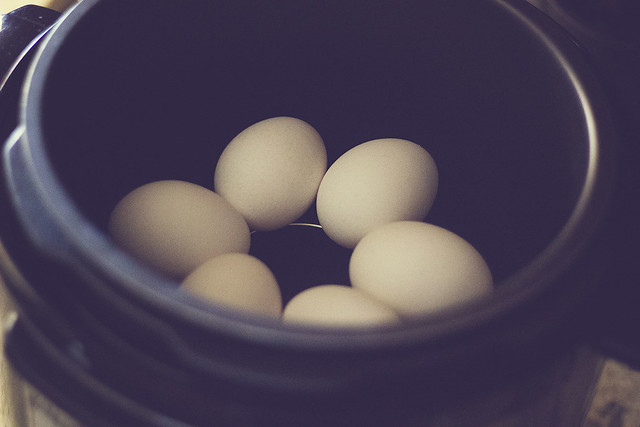
So here's how you do it.  I placed my metal rack on the bottom, and then sat the eggs on top.  You don't want the eggs to touch the bottom of the bowl.

Add 1 cup of water, and then set it on the rice setting for 9 minutes.

I've seen online where some people use their rice setting and turn it to 6 minutes, but my pressure cooker won't let me go below 9 so I went with it and it worked perfectly.

January 12, 2016

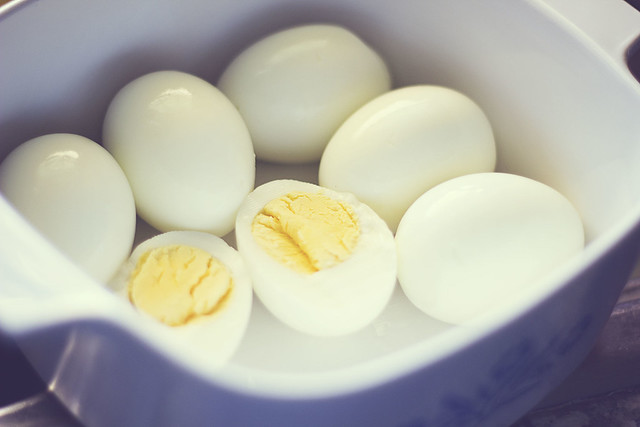
As soon as the eggs were done, I used the quick steam release, and dumped them into a bowl of ice cold water.  You DON'T have to use the quick steam release, you can just let the instant pot release the pressure on it's own.

They peeled off so well and were cooked to perfection as you can see below.

January 12, 2016

I'm trying some decorating techniques for Easter today, so at the moment I have another batch of eggs going in the instant pot. This is going to make Easter so much easier :)