There are many things I miss about South Africa, mainly my family and my friends and the surroundings. I grew up in that beautiful country and there are days that I want nothing more than to go back, to visit everyone, to walk the streets I used to though I know I can't do that nowadays because of the violence and the crime.
In all the things that remind me of home, one of the biggest has to be food and maybe because I love cooking so much and maybe because I associated certain meals with a certain event in my life, or a person, or a time and place.
As I was looking through my facebook today, one of my friends from South Africa who is actually living in Georgia now, mentioned that she was making Koeksisters and it immediately brought me a pang of homesickness, I wanted to have them too, I wanted to take a bite and close my eyes and imagine that it's a warm South African afternoon and that I'm sitting in my kitchen after school, eating one of these.
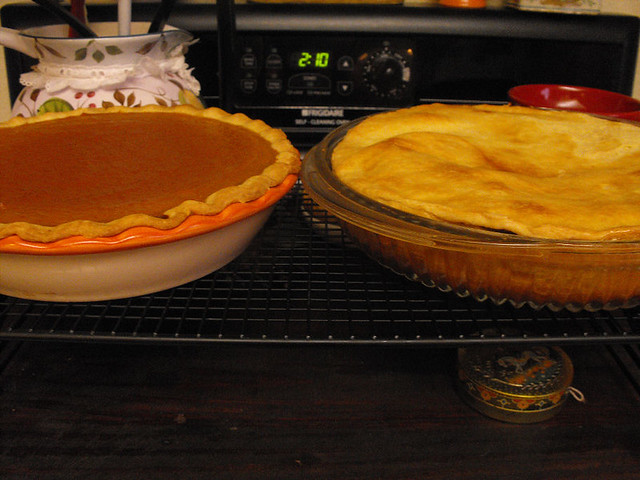
They take a little time to make but if you double the recipe like I did, you get a huge amount of Koeksisters.
A
koeksister or
koesister comes from the Dutch word
koekje, the diminutive of
koek meaning "cake". It is a
South African syrup-coated
doughnut in a twisted or
braided shape. Many call them Koeksuster too!
Koeksisters
Ingredients:
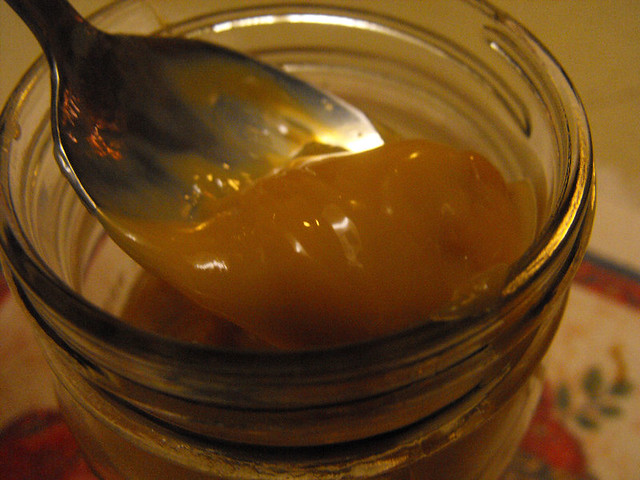
Syrup
* 250 ml water (1 cup)
* 625 ml white sugar (2 1/2 cups)
* 12 1/2 ml lemon juice (2 1/2 tsp.)
* 5 ml vanilla essence (1 tsp.)
Dough
* 375 ml cake flour (1 1/2 cups)
* 22 ml baking powder (4 1/2 tsp.)
* 1 ml salt (1/4 tsp.)
* 20 g butter or 20 g margarine
* 150 ml milk (5 oz or about 3/4 cups) (I had to add a little bit more to get my dough to form, it was way too dry with just the 5/8 cup of milk)
* 750 ml canola oil (3 cups)
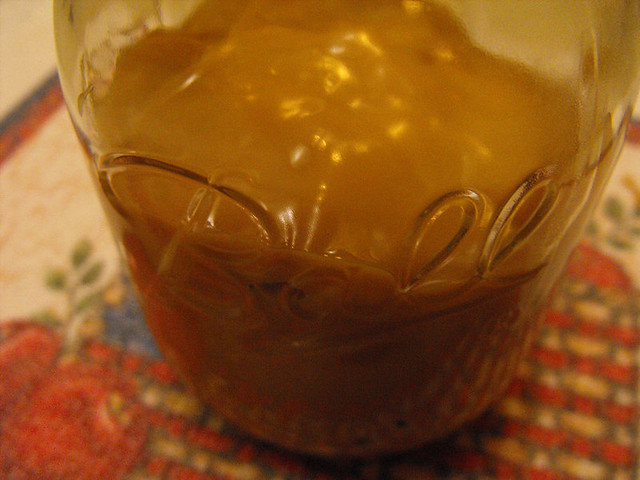
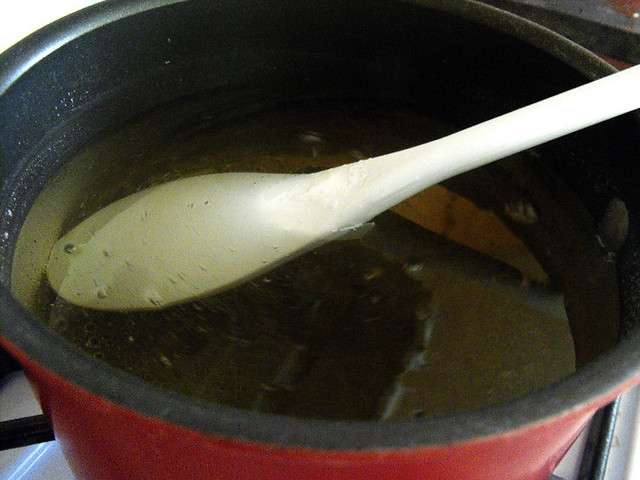
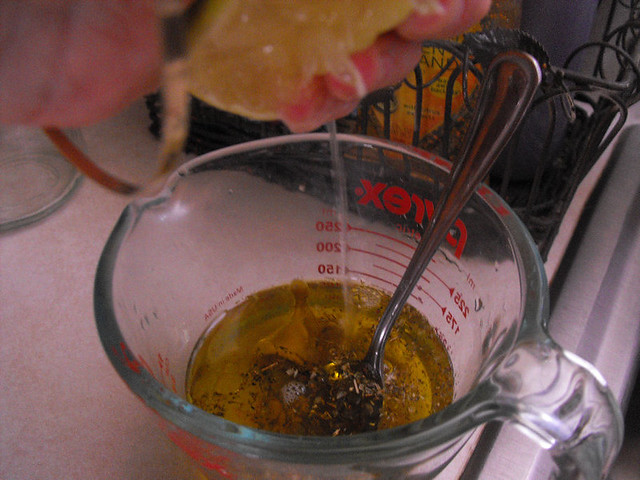
Put the water and sugar in a ot and bring to boil on low heat. Stir frequently until the sugar is completely dissolved. Boil for 7 minutes.
Remove the pot from the stove and stir in the lemon juice and vanilla essence. Put the pot into the fridge.
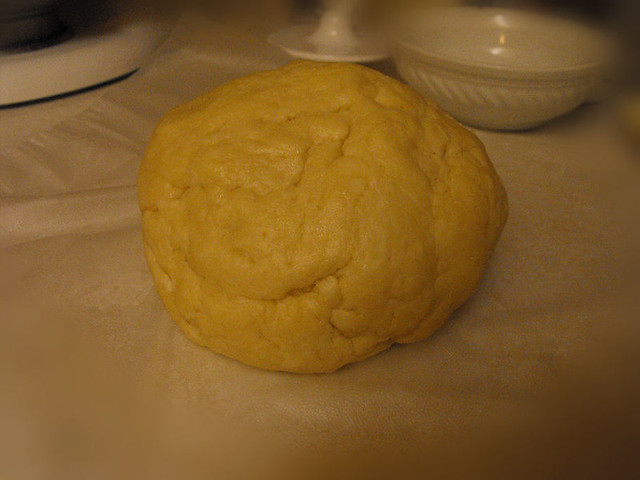
Mix the flour, salt, and baking powder thoroughly in a mixing bowl. Break the butter or margarine into small pieces and add to the four mixture. Add the milk. Mix well until a dough is formed.
Roll the dough out to a thickness of 5 mm (+ or - 1/4 in.). Cut the dough into thin (+ or - 10 mm or 1/2 in.) strips. Take 3 strips and join their ends on one side. Braid the strips to desired koeksister length and join other ends.
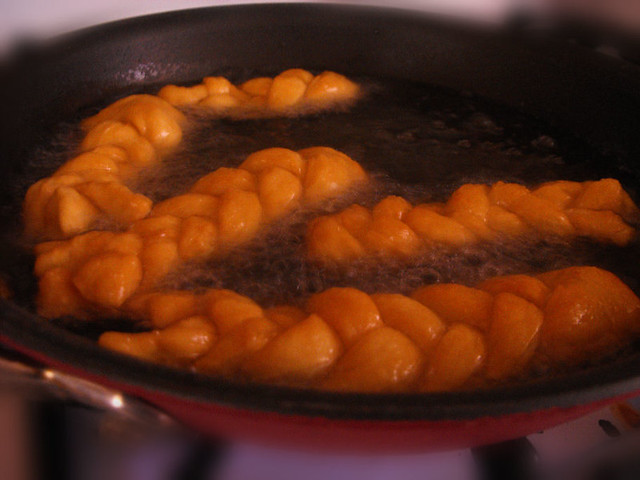
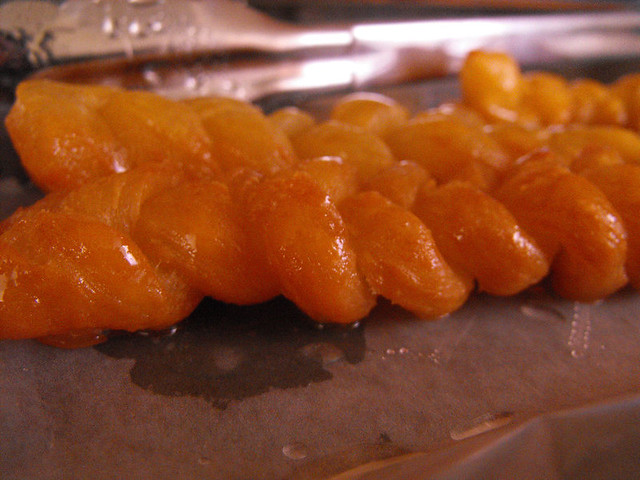
Heat the oil in a pot until fairly hot. Put about 3 koeksisters (or what can fit)at a time in the oil and fry them on both sides until they get a golden-brown color.
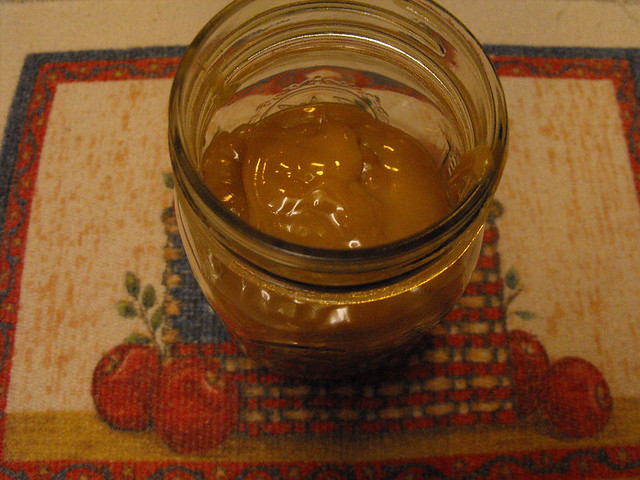
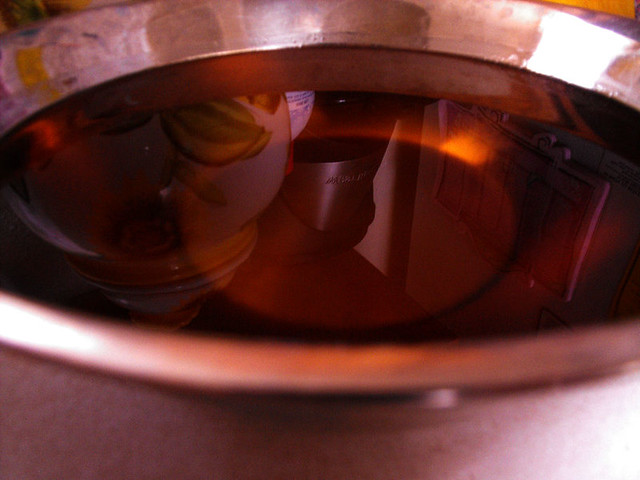
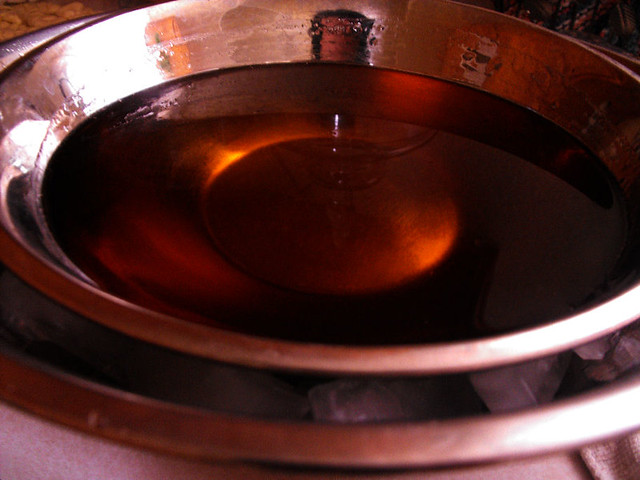
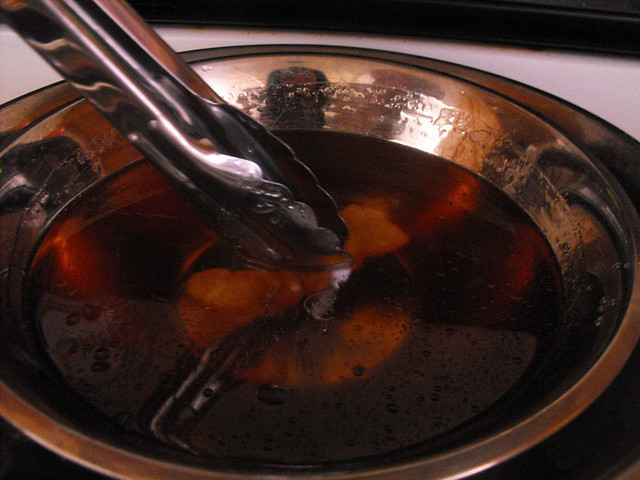
As you remove the koeksisters for the oil, place them directly ito the syrup from the fridge. It is important to keep the syrup cool, so between soakings, return the syrup to the fridge to maintain its coolness. (I actually place my bowl inside a bigger bowl with a bed of ice and pop some in between the bowls too, it keeps it nice and cool)
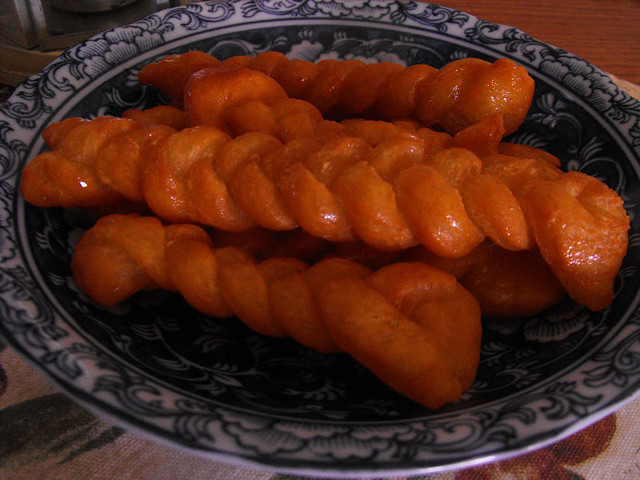
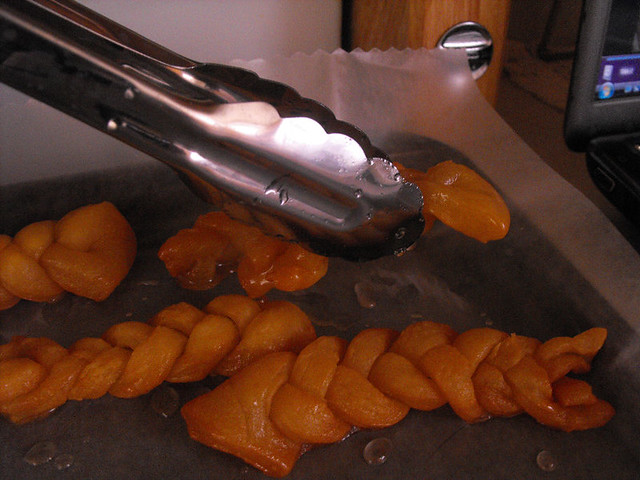
Remove the koeksisters from the syrup and allow the excess syrup to drip off. Place them in the refrigerator to cool and then eat!
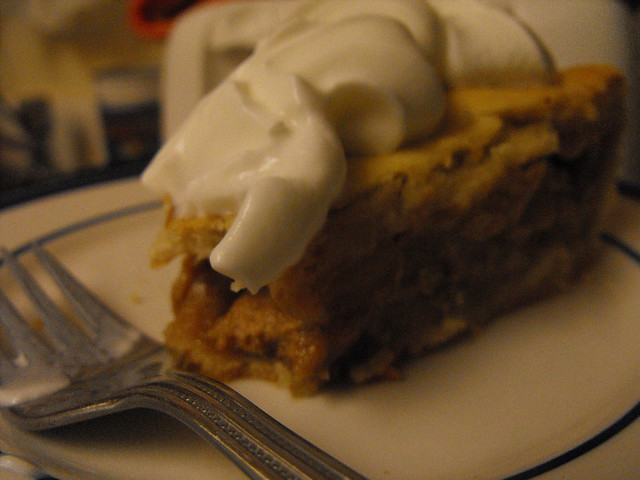
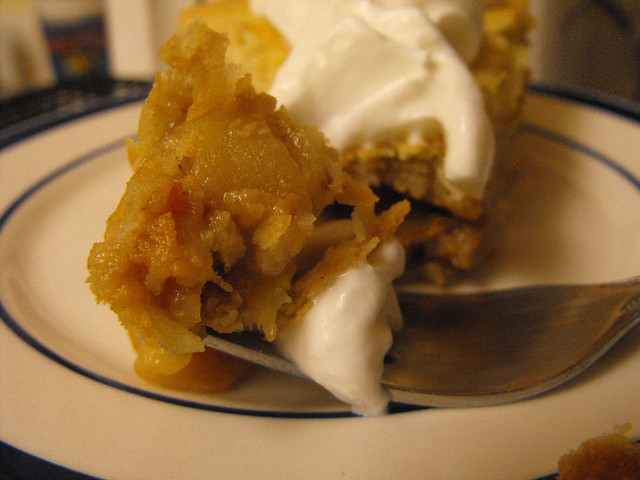
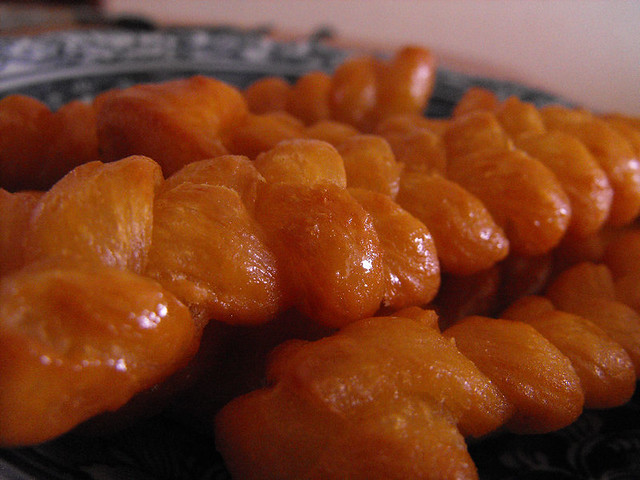
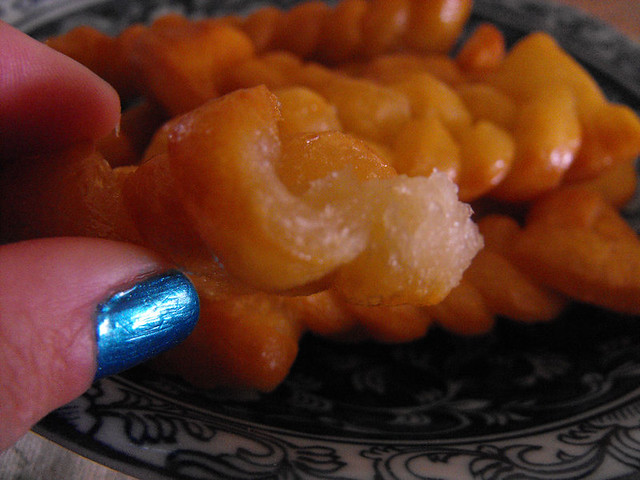
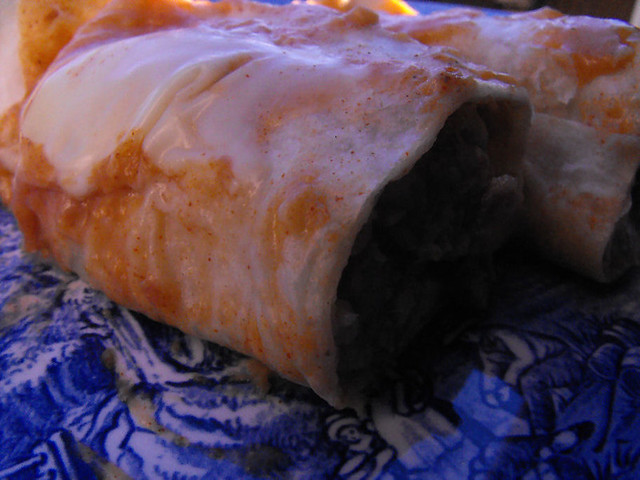
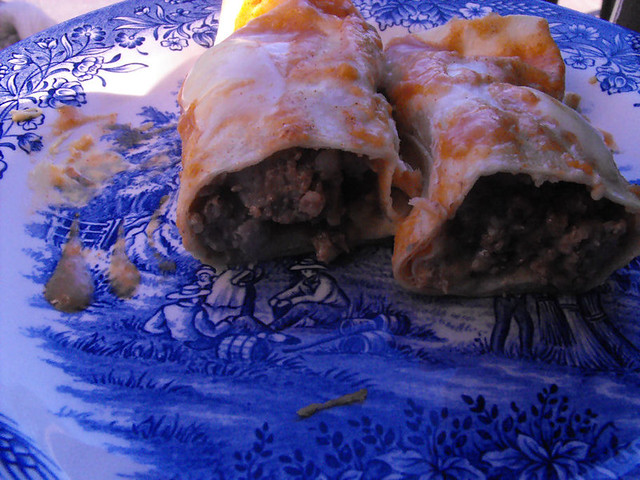
They are amazing. You have this twisted donut that is drenched in syrup.
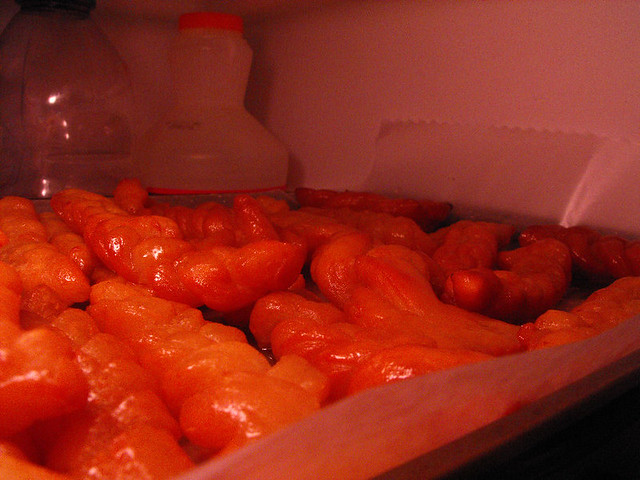
You HAVE to put them in the fridge, they need to be nice and chilled when you eat them. YUM!
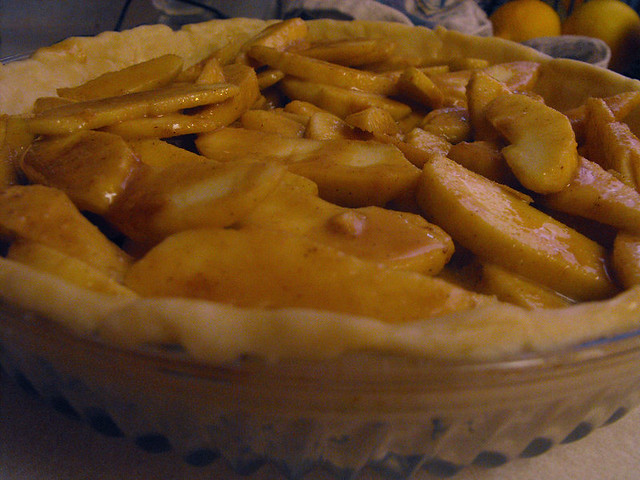
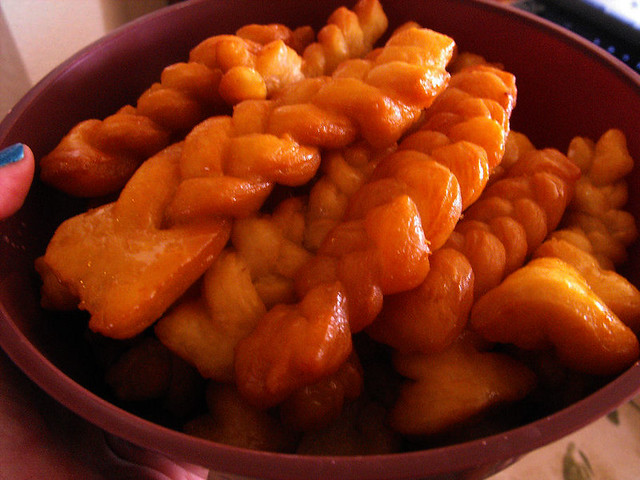
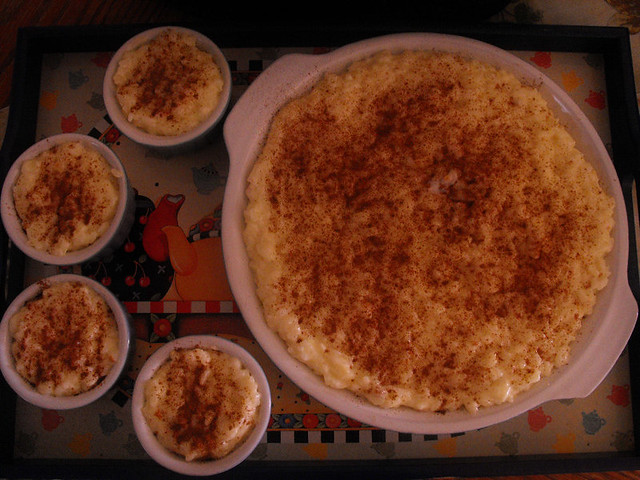
As you can see, I doubled the recipe and it made a HUGE batch, there are so many here that I'm going to give some away to friends, let them taste a little bit of South Africa and see what they think.
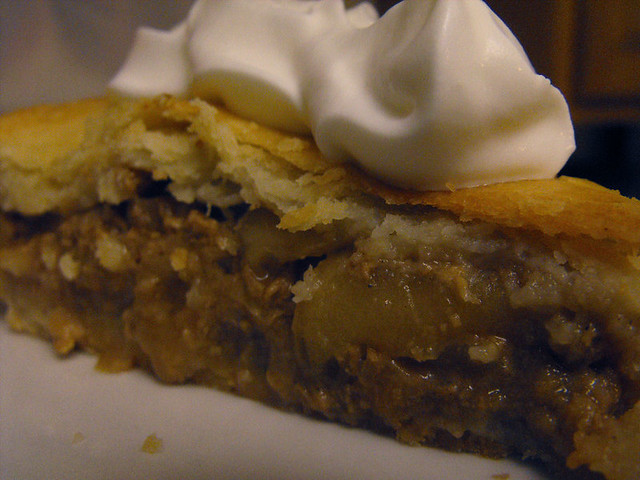
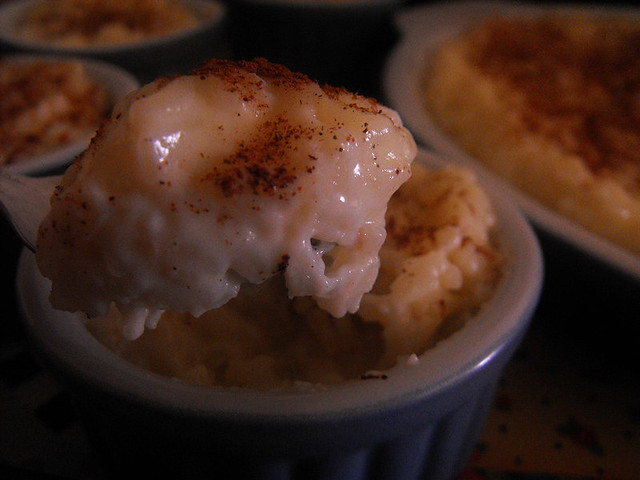
Let me know if you try them, they are ridiculously addictive, quite rich and sweet so I don't make them very often but believe it or not, after being in the fridge it takes away some of that sweetness so it's just right.
Enjoy!