Oh my.....ooohhhhhhhh myyyyyyy!!!!
Ok so you all know Miss Kay from the Duck Dynasty series right? Remember I shared her Honey Pecan Pie a while back? And that was like, so good.
Well going through her cookbook earlier, I came across this recipe for banana cake, and what do you know, I actually have a bunch of bananas that are going bad and need to be made into bread, cake, smoothies etc.
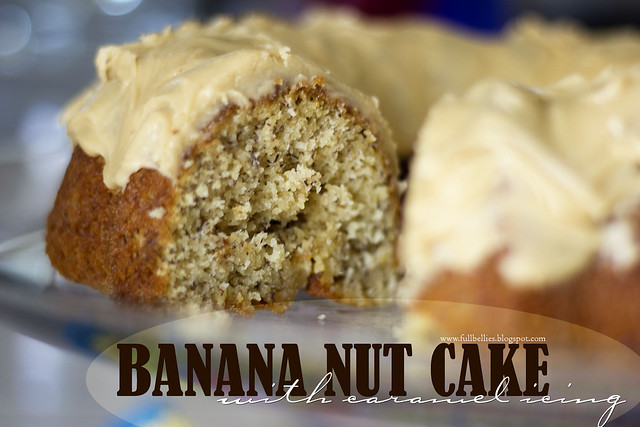
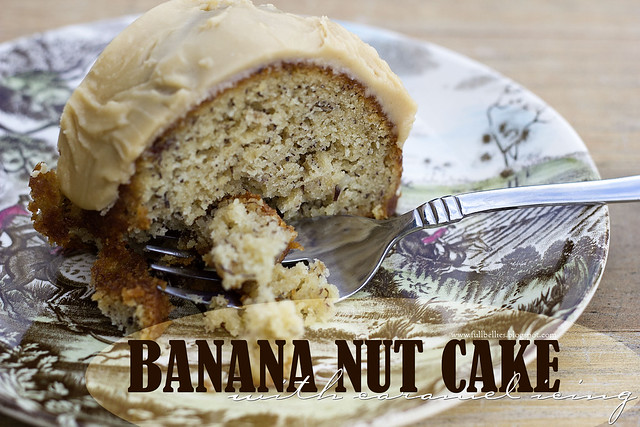
THIS though, oh my goodness, it's so good. Moist, flavorful all on it's own, but then throw in some caramel icing and it takes it to a whole other level.
If you have to make just one cake in the next week or two, let it be this one, you won't be disappointed. And trust me when I tell you that Miss Kay's Duck Commander Kitchen is one cookbook every kitchen should have.
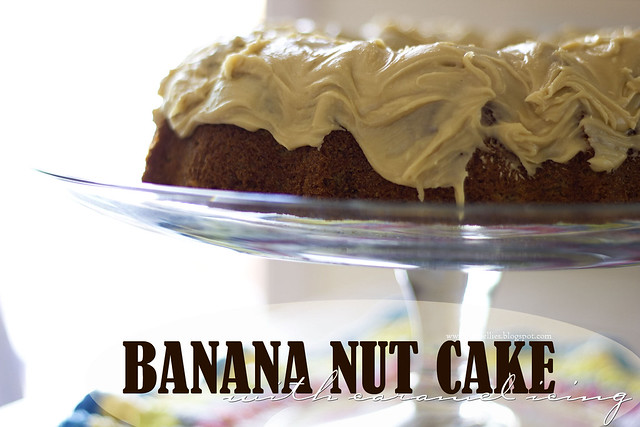
Banana Nut Cake with Caramel Icing
Adapted from: Miss Kay's Duck Commander Kitchen
2 cups all purpose flour
1 2/3 cups sugar
1 1/4 teaspoons baking powder
1 1/4 teaspoons baking soda
1 teaspoon salt
2/3 cup shortening
1/3 cup buttermilk
2 medium ripe bananas
2 eggs
chopped almonds
Caramel icing
1 stick butter
1 cup packed brown sugar
1/3 cup milk
3 1/2 cups powdered sugar
Heat oven to 350 degrees. Butter and flour the cake pans or bundt pan.
In a large mixing bowl, sift together the flour, sugar, baking powder, baking soda and salt. Add the shortening, buttermilk and bananas. Mix with the electric mixer on medium speed for 2 minutes. Add the eggs and beat 2 more minutes. Fold in the almonds.
Pour the batter into 2 9-inch pans, or a bundt pan. Bake until the layers start to pull away from the sides and a toothpick inserted in the center of a layer comes out clean, 35 to 40 minutes.
Let the layers cool in the pans for a few minutes, then run a spatula around the sides and invert the layers onto a wire rack to cool completely.
While the layers are cooling, make the frosting. In a saucepan on medium heat, bring the butter and brown sugar to a boil and boil for 2 minutes. Add the milk and bring back to a boil. Remove from heat and let cool slightly. Stir in the powdered sugar.
When the cake layers are cool, frost the top of one layer. Put the other layer on top and frost the top and sides.
Note: I used my bundt cake and did not frost the inside or all around the cake, just the top.