Tuesday, November 29, 2011

Tomatillo and Cilantro Chicken Enchiladas

I am not a fan of enchiladas.  There, I got that out of the way.

So, it's not something I make very often, something about a bad experience when I was pregnant and got really sick and then hated Enchiladas for the rest of the my life, which is really stupid since it's not the Enchiladas fault if I had morning sickness.  LOL

Tomatillo and Cilantro Chicken Enchiladas

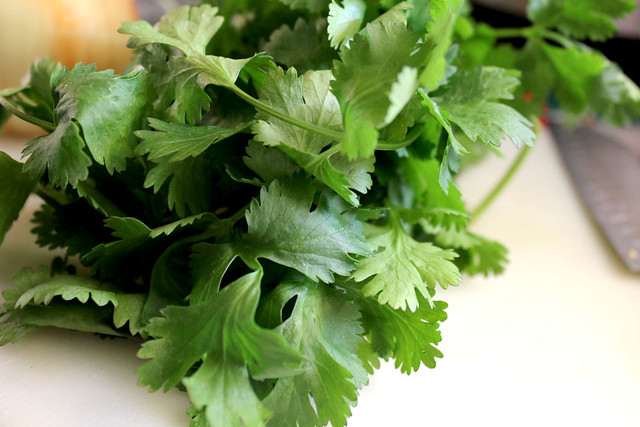
But anyway, I don't really much care for them, but once in a while I'll be browsing the food blogs online and something will catch my eye, like these Chicken Enchiladas and I think what caught my eye was the cilantro cause I'm a nut for cilantro.

Tomatillo and Cilantro Chicken Enchiladas

Care's Kitchen is a blog I just recently started following but boy does she have good stuff, check it out when you have a chance.

Now onto the enchiladas which have broken down the wall of fear I had built for so long....these are SO good.  The Sauce is from Care's Kitchen, the rest of the method is adapted from the same post since it's pretty much just a how to on putting these together.

Tomatillo and Cilantro Chicken Enchiladas

Tomatillo-Cilantro Sauce
by Lourdes Castro, Simply Mexican - Epicurious October 2009

Ingredients:

8 tomatillos, husks removed, rinsed, and quartered
2 to 3 jalapeños, stemmed and halved
1 cup lightly packed fresh cilantro, tender stems and leaves
1 clove garlic
2 tablespoons water
1 tablespoon olive oil
1 onion, chopped
Salt and black pepper

Directions:

Tomatillo and Cilantro Chicken Enchiladas

Combine the tomatillos, jalapeños, cilantro, garlic, and water in a blender

Tomatillo and Cilantro Chicken Enchiladas

and purée until well blended.

Tomatillo and Cilantro Chicken Enchiladas

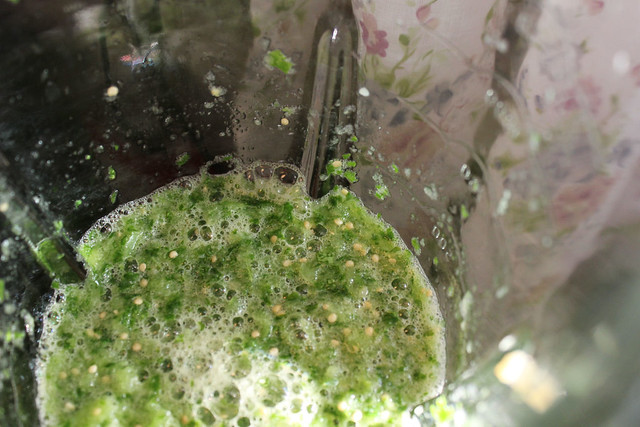
Heat the oil in a sauté pan over medium heat.

When the oil is hot, add the onion and sauté until the onion is limp and translucent, about 8 minutes. Add the tomatillo mixture. Season with salt and pepper. Cook for about 5 minutes, or until the sauce thickens.

Tomatillo and Cilantro Chicken Enchiladas

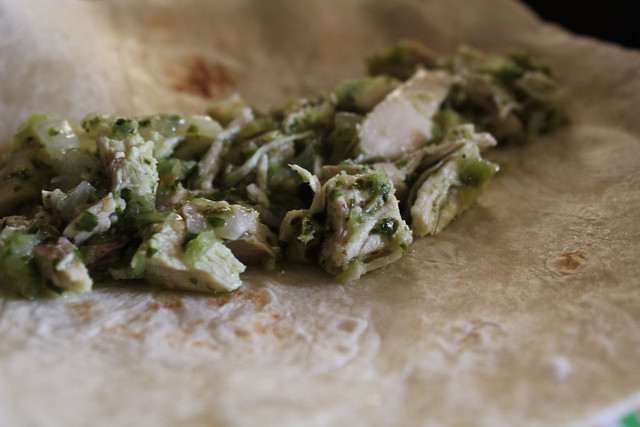
Add the shredded chicken to the sauce and stir to coat. Allow to cook for 3 more minutes. Check the seasoning and adjust if needed.

METHOD:

I used a whole chicken, cooked it up and set aside the broth for other recipes.  I then let it cool down a bit and shredded it.  I think I used about half of the chicken for these enchiladas.

Added the chicken to the sauce as specified above.

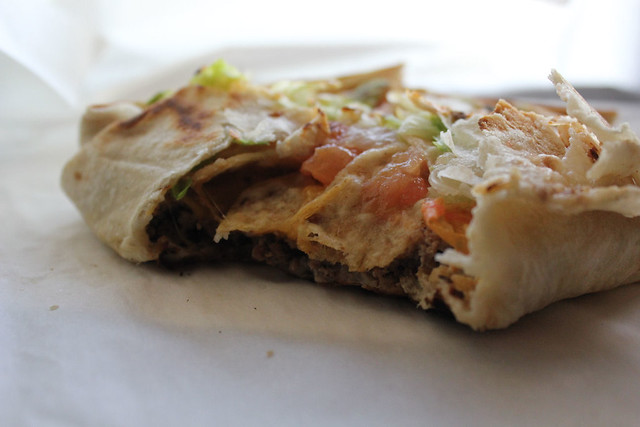
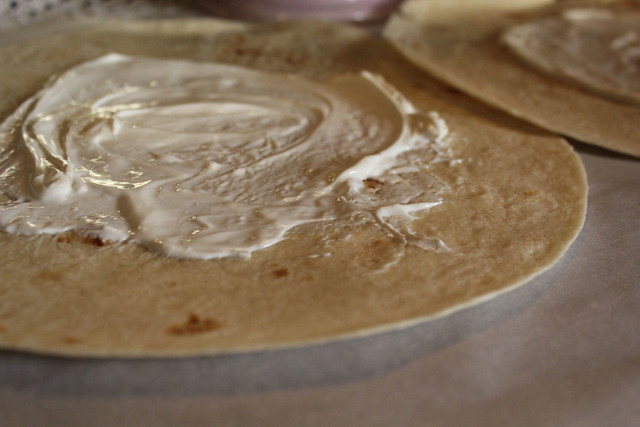
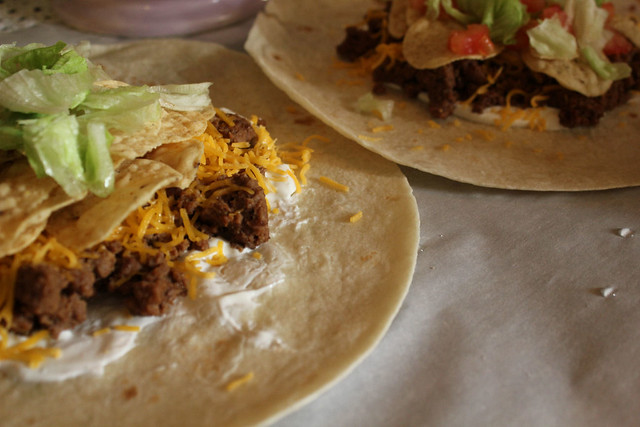
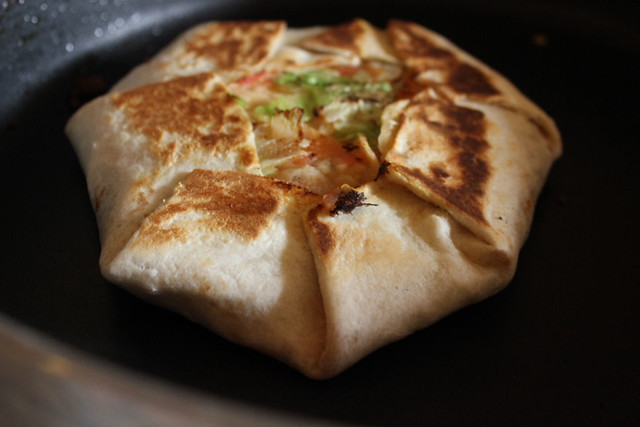
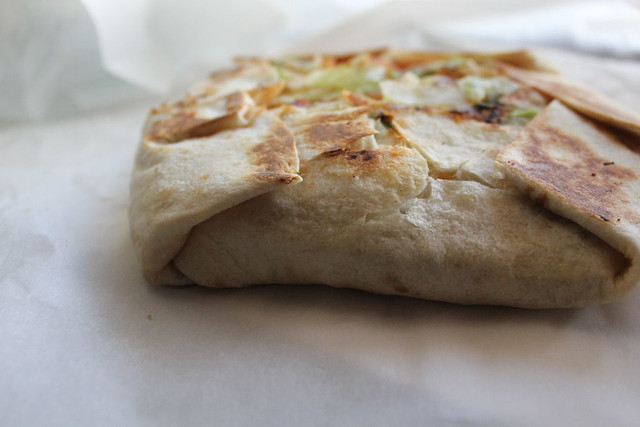
Then took out a tortilla, filled it with the Tomatillo and Cilantro Chicken mixture, rolled it up and placed it in a greased baking pan.

Tomatillo and Cilantro Chicken Enchiladas

Repeat with the remaining tortillas.

Top them with shredded cheese of your choice, I used Mexican blend, then pour on the Enchilada sauce, I used a can of ready made Sauce but you could make Emeril Lagasse's easy homemade enchilada sauce.

Tomatillo and Cilantro Chicken Enchiladas

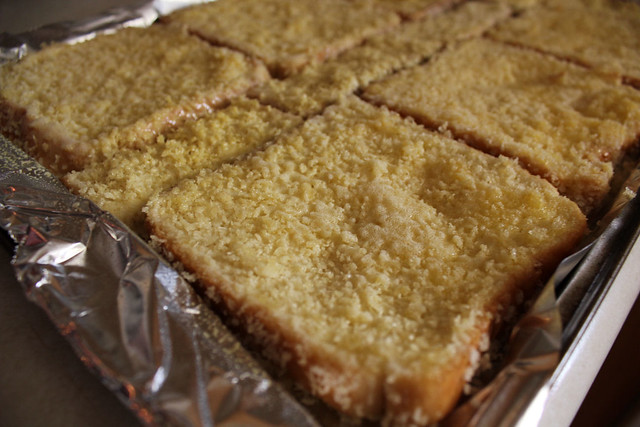
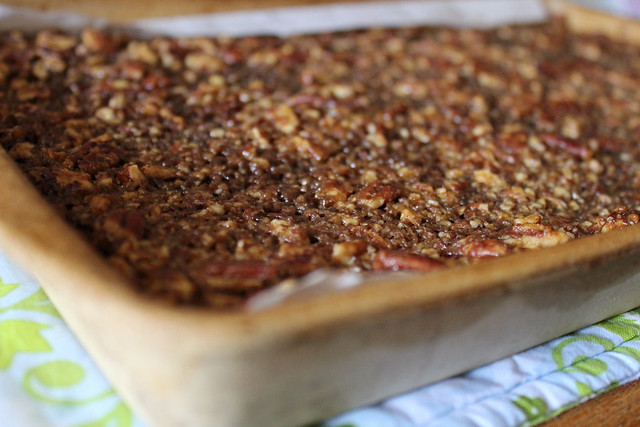
Sprinkle on some more cheese, cover with foil and bake at 375 degrees for about 25 minutes.  That's it.

SO GOOD!

Crispy Baked French Toast

This one comes from Kikkoman and boy is it good, the panko breadcrumbs give it such an amazing crunch...delicious.

Crispy Baked French Toast

Crispy Baked French Toast

3 large eggs
1 1/4 cups milk
3/4 teaspoon sugar
1 teaspoon vanilla extract
1 cup Kikkoman Panko Bread Crumbs
8 slices dry white bread
1/4 cup butter
1/4 cup vegetable oil
Butter
Maple syrup

1. Beat eggs together with milk, sugar and Vanilla extract in shallow bowl until well blended. Place panko in pie pan or shallow dish. Dip each bread slice into egg mixture, thoroughly coating both sides; then coat both sides of bread slices with bread crumbs. Place on large wire rack.

Crispy Baked French Toast

2. Add butter and oil into 17-1/4 x 11-1/2-inch jellyroll pan. Place pan in 400 degrees F. oven 1 to 2 minutes, or until butter melts. Remove pan from oven.

3. Place bread slices into pan, in single layer, turning over once to coat both sides of bread slices with butter mixture.

Crispy Baked French Toast

4. Return to oven and bake 15 minutes. Turn bread slices over and bake 10 minutes longer, or until golden brown.

5. Serve with butter and maple syrup.

Crispy Baked French Toast

Kikk-Up The Holidays with Kikkoman! Review and Giveaway

So last year Kikkoman contacted me and offered up some of their amazing products for a review and a giveaway.

I was beyond thrilled because Kikkoman is one of my favorite staples in the kitchen.

When they contacted me again a few weeks back, I couldn't believe how lucky I was to be asked to once again review the products, try out some recipes AND host a giveaway for my readers. Yay!

First thing I got in the mail was a box filled with products.

http://a8.sphotos.ak.fbcdn.net/hphotos-ak-ash4/298947_197551183656545_103388363072828_438750_26524126_n.jpg

Included were some really good recipes which I still have to try.....but on the menu for that night was chicken, so I decided to use the Panko Breadcrumbs for those.  If you've never cooked with Panko you have no idea what you're missing, they are so much better than regular breadcrumbs.

Garlic and Parmesan Panko Chicken

Garlic and Parmesan Panko Crusted Chicken Tenders

Garlic and Parmesan Panko Chicken

As Thanksgiving rolled around, I knew I wanted to once again brine my turkey with the Kikkoman recipe, so I did.

2011_11240004

2011_11240005

The only thing I added was some garlic, but the rest of the recipe is as I followed last year and you can see it on that post.

2011_11240023

Of course, I also followed the recipe for the Green Bean Casserole which is always a hit in our house.

2011_11240011

Next thing I made which was actually breakfast for this morning, were the Crispy Baked French Toast using Panko Breadcrumbs and THAT was good. The Panko gives it this amazing crunch which the kids loved.

Crispy Baked French Toast

So if you are looking for some great ways to jazz up your Christmas meal, whether you're making Turkey or Ham, why not use some of the Kikkoman Products....you won't regret it. If you've never tried the Ponzu sauces you really have no idea what you're missing, they are SO good.

Thank you again to the folks at Kikkoman for providing me with these samples.  The winner will receive two full sized Kikkoman products, as well as a BUY ONE, GET ONE FREE coupon available online.

All you need to do is leave me a comment including an email address where I can reach you and let me know if you use Kikkoman products which is your favorite and if you don't, which you would like to try.

Giveaway is open to US residents only.  It will run until next week Tuesday, December 6th and then I'll draw a winner using Random.org.

Good Luck!

Monday, November 28, 2011

Homemade Crunchwrap Supreme

Edit:  So I keep getting emails reminding me that I forgot the cheese sauce.  I didn't forget it, I simply used shredded cheese instead because it's what I had on hand.  I've edited the recipe though to include the nacho cheese sauce for those who prefer it.

So there are very few things that I love, like adore, when it comes to fast food places. In and Out Burgers are one even though I'll let you know that I'm kinda burned out on burgers right now and nothing seems appealing.

Homemade Crunchwrap Supreme

Then there's Taco Bell and while I do enjoy a good Chalupa the Crunchwraps are my downfall. Man oh man, I love those.

I just don't like having to leave my house when I feel like one, I also don't like spending the gas money, or waiting in the drive thru, or leaving the house to go get one....oh wait, I've said that already.

I always find that if I can replicate something I really enjoy, it not only saves me time and money but I can also see what is going in to it and I can make it lower fat or pile on the cheese if I so wish.

I was craving Crunchwraps the other day and hubby was at work and we only have the one vehicle, so going out was out of the question, so I sat here and thought about what all went into one of these and thought "it can't be that easy, I must be missing something?". Online I went and after a quick search I realized that I was right, there really is nothing special or out of this world to these...YAY!

So all that babbling just to show you how to make some crunchwraps at home. Ha!

Homemade Crunchwrap Supreme

Homemade Crunchwrap Supreme

Large Flour Tortillas burrito style
1 lb ground beef
1 packet taco seasoning
sour cream
shredded cheese or nacho cheese
tortilla chips (you could use use a corn tortilla)
tomatoes
lettuce

Brown ground beef in a skillet, add the packet of taco seasoning and stir until mixed well. Cook for another minute or so.

Microwave the tortillas for a few seconds just to warm them up, it will make the wrapping easier.

Take a tortilla, spread some sour cream in the center.

Homemade Crunchwrap Supreme

Top with ground beef (1 lb ground beef made 4 crunchwraps, but they were nice and stuffed, you could probably get another 1 or two out of it if you don't use too much meat).

Homemade Crunchwrap Supreme

Top with shredded cheese or a few scoops of nacho cheese.

Homemade Crunchwrap Supreme

Next add a layer of tortilla chips or at this point you would add a small corn tortilla like a tostada size.

Homemade Crunchwrap Supreme

Top with lettuce and tomato and then starting on the bottom, fold up the tortilla toward the center, continue all the way around until it is all folded over, it WON'T cover it completely.

Homemade Crunchwrap Supreme

Carefully lift it up and set it fold side down on a non stick pan. Press with a spatula and cook until nice and brown, flip it over and cook the other side. It won't take long at all.

Homemade Crunchwrap Supreme

Enjoy :)

For a lower fat version, you could substitute low fat tortillas, low fat sour cream, low fat cheese etc :)

Wednesday, November 23, 2011

Pecan Pie Bars

Thanksgiving cooking is under way.

I used to leave everything to the actual day but I've long since learned that it's just a way to drive myself completely bonkers, so for the past few years I've made sure to do as much as I can the day or two days before.....like the baking.

Instead of the traditional Pecan Pie, this year I'm going for the Pecan Pie bars, it's more of a way to make portion control easier....will stop me from being tempted into cutting huge slices and then gloming on a bunch of whipped cream....and I can just individually freeze the leftover bars too.

So here we go, this is how I make mine.

Pecan Pie Bars
Pecan Pie Bars
Adapted from Gourmet

1 1/2 sticks unsalted butter
2 cups flour
1/2 cup light brown sugar
1/2 tsp salt
8 oz pecans (about 2 cups)
1 stick unsalted butter
1 cup packed light brown sugar
1/3 cup honey
2 tbsp buttermilk

1. Preheat oven to 350. Cut butter into 1/2-inch pieces. In a food processor, process the butter, flour, 1/2 cup light brown sugar and salt, until it starts to form small lumps. Pour onto a 19x13x2-inch pan and press evenly onto bottom. Bake shortbread in the middle of the oven until golden, about 20 minutes. While shortbread is baking, prepare filling.

Pecan Pie Bars

2. In a food processor, coarsely chop the pecans. In a heavy saucepan, melt butter and stir in brown sugar, honey and cream. Simmer, stirring occasionally, for 1 minute.

3. Stir in pecans. Pour pecan mixture over hot shortbread and spread evenly. Bake in the middle of the oven until bubbling, about 20 minutes.

4. Cool completely in pan and cut into 24 bars. Will keep, covered, for 5 days at room temperature.

Pecan Pie Bars

Friday, November 18, 2011

Baked Ham and Cheese Sliders

I've been making them for such a long time, I don't know why I have never posted the recipe here.

Baked Ham and Cheese Sliders

Anyway, this was tonight's dinner which is pretty typical for a Friday night, it's either pizza or sandwiches or something easy.

These are SO good, I can't even begin to tell you how dangerous they are LOL  I have to control myself around them because since they're so small I seem to think that it means I can eat as many as I want.

Baked Ham and Cheese Sliders

Baked Ham and Cheese Sliders


12 hawaiian sweet rolls
ham
swiss cheese
1 small onion, finely diced
1 stick of butter
3 tablespoons mustard
2 teaspoons worcestershire sauce
parsley

Cut the bread rolls in half, place the bottom on a baking pan.....on a skillet, melt the butter, then add in the onion, mustard and worcestershire sauce. Stir and cook for a little until the onion is transparent.

Baked Ham and Cheese Sliders

Take 1/4 of the onion mixture and set aside.

Baked Ham and Cheese Sliders

Take the rest of the mixture and spread on the bottom of the rolls. Sprinkle on some parsley...then top with ham and then swiss cheese.

Baked Ham and Cheese Sliders

Place the tops on, spread the 1/4 cup onion mixture you reserved on top, sprinkle a little more parsley, then cover with foil.

Baked Ham and Cheese Sliders

Bake at 350 degrees for 20 minutes. That's it.

Baked Ham and Cheese Sliders

Thursday, November 17, 2011

Homemade Microwave Popcorn

Tonight I'm going to share with you a post from my main blog.

I got this idea from a Nutritionist friend of mine and I'm so glad she shared it because I had no idea how easy it was to make microwave popcorn at home without all that added nastiness they add to the store bought kind.

I wish I had found out about this before, I did a google search and found quite a few other posts about it.  I always feel like the last one to join the cool club LOL

Anyway, here we go:
Homemade Microwave Popcorn

All you need are brown paper lunch bags, popcorn kernels and tape.Homemade Microwave Popcorn

Place a 1/4 cup of popcorn kernels in each bag.  You can add toppings after it's done, but I tried garlic, salt and some with sugar mixed in with the kernels and it turned out great :)Homemade Microwave Popcorn

Take a small piece of tape and fold over the top of the bag, tape it in place.Homemade Microwave Popcorn

Fold the bottom part up about halfway.....Homemade Microwave Popcorn

Then fold down the top part over it, you will have it folded in thirds, the same as the store bought bags.Homemade Microwave Popcorn

I made some quick labels in photoshop, printed them all out on a sheet of paper, cut them out and used some double sided tape to attach them to the bags.Homemade Microwave Popcorn

Added a bit of twine just for decoration and VOILA!Homemade Microwave Popcorn

I will no longer be buying the store bought kind.  Besides, I am thinking these would make pretty cute gifts with different kinds of labels, and flavors.Homemade Microwave Popcorn

Yummy popcorn!Homemade Microwave Popcorn

You should have seen the kids faces.  They think I'm Super Woman which is pretty funny considering how easy these are to throw together :)Homemade Microwave Popcorn