Monday, November 11, 2013

Oven Roasted Chestnuts!

Dia de Sao Martinho or St. Martin's Day is celebrated in Portugal today.

In Portugal, St. Martin's Day is commonly associated with the celebration of the maturation of the year's wine, being traditionally the first day when the new wine can be tasted.

It is celebrated, around a bonfire, eating the magusto, chestnuts roasted under the embers of the bonfire (sometimes dry figs and walnuts), and drinking a local light alcoholic beverage called água-pé (literally "foot water", made by adding water to the pomace left after the juice is pressed out of the grapes for wine - traditionally by stomping on them in vats with bare feet, and letting it ferment for several days), or the stronger jeropiga (a sweet liquor obtained in a very similar fashion, with aguardente added to the water).
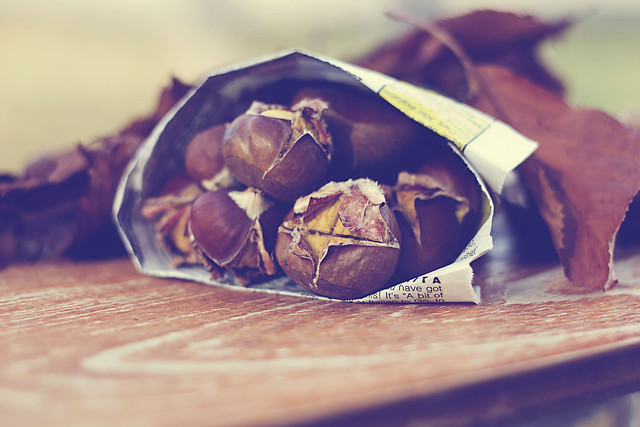
Oven Roasted Chestnuts

Having spent my childhood in Portugal, I vividly remember enjoying roasted chestnuts served in a cone made out of newspaper. It was one of our favorite things to do as the year drew to a close and the busy city center of Lisbon became lit with Christmas lights.

Even though I can't enjoy those anymore, I am still trying to bring that tradition to life each year for my children. Oven roasted Chestnuts are as close as I can get to the delicious fire roasted, but they are equally tasty and sure take me back in time.
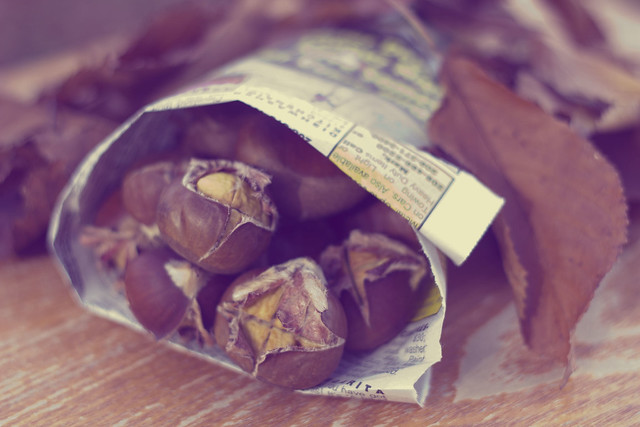
Oven Roasted Chestnuts

Chestnuts
Paring Knife


Preheat the oven to 425 F. Using a sharp paring knife, make an X on each chestnut, make sure to cut through the skin so they can vent. Last thing you want is for them to explode in the oven, they make a huge mess.

Bake them for about 30 minutes or until the skin peels back on the chestnut. Shake the pan or stir them up a few times throughout the baking time.

Enjoy!!!

To roast on an open fire:
Rinse and score the shells. Fire up your grill to medium-high. Put the nuts on the grates cut side down and close the lid. Roast until the shell peels back and begins to scorch and the meat starts to turn golden, perhaps 10 minutes.
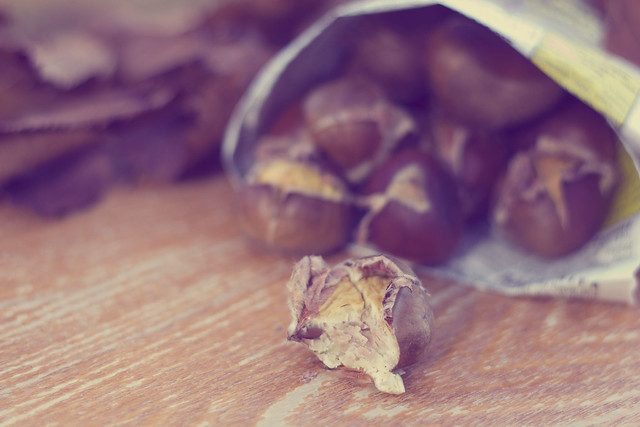
Oven Roasted Chestnuts

Holiday Baking with Lucky Leaf - Giveaway!!!

_MG_0096

Can you believe the Holidays are almost here? And you know what that means. It means shopping, baking, cooking, and most importantly getting together with the ones you love.

Well, here we are, another Lucky Leaf giveaway and more yumminess being whipped up in the kitchen.

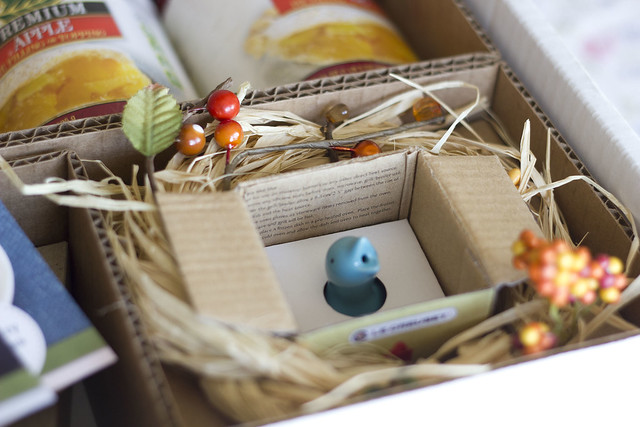
The folks at Lucky Leaf sent me a really cute baking kit, which included the sweetest little ceramic pie bird and of course delicious pie fillings.  I can never have enough and always have cans in my pantry.

_MG_0082

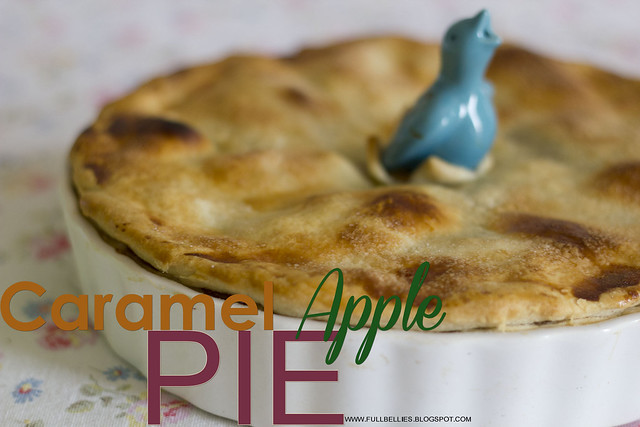
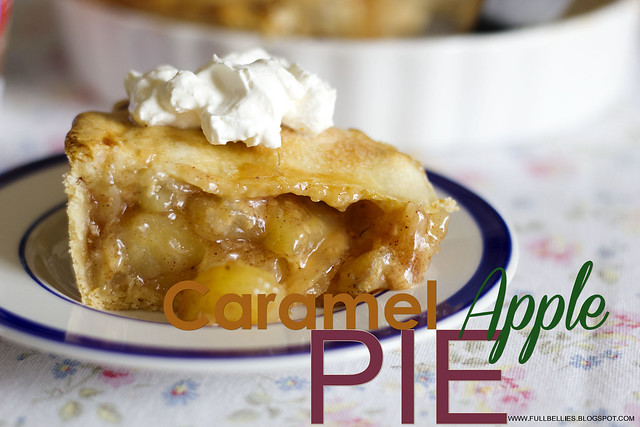
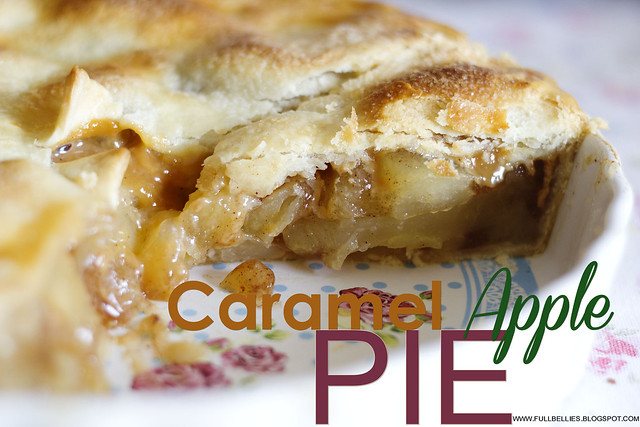
From the recipes included in the kit, I picked, or rather the family immediately picked the Caramel Apple Pie.  Can't get more American than Apple Pie right?

Oh my, this was delicious, my brother enjoyed a big slice before heading off to work and my sister in law even had two slices, it was that good.

_MG_0099
Caramel Apple Pie
Source:  Lucky Leaf
Serves: 8
Cook Time: 45 minutes

2 prepared pie crusts
221-ounce cans LUCKY LEAF® Premium Apple Pie Filling
½ teaspoon nutmeg
½ teaspoon cinnamon
½ teaspoon all spice
12 Kraft® caramel squares
1 teaspoon milk
½ cup chopped pecans

Directions:

Preheat oven to 425°F. Place one pie crust in a baking dish.
Combine spices with LUCKY LEAF Apple Pie Filling. Pour apple mixture into crust.

Melt caramels and milk in microwave-safe bowl for about a minute, stirring twice. Pour melted caramels over the Apple Pie Filling.

Place pecans on top and cover with the second crust. Vent crust for baking.
Brush top of pie crust with the beaten egg wash and sprinkle with 1 teaspoon of sugar.
Brush top of pie crust with the beaten egg wash and sprinkle with 1-teaspoon sugar. Bake for 45 minutes.

_MG_0097

So good!

Aside from all the great holiday baking that is to come, Lucky Leaf is also running a Lucky 13 Recipe contest.

The Lucky 13 Recipe Contest begins on November 6th.  Enter your best original recipe using Lucky Leaf® Pie Filling for a chance to win one of 13 great prizes, including the $2,500 grand prize! Please submit your recipe between November 6th and December 2nd. Qualified recipes will be on display in the recipe gallery on the Lucky Leaf Facebook page starting on December 3rd.

AND to top it all off, Lucky Leaf is also generously giving away a baking kit to a lucky winner.  You will receive a can of Lucky Leaf pie filling, a recipe card, a ceramic pie bird and two pie slice boxes and forks.

Now doesn't that make you want to get in the kitchen and bake???

== Contest is open to all US Residents.  Giveaway runs through Monday, November 18th 2013 and I will draw a winner using Random.org.

== Please leave a comment including a way to contact you if you are picked as the winner.....keep in mind that if you don't claim your prize within 2 days, I will pick another winner.

Good Luck, and Happy Baking!!!

Thursday, October 24, 2013

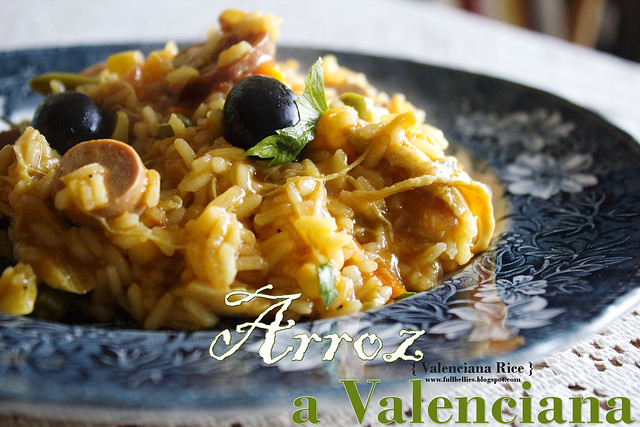
Arroz a Valenciana - Valenciana Rice

Arroz a Valenciana

As a young child growing up in a Portuguese home, with quite a big family around, I think the moments I most remember are the ones spent around the dinner table.

I have loved to cook for as long as I can remember, and I think the beginning of this love affair with food and cooking was brought on by my great grandma.

She was quite a strong, amazing woman, always in the kitchen preparing these huge meals for a table of 14 or 15 at a time.  As with many large families, dishes were often kept simple but stretched to feed many, as is the case with this rice.

Sometimes she would add in a few shrimp, or some calamari.  Other times she would substitute bacon for the chourico, but no matter which way she made it, it was always one of my favorites and today, it's one I prepare for my family and my brother's family, knowing that it will go quite far.

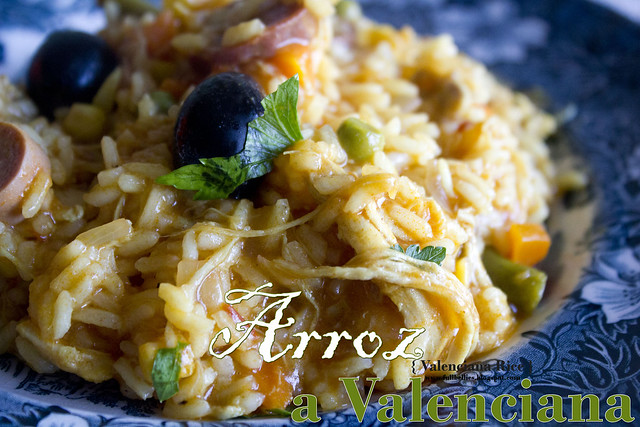
Arroz a Valenciana

Arroz a Valenciana

1 lb chicken breasts, cubed (you can also use a whole cut up chicken or drumsticks or thighs)
1 onion, diced
2 tomatoes, diced
2 garlic cloves, finely chopped
bay leaf
olive oil
salt and pepper
paprika
turmeric
saffron
white wine
1 small can tomato sauce
2 cans of vienna sausages, sliced
2 small chouricos, sliced
Frozen peas (I sometimes use mixed veggies)
fresh parsley
2 cups rice

In a pot, add a little bit of olive oil, the onions, tomatoes, garlic and bay leaf and cook until the onion is translucent.

Add in the chicken and the spices and stir well to combine, next pour in the tomato sauce and some white wine, I use about 1/4 cup of wine or so, just eyeball it.

Cook for a few minutes until the chicken is brown, then add in the frozen veggies and a little water and cook for a few minutes more until the veggies are done.

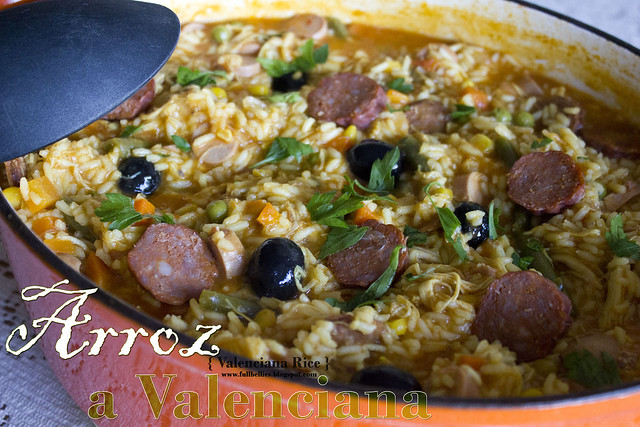
At this point, add in the 2 cups of rice and the sliced chourico.  Pour in enough water to cover the rice about an inch above.  Stir well and cook over medium heat until rice is to your liking.  Some people like the rice to have a bit of crunch to it, while others prefer a mushier rice, so cook according to your family's taste.  About 5 minutes before the rice is done, add in the sliced viennas and some chopped fresh parsley.

Serve immediately. 

Arroz a Valenciana

National Pizza Month with California Ripe Olives

_MG_9630

October is known for many things: falling leaves, cooler nights, and Halloween costumes. But in the culinary world it means one thing and one thing only: National Pizza Month!

We are a pizza AND olives loving family, matter of fact, you can always count on finding homemade pizza and some kind of olive as a topping.  I do have a certain affinity for black olives though, especially on pizza.

In 1769, the first olive cuttings were planted in California at the San Diego Mission. As most transplants do, they responded quite well to the California climate-sunny days, cool nights, fresh air-and they set their roots.

 You can find out more about California Ripe Olives by visiting CalOlives.org or by following @MissCAOlive on Twitter, or Facebook.

_MG_9625

The wonderful folks at California Olives sent me a kit to try out some of their olives and even included a recipe for a Black and White Pizza which I think is delicious.

Black and White Pizza

Black and White Pizza


1 Tbsp olive oil, plus additional for crust
1 cup onion that has been quartered and thinly sliced
2 Tbsp minced roasted garlic
4 oz mushrooms, chopped
1 ball prepared pizza dough
1 cup prepared Alfredo sauce
1 cup shredded smoked mozzarella
4 oz fresh mozzarella, torn into ½ inch pieces
1 (6 oz) can extra-large California Black Ripe Olives, cut into quarters chicken breast, cooked and sliced thin
2 Tbsp chopped fresh rosemary
Freshly grated Parmigiano-Reggiano cheese


Preheat oven to 450 degrees and line a baking sheet with parchment paper.
In a skillet, heat the 1Tbsp olive oil over medium heat. Add onion, garlic, and mushrooms and cook until onions are soft (about 10 minutes). Set aside.
Roll pizza dough into a very thin oval.Transfer to parchment lined baking sheet and light brush with olive oil.
Then top crust with Alfredo sauce followed by mushroom mixture, cheese, chicken, and rosemary. Sprinkle with olives.
Bake at 450 degrees for 10 to 15 minutes until cheese is melted and crust is brown around the edges.
Serve with Parmigiano-Reggiano. Serves 4.


I didn't get a picture of this one because it went THAT fast, by the time I grabbed the camera it was gone LOL

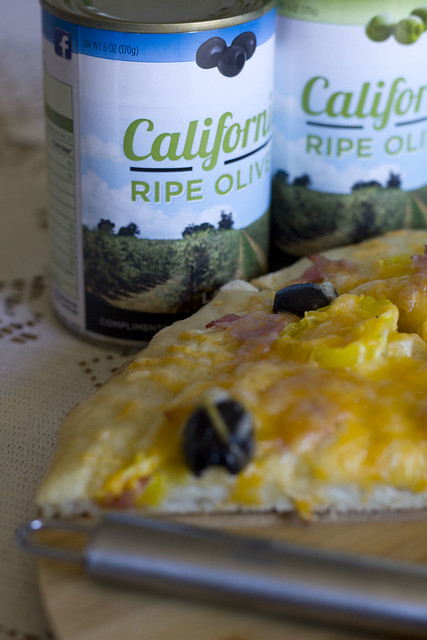
I did make another one using butter and garlic as a base, instead of pizza sauce. I added smoked ham, banana bell peppers, California ripe black olives, onion and cheese....it was YUMMY!

_MG_9628

By far, one of my favorite olive brands has to be California Ripe Olives, so I always keep a few cans in my pantry, not just for pizza but for quite a few of my Portuguese recipes too :)

Thank you to the folks at California Ripe Olives for providing me with a kit for this review.

Tuesday, October 01, 2013

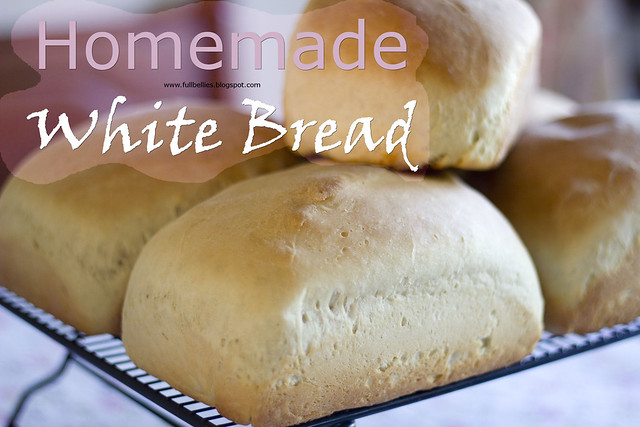
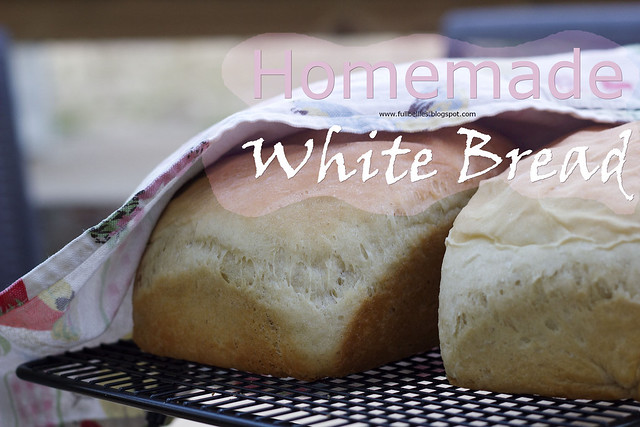
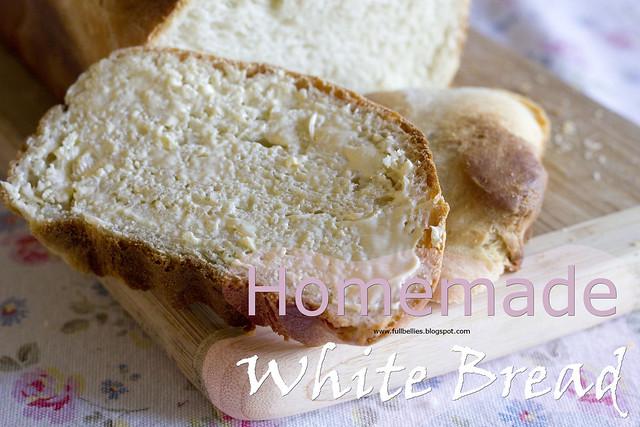
Homemade White Bread

Fresh, hot bread out of the oven, slathered in butter and then bit into while the melted butter drips down your hands.  I do believe that has to be one of Earth's wonders, right??

Homemade White Bread

So tonight, I wanted to make a big pot of potato and onion soup, it's been pretty chilly here and downright Fallish, and the perfect meal for a day like that is a bowl of steaming soup with a slice of hot fresh bread.

If you're looking for the soup recipe, it will be up right after this one :)

Anyway, back to the bread.  I do have quite a few bread recipes on the blog and I enjoy every single one of them.  This one however is one I tried from the blog Jamie Cooks it Up and it's truly a simple, easy and delicious bread to make.   The fact that I get 5 loaves out of it makes me extremely giddy too, because you see, fresh better never lasts longer than an hour in this house.

Homemade White Bread
WHITE BREAD
Yield: 5 loaves
 Source:  Jamie Cooks it Up

4 C hot water
1/2 C sugar
2/3 C oil
2 T salt
3 T yeast
10-12 C white flour


1. In a Bosch or Kitchen Aid mixer place the hot water, sugar, oil, salt, and 4 C of the flour. Mix for 1 minute.

2. Add the yeast, and the rest of the flour 1 C at a time while mixing. You will know you have enough flour when the sides of your mixer get scraped clean.

3. Once you have enough flour mix for 8 minutes on high.

4. Let the dough rest in the bowl for 5 minutes.

5. Divide the dough into 5 pieces and place in sprayed bread pans.

6. Take each piece and “spank” it to get any bubbles out.

7. Round the dough into a ball and place back in the pans.

8. Place the pans in your oven at 170 degrees, and let rise for 25 minutes, or until the bread has risen about 1 inch above the edge of the pan.

9. Turn the oven up to 350 and bake for 25 minutes. Don’t take the pans out while the oven heats up.Just let the bread keep rising while it heats. Enjoy!

Homemade White Bread