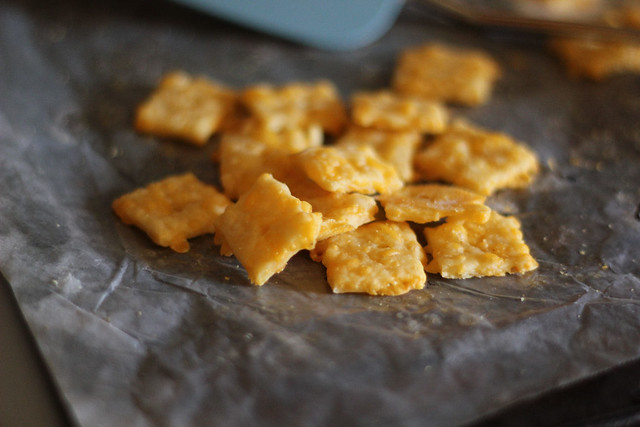
Homemade, that in itself gets my ears perked up, but when it's stuff that I'm used to buying at the store and paying ridiculous money for something loaded with ingredients that I can't even pronounce.....then I'm really really but really happy.
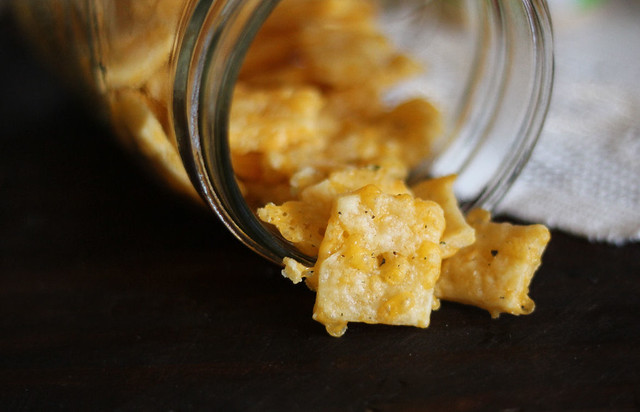
My kids, and hubby and I to be honest, love snacking on cheese it's or any kind of cheese crackers, and since I'm trying to switch to as much homemade as I can, I have looked online for recipes to make crackers at home.
I found a few and have put it off for a while, but I'm sick with a cold for the past 2 days and was wanting something to snack on this morning and just couldn't quite figure out what. Then a light bulb went off and I remembered this recipe I saved from Happy Simple Living. It is just what I was looking for and OH.MY.GOSH, these are so good.
The 9 year old has asked me to make him a big batch just for himself. The 13 year old said she would buy the ingredients herself LOL And the hubby is happily munching away, throwing out an "Ooooooh" every few minutes.
So, no more excuses for not making these, if you have cheese, butter and shortening, you're good to go and you'll thank me for it.
I will never buy store bought again.
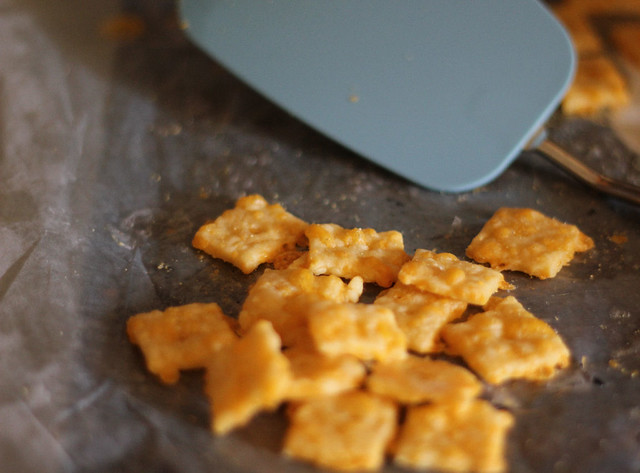
Homemade Cheese Crackers
8 ounces grated sharp cheddar cheese
3 tablespoons unsalted butter, at room temperature
1 tablespoon vegetable shortening (or substitute 1 tablespoon unsalted butter)
1 teaspoon sea salt
1 cup flour
2 tablespoons ice water
Combine the cheese, butter, shortening and salt in a food processor or in the bowl of a stand mixer fitted with the paddle attachment.
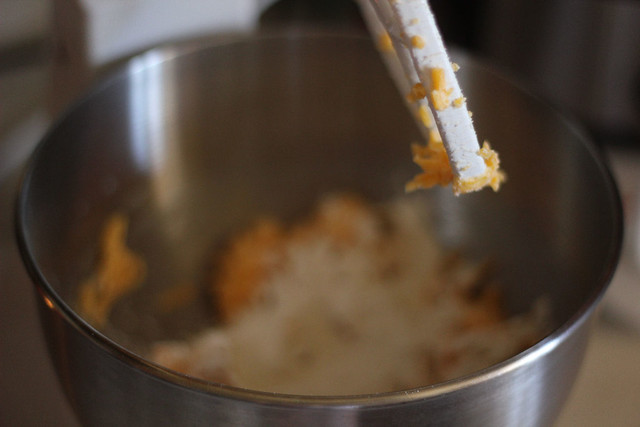
Add the flour and pulse or mix on low speed until the mixture is combined.
Add the ice water slowly with the mixer or food processor running.
You may need to add a few more drops of water, but go slowly so you don’t overdo it. Gather up the dough and pat it into three disc shapes. Don’t knead it or mess with it too much.
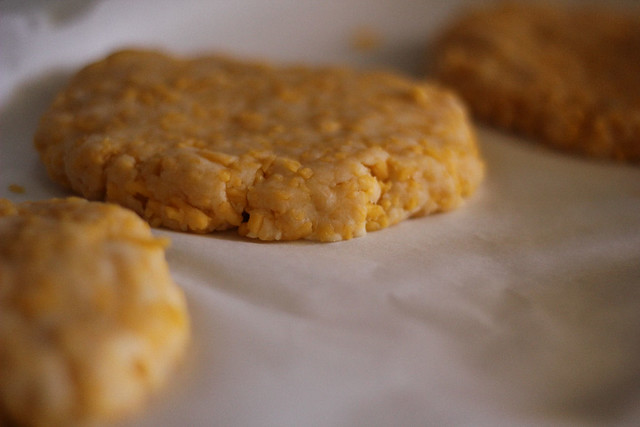
Wrap the discs tightly in waxed paper or parchment and refrigerate for at least an hour, or until you’re ready to bake the crackers. The dough can be refrigerated like this for up to 5 days.
Preheat the oven to 350 degrees F. Let the dough sit out at room temperature for about 20 minutes, and cut a piece of parchment paper to fit your favorite baking sheet. Gently begin to roll the dough out directly on the parchment paper. At first it may seem a little unyielding, …but just take your time and press the cracks back together as you go.
Keep persevering, and roll the dough quite thin, to a thickness of about 1/8 inch.
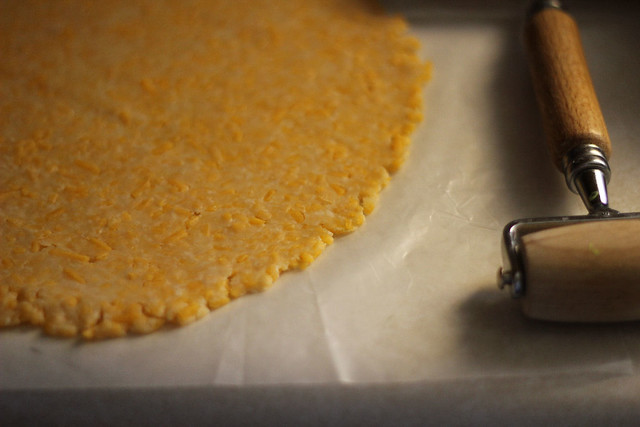
Now it’s time for the fun part! Cut the crackers into 1 inch squares. You can use a pizza cutter, a sharp knife, or a fancy pastry cutter to do this.
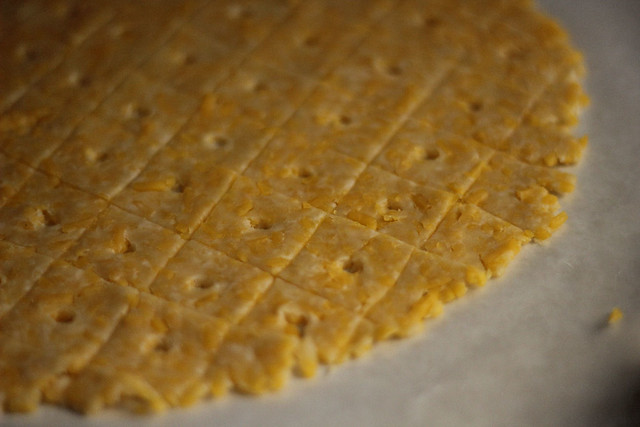
Poke a hole in the center of each cracker with a skewer. Along with being decorative, the hole allows the steam to escape which helps your crackers bake up nice and crisp.
Use a sharp spatula to separate the crackers gently on the parchment paper and transfer the whole paper (scraps, too – perfect snacks for the chef!) to a baking sheet. Bake the crackers for about 12 to 13 minutes, or until lightly browned around the edges. (Depending on how your oven cooks, your baking time may be more or less so watch the first batch carefully.)
Cool the whole sheet on a wire baking rack and repeat with the remaining dough. You can serve the crackers warm, or cool them completely and store them in a container with a tight fitting lid. This recipe makes about 8 dozen crackers.