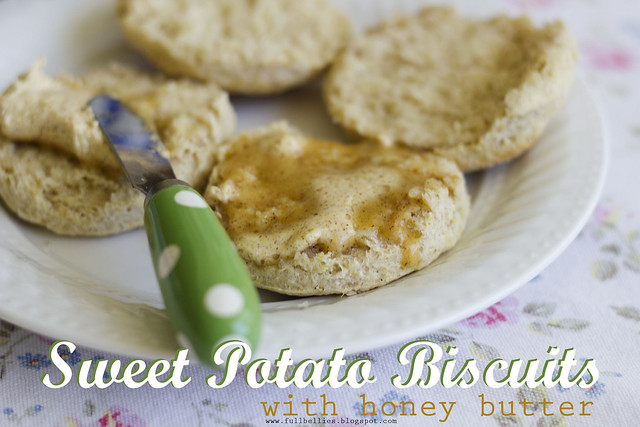
Saturday, July 05, 2014

{ Sweet Summer Treats from Lucky Leaf - Review and Giveaway }


It's that time of the year, barbecues, picnics, fun family get togethers and lazy days spent by the pool.

The only thing better than any of those, is knowing that with just a few ingredients and a few minutes, you can have amazing, delicious, eye catching desserts for your family and friends.

I've always counted on Lucky Leaf to provide me with just that, delicious pie fillings and a myriad of yummy recipes.

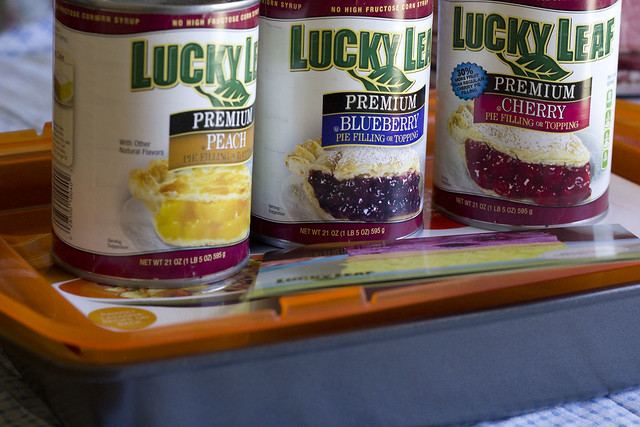
So, for this summer, I was sent some yummy pie fillings, some great recipes and a Rachael Ray baking pan with a lid. I had wanted one of those for a long time, so was super happy to get one.
_MG_5170

For the 4th of July we were having a barbecue with family and I figured that the desserts from the recipes sent, would be perfect for this family get together.

I asked the kids to pick which one they wanted, and my daughter suggested the White Chocolate Cherry Cream Pie, and my son opted for the Blueberry Orange Cake.

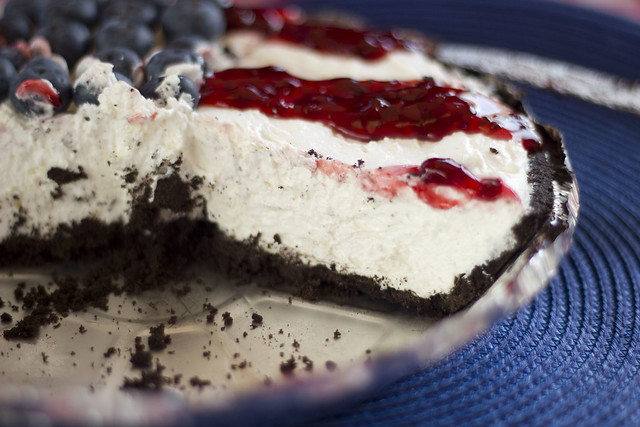
Both were really good, but the star of the day was the White Chocolate Cream Pie....OH MY WORD, that was divine.

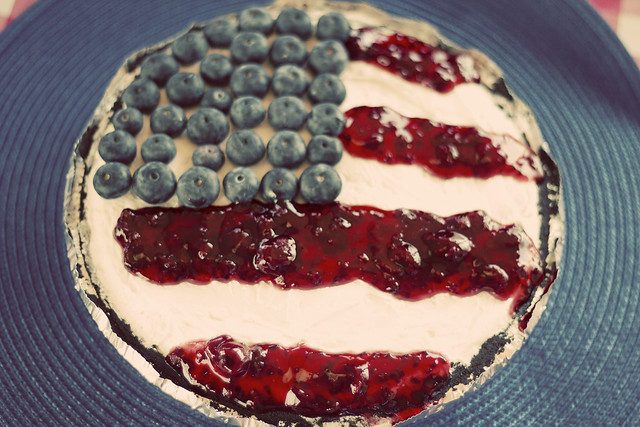
We adapted the decoration to use for the 4th of July, and my 15 year old daughter asked if she could be the one to decorate it, so she did and it turned out very cute. She used blueberries, and raspberry Lucky Leaf Pie Filling for the red stripes.
_MG_5268

White Chocolate Cherry Cream Pie

Serves: 8
Prep Time: 10 minutes
Chilling Time: 2 hours

Ingredients:

19-inch chocolate cookie crust
18-ounce package cream cheese, softened
½cup sugar
1teaspoon almond extract
½cup white chocolate chips
18-ounce package frozen whipped topping, thawed
121-ounce can LUCKY LEAF® Regular or Premium Cherry Pie Filling

Directions:

Beat cream cheese, sugar and almond extract until smooth in a large bowl.
Melt white chocolate in microwave according to package directions. When melted, pour into cream cheese mixture.
Beat with electric mixer until smooth.
Fold whipped topping into mixture. Pour evenly into crust.
Cover and chill for at least 2 hours, or until ready to serve.
Spoon Lucky Leaf Cherry Pie Filling on top just before serving. Garnish with white chocolate chips if desired.
_MG_5269

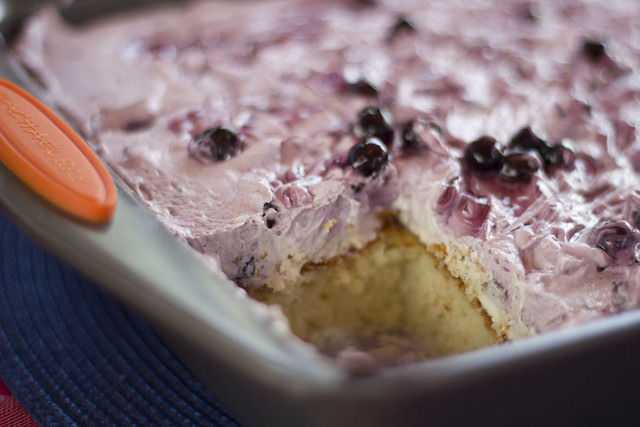
Now for the Blueberry Orange Cake. I could not find the orangesicle flavored frosting, and I thought about using lemon but couldn't find it at the store I was at either, so I opted for plain vanilla to which I added orange juice for flavoring. It worked fine.
_MG_5271

Blueberry Orange Cake

Ingredients
1 white cake mix (15.25 oz.)
1 can sweetened condensed milk (14 oz.)
1 can ready made Orangesicle Frosting (16 oz.)
1 can Blueberry Pie filling (Lucky Leaf 21 oz.)
1 container Cool Whip (8 oz.)

Instructions

Bake the cake using the package directions for a 9x13 cake. Let the cake cool 5 minutes, then use a fork or end of a wooden spoon to poke holes all over the top of the cake. Drizzle the can of sweetened condensed milk over the top slowly. Let the cake cool on the counter completely. Then refrigerate to chill.
Remove the foil lid on the frosting. Heat in the microwave for 20 seconds. Stir and then spread over the top of the chilled cake.
Set aside 2 Tablespoons of pie filling. Stir together the Cool Whip and remaining pie filling. Spread over the frosting layer. Spoon tiny dots of the reserved pie filling over the top. Swirl gently with a knife. Refrigerate until time to serve. Cut into 24 pieces. Store the remaining cake in a sealed container in the refrigerator.
_MG_5273

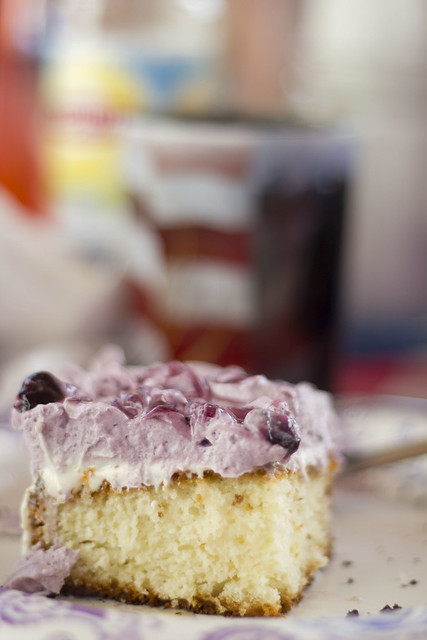
These turned out to be one of the best parts of the meal, loved by both young and old and I think they will go right into my file of favorites.

To celebrate summer, Lucky Leaf has graciously offered one of my readers their very own lucky leaf pie filling and recipe cards. 

Just leave a comment below and let me know from these two recipes I shared, which one you would want to try first.

You can purchase your very own Lucky Leaf Pie Fillings here.

Also be sure to check out Lucky Leaf on Facebook and Twitter.

Contest open to US residents.  Good Luck!

Wednesday, July 02, 2014

{ Banana Jam }

Banana Jam

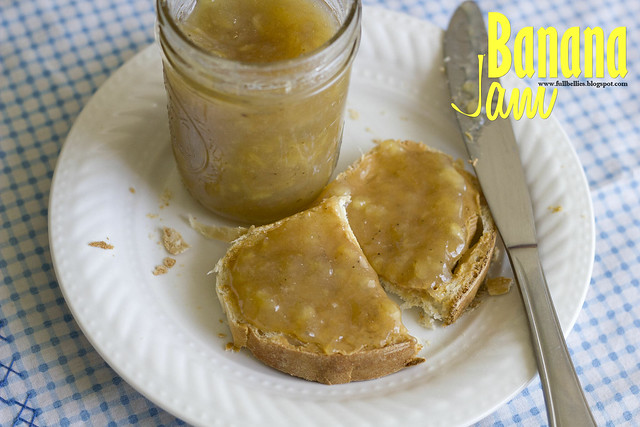
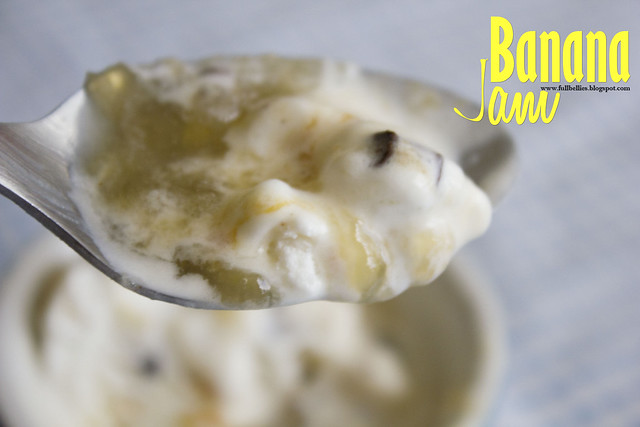
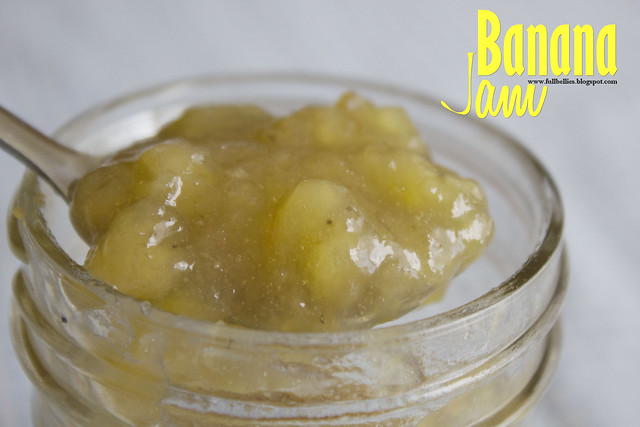
Hello friends, I am coming by today to bring you the recipe for what will become one of your favorite things on earth.  I'm not even kidding, you will be addicted and will find yourself dripping this delicious velvety goodness all over everything.....toast....peanut butter sandwiches....pancakes.....waffles....and ice cream.  ICE.CREAM drizzled with this amazing banana jam.

Banana Jam

I'm just going to stop talking now and tell you that this jam will change your life.  Seriously!!!

I know Banana Jam is not something you often hear about, to be quite honest, I has never heard of it until about a year ago and then I knew I had to try it since I love bananas and banana flavored anything.

Give a try, really, just do it, you'll be so happy you did.

Banana Jam
Banana Jam
Makes 6 Half Pint Jars

4 cups mashed bananas
4 cups sugar
1 teaspoon vanilla essence
Freshly squeezed lemon juice (I used about 1 tablespoon and a half)

Sterilize your jars and lids as recommended.  I just boil them in a big pot of water for about 10 minutes, turn off the heat and let them hang out in there until ready to fill with the jam.  When ready, I remove them carefully, pour out the water and let them sit on a kitchen towel right side up for about a minute.

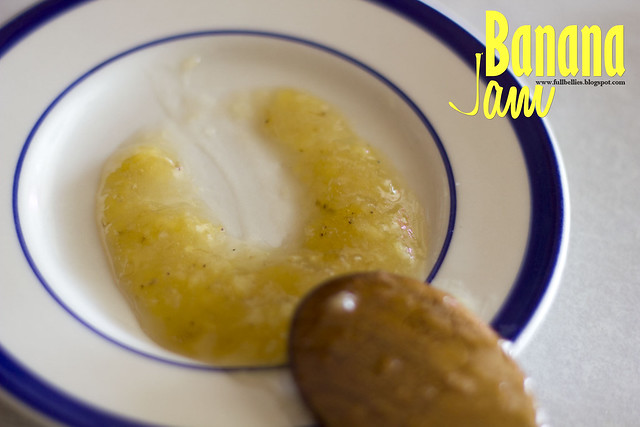
Now, for the jam, combine the bananas, sugar, vanilla and lemon juice in a big pot.  Bring to a boil and turn the heat to medium, stir occasionally until nice and thick.  The way to know when the jam is done, is to take a teaspoon and put on a small saucer, run the spoon through the jam, it will separate and not run back together.

Banana Jam

Pour into the jars, and then process in boiling water for 10 minutes.  Make sure the jars are covered with water an inch to 2 inches above the lid.

Remove with the jar lifter and carefully set on a kitchen towel.  Let cool completely and listen for the beautiful pop, pop, pop as the lids seal.

Enjoy!

Once opened, refrigerate.  It will keep for about 2 weeks in the refrigerator, or keep in the pantry for up to a year.


Sunday, June 29, 2014

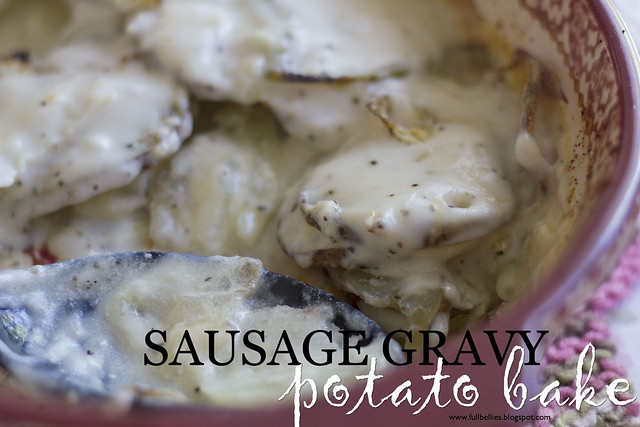
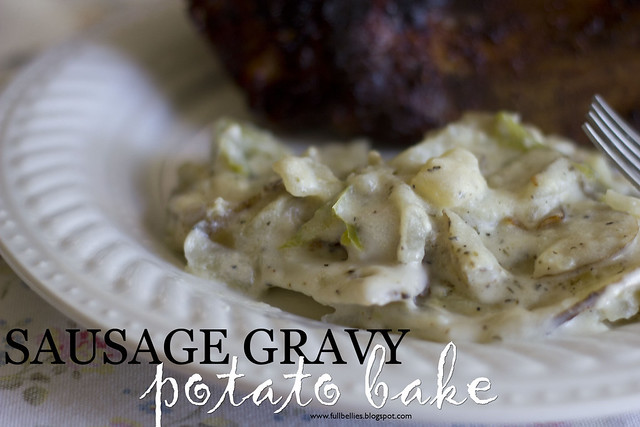
Sausage Gravy Potato Bake

Sausage Gravy Potato Bake

Ok this just came out of nowhere.  Well, not exactly nowhere, somewhere in my mind, and all because I wanted some sort of potato bake, to go with the ribs on the grill last night.

Not having any cream on hand and wanting some sort of creamy gravy to bake them in, I decided to use what I had on hand and so this dish was born.

My husband and kids raved about it, my husband, for once, paid more attention to the side dish than the meat itself.  That is something you don't often see.

Anyway, here is how I made it.  Please keep in mind that I eyeball when I cook, very rarely do I use measurements, unless I'm following a specific recipe.

Sausage Gravy Potato Bake

Potatoes (washed, peel left on, thinly sliced)
Onion slices
Green pepper sliced thinly
Salt and Pepper
Garlic powder
Sausage Gravy (I used about a cup and a half as I was making a small casserole)
Parmesan Cheese

Spray a casserole dish with non stick spray.  Cover the bottom of the dish with a layer of potatoes, followed by some onions, green pepper, salt and pepper and garlic powder to taste.  Repeat layers until you have as much as you want.

Pour the sausage gravy over the potatoes, cover with foil and bake in a 375 degrees oven until potatoes are fork tender. 

When done, remove foil, sprinkle with some Parmesan Cheese and pop back in the oven for about 5 minutes.  Serve!!

Friday, June 27, 2014

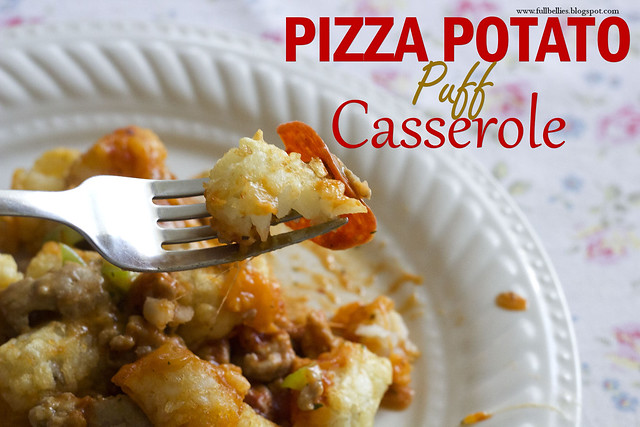
{ Pizza Potato Puff Casserole }

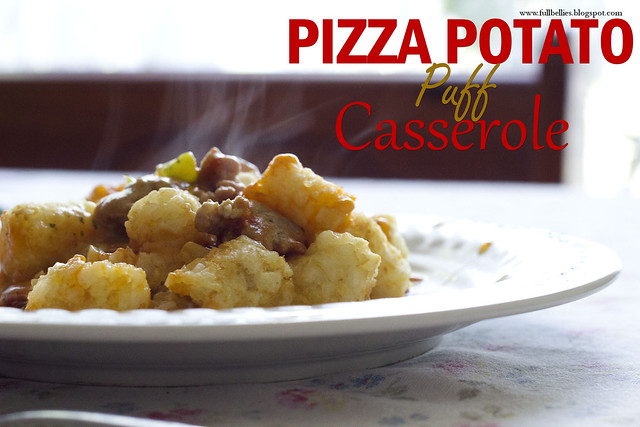
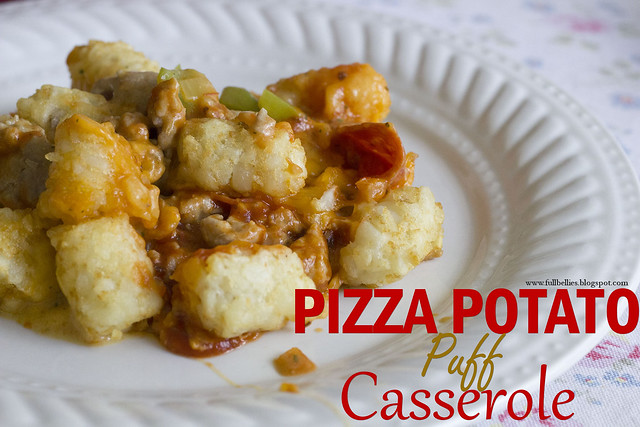
Pizza Potato Puff Casserole

Alright all you pizza, tater tot loving folks out there.  This is one recipe you're going to want to make, like, really soon, because your kids will love you forever and ever.

Really!!!

My husband had 3 servings, and that is a lot for him, he never eats that much, but he was really enjoying this one.  I was a good girl and only had one serving, I filled up on peas and salad, but only because I'm trying to lose weight and be good.

Seriously though, you will love this easy and simple casserole.

Pizza Potato Puff Casserole

Pizza Potato Puff Casserole
Source:  Gooseberry Patch 101 Cozy Casseroles

1 lb. ground beef
1/4 c. onion, chopped
10-3/4 oz. can cream of
mushroom soup
8-oz. can pizza sauce
12 to 15 slices pepperoni
1/2 c. green pepper, chopped
1 c. shredded mozzarella cheese
16-oz. pkg. frozen potato puffs

In a large skillet, cook ground beef and onion over medium-high heat until browned, stirring frequently. Drain and return beef mixture to skillet; stir in soup. Reduce heat to medium; bring to a boil, stirring occasionally. Spoon beef mixture into an 8"x8" baking pan lightly sprayed with non-stick vegetable spray. Spoon pizza sauce evenly over beef mixture; arrange pepperoni and green pepper over sauce. Sprinkle with cheese; arrange potato puffs over top. Cover with aluminum foil; bake at 375 degrees for 30 minutes. Uncover; bake an additional 15 to 20 minutes, until heated through. Serves 4.

Pizza Potato Puff Casserole

Friday, June 20, 2014

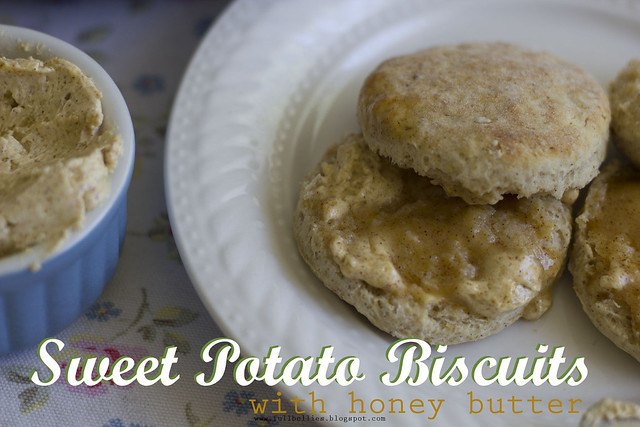
Sweet Potato Biscuits with Honey Butter

Sweet Potato Biscuits with Honey Butter

Helloooooo, anyone out there?????

It has been what seems like, forever, since I last updated this blog.  Life got in the way, as always.  We just finished moving again, actually have only been in this house for a few days and still have so much to do, but life is starting to slow down, Summer is here and I plan on getting back into the kitchen and whipping up some yummy treats.

I have a Lucky Leaf review and giveaway coming up in 3 days, I have a Nando's Chicken Piri Piri Sauce coming up this Sunday and then I have a lot of recipes that I need to upload here to the old blog.  Some I already made and have been sitting, just waiting for an opportunity, and others I am trying out soon.

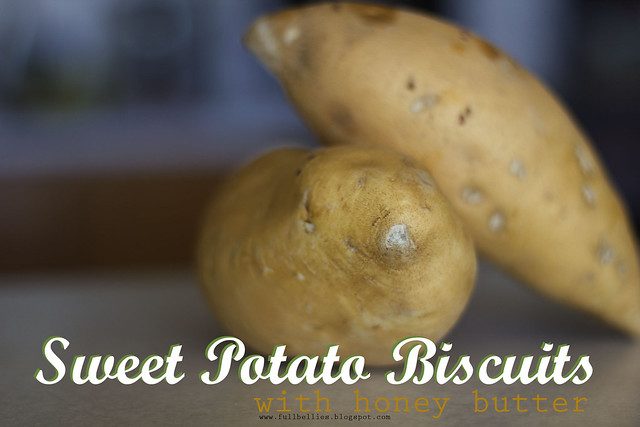
Like this one.....Sweet Potato Biscuits.  I love Sweet Potato but I don't think it gets the credit and recognition it deserves, it seems to be a Thanksgiving ordeal and not really thought of during the year.

Sweet Potato Biscuits with Honey Butter

I grew up with a greatgrandmother who absolutely ADORED sweet potato and would eat it quite often.  I remember watching her and also recall the sweet aroma of the sweet potato as it came out of the boiling water.

When I saw this recipe in a Taste of Home Cookbook, I knew I had to try it.  It not only looked and sounded delicious, but I've been missing my wonderful greatgrandma a LOT lately, and thought this would be a nice way of remembering her.

Sweet Potato Biscuits with Honey Butter
Source:  Taste of Home


2 cups all-purpose flour
4 teaspoons sugar
3 teaspoons baking powder
1 teaspoon salt
1 teaspoon ground cinnamon
1/2 teaspoon ground nutmeg
1/4 cup shortening
1 cup mashed sweet potatoes
1/2 cup half-and-half cream

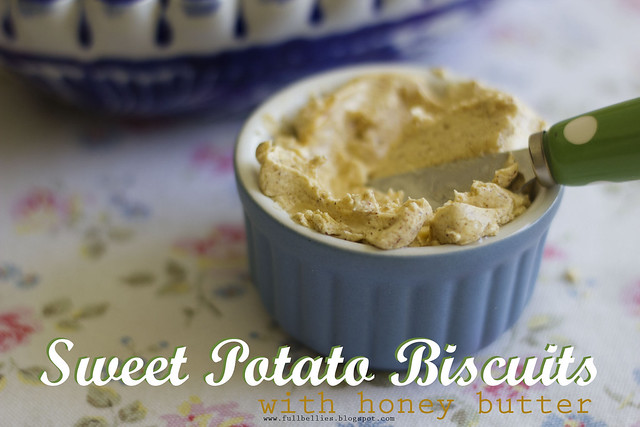
HONEY BUTTER:
1/2 cup butter, softened
2 tablespoons honey
1 teaspoon ground cinnamon


In a small bowl, combine the first six ingredients. Cut in shortening until mixture resembles coarse crumbs. Combine sweet potatoes and cream; stir into crumb mixture just until moistened.

Turn onto a lightly floured surface; gently knead 8-10 times.  Pat or roll out to 1/2-in. thickness; cut with a floured 2-1/2-in. biscuit cutter.

Place 1 in. apart on a greased baking sheet.

Sweet Potato Biscuits with Honey Butter

Bake at 400° for 9-11 minutes or until golden brown. Meanwhile, in a small bowl, beat the butter, honey and cinnamon until blended.

Serve with warm biscuits. Yield: 10 biscuits (about 1/2 cup honey butter).

Sweet Potato Biscuits with Honey Butter