
Well hello, yes it is me, I am still here. I have been so bad with updating my food blog, it's been forever since I've added a recipe or a post of any kind. I can't make promises that I will be updating all the time, but I am hoping to get back to it as time permits.
Today, I am bringing you the meal plan for the next two weeks, as you may know if you've followed me for a while or follow my main blog Diary of a Stay at Home Mom, I shop for two weeks at a time. it's something I started doing when we were an active duty family, and it's just stuck. Why change a good thing right?
So here we go, the meal plan for the next two weeks:

Garlic Tilapia, Curried Couscous, Salad


Eggplant Ground Beef Casserole, Steamed Broccoli


Ground Turkey Pasta Bake, Garlic Bread, Salad


Chicken Shawarmas, Garlic Tzatziki


Islak Burgers, Fries


Sausages in tomato sauce, mashed potatoes, roast veggies


Italian Chicken bake, Chickpeas and tomato salad

Ground Turkey Zucchini Casserole, Salad

Fish Fillets in tomato sauce, Quinoa, Sauteed Squash

Hot Sesame Pork, Basmati Rice

Sandwiches or leftovers
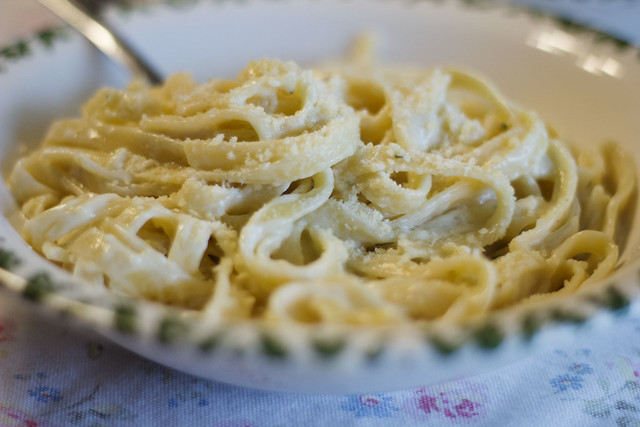
Fettucine Alfredo, Garlic Bread, Salad
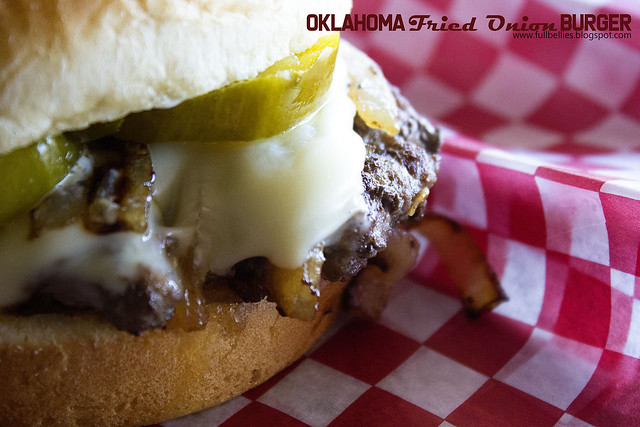
Oklahoma Fried Onion Burgers, Sweet Potato Fries
Brother in law's birthday, out to eat


