Wednesday, February 22, 2012

Croquetes de Carne - Meat Croquettes

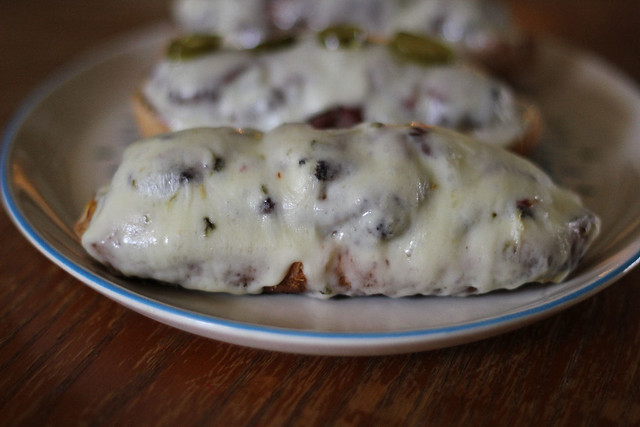
And another Portuguese favorite.  I feel that there are so many recipes still waiting to be posted on my blog, real jewels of the Portuguese cuisine which I am truly hoping to make available for all those out there either wanting to cook the food that reminds them of their childhood, or for those that are wanting to try a different cuisine. These meat croquettes are a common appetizer in Portuguese homes and restaurants.  Matter of fact, you can almost be certain to find them on the table of any get together, holiday or special occasion.

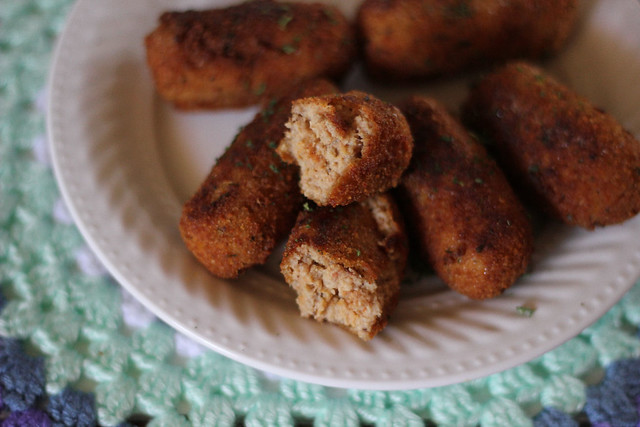
Croquetes de Carne

But much like their equally famous appetizer friends, the Rissois(Rissoles)  and the Pasteis de Bacalhau (Codfish cakes), they tend to intimidate a lot of people, me included to be perfectly honest.  It took me quite a long time to really get my hands in there and go for it without wanting to run in the opposite direction.

I don't know why though because once you actually get to make these, they are very straight forward and use the simplest of ingredients. Only con to making them?

They can be a bit time consuming, but with a bit of planning in the kitchen, it's a piece of cake. For these, I highly recommend a meat grinder, I actually just picked one up this weekend and I can not wait to start making homemade sausage.

If you do not have a grinder, then a food processor should do the job as well. Keep in mind that you have to let the meat mixture sit overnight to get the best croquettes out of it. There are many versions out there, but this is how I make mine....
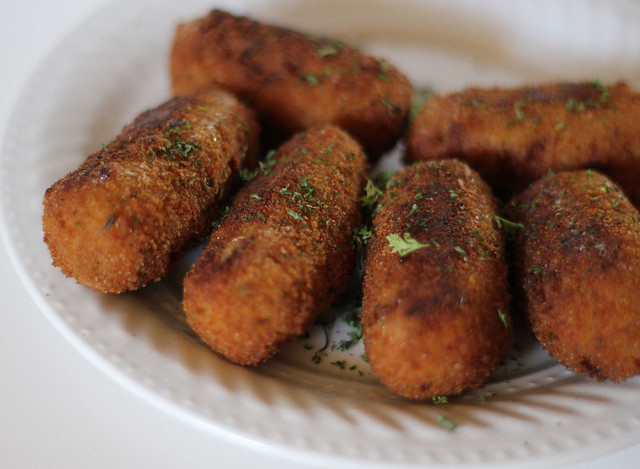
Croquetes de Carne

Croquetes de Carne (Meat Croquettes)


1 lb leftover roast roast(if I don't have any leftovers, I actually just buy a pound of pork and roast it)
half a chourico
Bechamel Sauce
Salt and Pepper to taste
Nutmeg
egg for dipping
breadcrumbs

To roast the meat, I season it with salt, pepper, paprika, garlic powder and ground cloves. Drizzle some olive oil on the bottom of a baking pan, set the meat in there and pop it into the oven at 350 for about two hours or until done. When ready, set aside and let cool.

Pull out the meat grinder and following the directions, grind all the pork roast, then grind the chourico into the same bowl, mix both well.
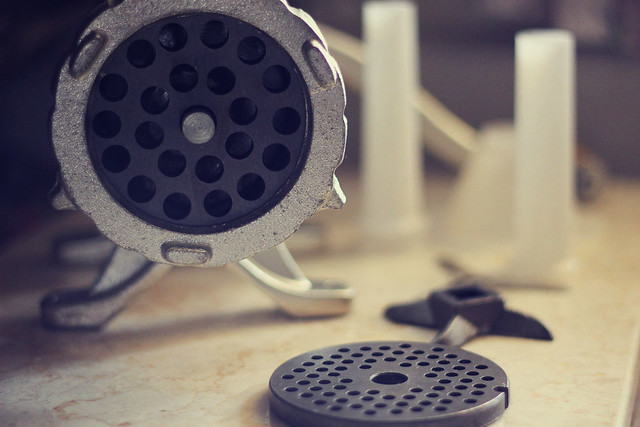
Meat Grinder

Cover and place in the refrigerator.

Now, make a quick bechamel sauce. I don't have a recipe for this, I eyeball it but I usually do about 2 tablespoons of butter in a saucepan, once it is melted, I add in about 2 tablespoons of flour and stir well. Then grab some milk and start pouring it in slowly, using a whisk stir vigorously to remove any lumps. You need about a cup and a half of the bechamel sauce for these, so add just enough milk for that. Continue cooking until thickened, remove from heat and add in some salt and pepper to taste and some nutmeg.

Remove the meat from the refrigerator and start adding in the bechamel sauce a bit at a time, give a good stir, then add in a little more. You want a nice consistency, kind of sticky but still dense so that you can shape the croquettes without them falling apart. Once you reach that consistency, give it a quick taste, adjust the seasonings as needed, some salt, pepper, you can also add in some garlic powder if you wish. Cover again and pop back in the refrigerator until the next day. When you're ready to make the croquettes, take small amounts into your hands and shape them into croquettes, think of mozzarella sticks, only thicker.

Dip in beaten egg and then in breadcrumbs.
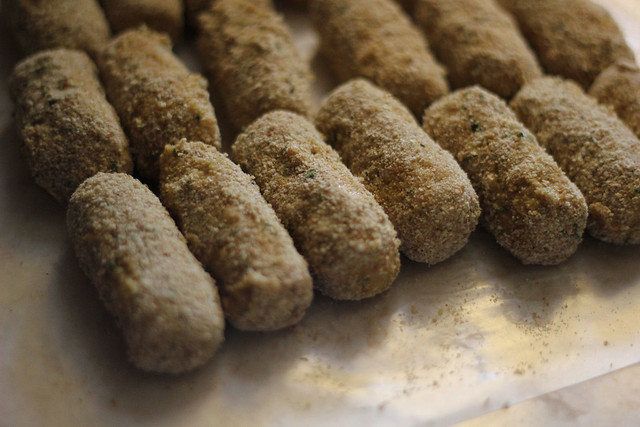
Croquetes de Carne

Fry in hot oil for a few minutes on each side until golden brown. Drain on paper towels. Let sit for about 5 minutes before eating. I actually prefer them cold. Refrigerate any leftovers, though I doubt there will be any.
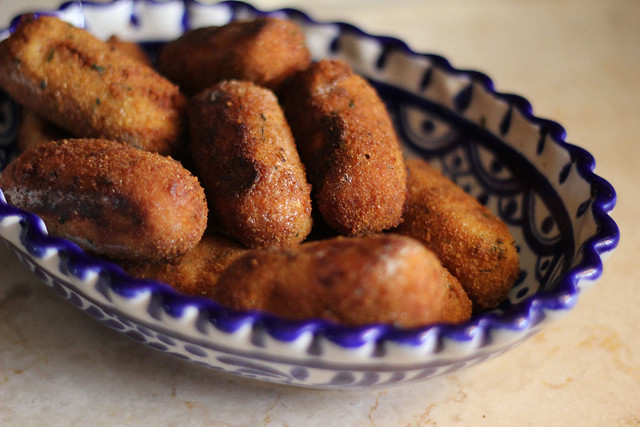
Croquetes de Carne

NOTE: If you want to freeze for later, after dipping in the egg and rolling in the breadcrumbs, pack into a tupperware box and set in the freezer, when ready to eat, just remove them and fry them :)

Friday, February 17, 2012

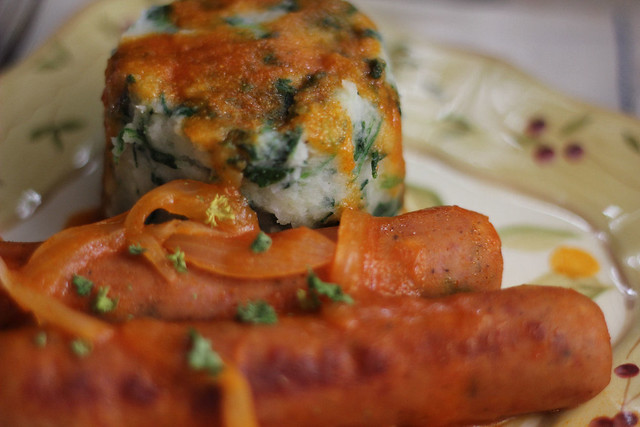
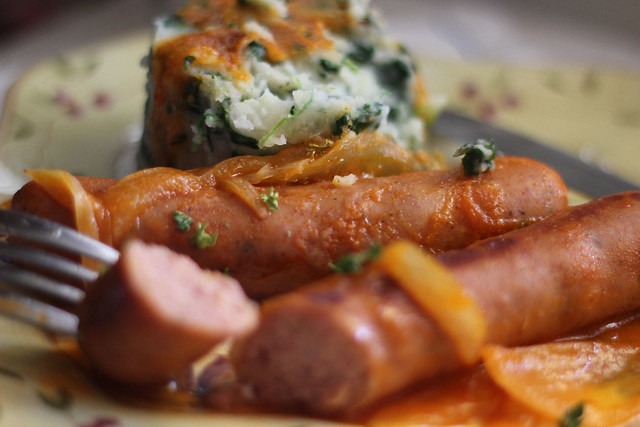
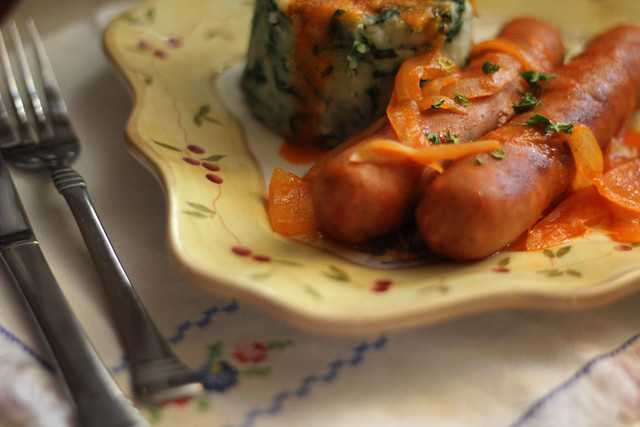
Sausages in Tomato Sauce and Potato and Spinach Mash

I don't think you can really generalize what comfort food is.

I know that usually people will associate it with macaroni and cheese or a meatloaf or a hearty casserole, but I think comfort food is whatever YOU want it to be.

2012_02170014

Speaking for myself, I can tell you that there are quite a few dishes that I consider comfort food, because they're filling but mainly because they seem to take me back to a time and place in my childhood.  It's the foods that I relate to big dinners around the table with the whole family, all 14 or 15 of us....or the comforting plate of Sausages in a tomato and onion sauce that my stepmom would lovingly place in front of me and I would devour after a long day of high school drama.  Yeah go ahead and laugh but you KNOW those days right???  Ha!

Anyway, that is the kind of food which I consider to be high on my comfort list and that is exactly what I'm sharing with you today.  I posted the recipe for it back in 2006, complete with boring text and NO pictures of the finished product, matter of fact it's still on my old blog, so I thought it's high time I brought it up again and actually showed you some pics...so here it is:

2012_02170015

Salsichas com molho de tomate (Sausages in Tomato Sauce)


1 lb sausage (whatever your favorite is)
1 medium onion, chopped
1 medium tomato, chopped
1 small can of tomato sauce
1 tbsp olive oil
2 tsp crushed garlic
paprika
1 bay leaf
white wine
salt and pepper to taste

2012_02170007
These are the sausages I chose for today, they are really good

I start off by putting the olive oil in the pan, add the onions and the tomatos, garlic, salt and pepper, sprinkle with paprika, bay leaf, sliced sausage and tomato sauce.
Give it a good stir and then place the lid on it and let it simmer for about 20 minutes, remember to stir now and then. If you want more gravy just add a little bit of water. You'll be surprised at how yummy it is and how easy. Remove from the heat, take out the bay leaf (you don't want to eat that lol).

Serve with white rice, or mashed potatoes or whatever you wish. I'm serving mine with rice tonight.
I wish I could give you exact measurements but it's hard to when I don't have a recipe for it and am used to just going by taste. Just love this recipe because it's easy to make, it's inexpensive and the kids gobble it up.

2012_02170018

Potato and Spinach Mash

I love making these mashed potatoes, it's something that the whole family will eat, you can't really taste the spinach AND is a good way to get the kiddos to eat the veggies too. Luckily for me though, my children love spinach and all sorts of vegetables.

I also like to substitute the spinach with carrots and make a potato and carrot mash which is equally delicious and the kids think it's super cool because it's orange.

All you need to do is make your mashed potatoes as usual.

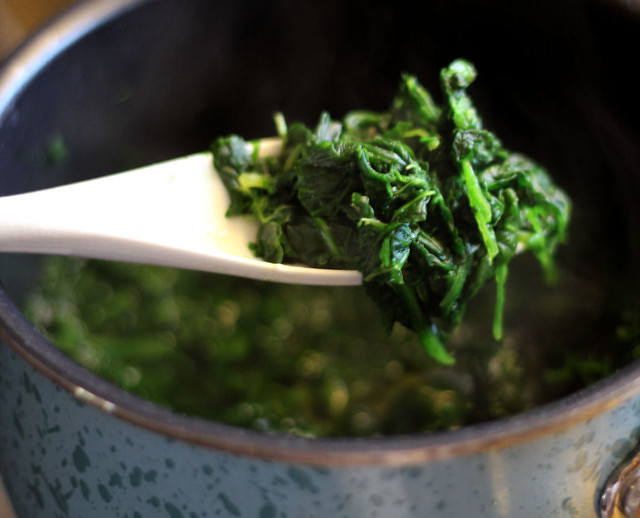
While the potatoes are cooking, in a separate small saucepan, cook some frozen spinach with a little bit of salt. Again just follow the directions on the package. When cooked, drain and squeeze out as much of the liquid as you can.

2012_02170009

Add the spinach to the mashed potatoes and then season as you would normally.

2012_02170012

I just add butter, milk, salt and pepper to mine, that's it :)

2012_02170016

Thursday, February 16, 2012

Menu Plan for Feb. 15th - March 1st 2012

Here's the Menu Plan for the next two weeks.

I'm revisiting some old favorites, trying some new ones and just downright enjoying the goodness coming out of my kitchen.  Cooking makes me smile.  FACT!


Wednesday 15th
Breakfast:   Blueberry Muffins, Juice, Coffee
Lunch:   Grilled Cheese & Tomato Sandwiches
Dinner:   Panda Express

Thursday 16th
Breakfast: Oatmeal, Apple Juice
Lunch: Taquitos, Carrot and Celery Sticks
Dinner: Pizza (will be grocery shopping this evening)

Friday 17th
Breakfast: French Toast Sticks, chocolate milk
Lunch: Tuna Salad
Dinner: Sausages in a tomato sauce w/ Mashed potatoes and spinach

Saturday 18th
Breakfast: Cereal w/milk, Apple Juice
Lunch: Cheese Pizza
Dinner:  Chicken Egg Rolls
Dessert: Brioche de Chocolate (chocolate brioche)

Sunday 19th
Breakfast: Biscuits and Gravy
Lunch: Sub Sandwiches w/ chips
Dinner:   Bifes de cebolada (Portuguese Steak w/ tomato and peppers)

Monday 20th
Breakfast: Cinnamon Roll Toast
Lunch: Hotdogs
Dinner:  Breaded Tilapia, potato salad

Tuesday 21st
Breakfast:  Toad in a hole
Lunch: Grilled Cheese Sandwiches
Dinner:  Oven Hash

Wednesday 22nd
Breakfast: Pancakes, OJ
Lunch: Soup & Sandwiches
Dinner:  Sausage and Spinach Manicotti

Thursday 23rd
Breakfast: Oatmeal
Lunch:  Mac and Cheese
Dinner: Beefy Slow Cooked Pot Pie

Friday 24th
Breakfast:  Waffles with Vanilla Custard
Lunch: Pizza Bagels
Dinner:  Chicken Carbonara Risotto

Saturday 25th
Breakfast: Cinnamon Toast, Apple Juice
Lunch:  Clam Chowder, Sandwiches
Dinner:   Yummy Hero Sandwiches

Sunday 26th
Breakfast: Cereal, Milk
Lunch: Chili Cheese Fries
Dinner: Seafood Subs

Monday 27th
Breakfast:  Scrambled Eggs, Toast
Lunch:  Hot Pockets, Veggies
Dinner: Salisbury Steak w/ Rice

Tuesday 28th
Breakfast: Banana nut Muffins
Lunch: Cheese Quesadillas
Dinner: Monterey Chicken w/ Waffle Fries

Wednesday 29th
Breakfast: French Toast Sticks
Lunch: Hotdogs
Dinner: Deep Dish Sausage Pizza


I will add the recipes as I make them, so if there is anything that catches your eye, it will be on the blog around the date it is for :)

Tuesday, February 14, 2012

Paezinhos de Leite - Portuguese Milk Rolls

Imagine if you will, you are 6 years old and it's a Saturday afternoon.  You are sitting in a Pastelaria (bakery) in Lisbon, Portugal and you are surrounded by the amazing scents of freshly baked bread and a myriad of cakes, different shapes, different sizes, colors, some are sugared and others covered in chocolate ganache....everyone around the table places their order and then it comes to you.  Cake, bread, what am I going to have?

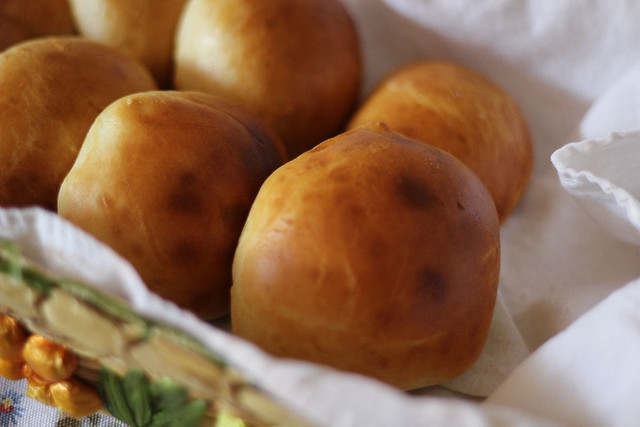
Paezinhos de Leite

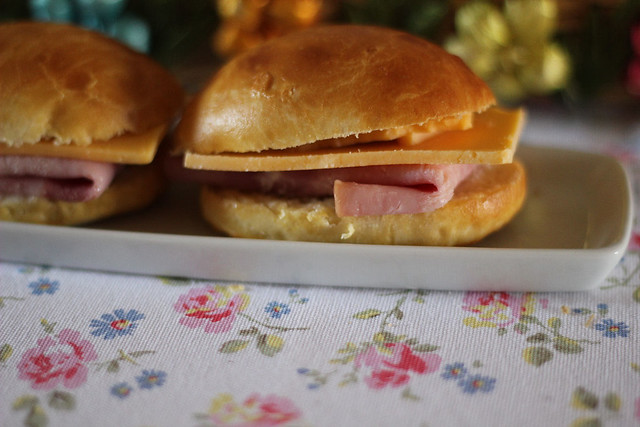
For some it may seem like a hard decision and actually looking back I would have thought that too, but for me there was only one thing on my mind.  Paezinhos de leite com fiambre e queijo.  Portuguese Milk Rolls with Ham and Cheese....oh and a Galao (a hot drink made with espresso and foamed milk).  THAT was my piece of heaven right there.

It's been so many many years since I've had one of these rolls, but today I was sitting in the kitchen trying to figure out what to make for lunch and it hit me.  Why not make this special lunch for my children and pass on to them not only a bit of my heritage but some of the amazing memories which I still carry with me to this day?

Paezinhos de Leite

These are similar to the Hawaiian rolls, so if you like those, you'll enjoy these :)

You can find so many different recipes out there, I have one that I have used for many years.  I actually made it in the bread machine today using the dough cycle and it came out really well :)

Paezinhos de Leite

Paezinhos de Leite - Portuguese Milk Rolls


1 cup and 2 tablespoons of milk
1 and a half tablespoons softened butter
1/4 cup  sugar
3 cups flour
pinch of salt
1 packet dry yeast
1 egg + little milk for egg wash

Place the ingredients in your bread machine following the directions.  For mine, I add all the liquids first, then the dry except for the yeast.   I then make a small hole in the dry ingredients using my finger and pour the yeast into the little well.   Set to the dough cycle.

When done, remove the dough, place it on a floured surface, then make small rolls by pinching off balls of dough.  These rise quite a bit so don't make them too big.

( for those that don't have the bread machine, to make it the traditional way,  slightly warm the milk, add the butter and yeast.   In a bowl, add the dry ingredients, make a well in the center and add the liquids.  Knead well for a few minutes until you get a dough that is smooth and doesn't stick to the sides of the bowl.    Make a ball, cover with a dish towel and let rise for about 30 minutes.  Proceed with making the individual rolls )

I like shaping mine into ovals.  Place them on a cookie sheet lined with parchment paper.  Preheat the oven to 350 degrees.

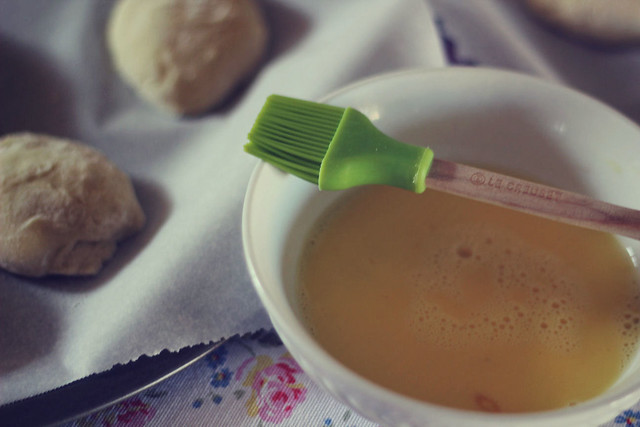
In a small bowl, mix the beaten egg with a little bit of milk.

Paezinhos de Leite

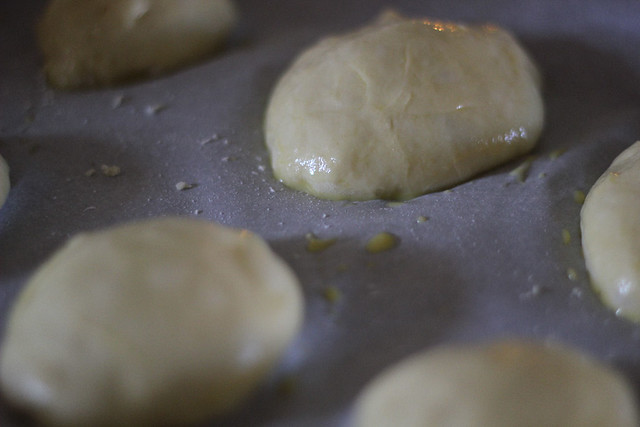
Brush the tops of the rolls and then let them rise for about 30 minutes.

Paezinhos de Leite

Place them in the oven and bake for 25 to 30 minutes until nice and brown.  Enjoy!

Best way to have them, or at least my favorite way, is to eat them warm, slathered with butter, a slice of cheese and a slice of ham.

Paezinhos de Leite

Tortilla and Black Bean Pie

I've always enjoyed Mexican food and I think since living in Arizona, even more. There is just no way to live in this State without seeing the strong influence of Mexican Cuisine.

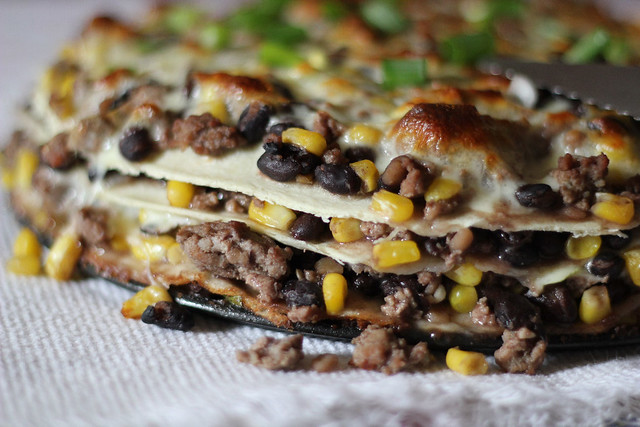
Tortilla and Black Bean Pie

This recipe is actually from Martha Stewart, but I tweaked it slightly to cater to my family's tastes.

It was simple to make, it was pretty quick and it tastes phenomenal. My husband had two servings and kept saying how good it was, the kids loved it and ate every single bite on the plate....and me? Well, I loved it so much that I refrained from making casual conversation at the table for fear of talking with a mouthful.

Tortilla and Black Bean Pie

Tortilla and Black Bean Pie


4 flour tortillas (10 inches)
2 tablespoons canola oil
1 lb ground turkey
1 large onion, diced
Few dashes of Tabasco
2 garlic cloves, minced
1/2 teaspoon ground cumin
Coarse salt and freshly ground pepper
2 cans (15 ounces each) black beans, drained and rinsed
12 ounces beer, or 1 1/2 cups water
1 package (10 ounces) frozen corn
4 green onions, thinly sliced, plus more for garnish
Provolone and Mozzarella

Directions

Preheat oven to 400 degrees. With a paring knife, trim tortillas to fit a 9-inch springform pan. Use the bottom of the pan as a guide. Set aside.

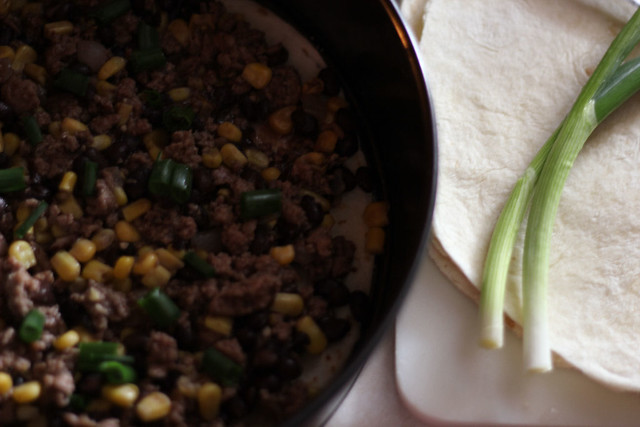
Heat oil in a large skillet over medium heat. Add ground turkey, onion, tabasco, garlic, and cumin; season with salt and pepper. Cook, stirring occasionally, until onion is softened and meat is brown, 5 to 7 minutes.

Add beans and beer, and bring to a boil. Reduce heat to medium; simmer until liquid has almost evaporated, 8 to 10 minutes. Stir in corn and scallions, and remove from heat. Taste and adjust for seasoning.

Fit a trimmed tortilla in bottom of springform pan; layer with 1/4 of the beans, some sliced green onions,

Tortilla and Black Bean Pie

and sliced provolone and mozzarella. Repeat three times, finishing with a few more slices of cheese.

Bake until cheese melts, 20 to 25 minutes.

Tortilla and Black Bean Pie

Remove side of pan; sprinkle pie with green onions. To serve, slice into wedges.

Thursday, February 09, 2012

Lucky Leaf Winner

Thank you all for entering, and for those that didn't win, do try out the Lucky Leaf Pie Fillings if you never have, they are delicious :)

I used Random.Org and this is the winning number:


Comment #27 - Karen


Congratulations Karen, I will be contacting you shortly :)

Wednesday, February 08, 2012

Long Boy Burgers

Foodgawker is going to be the end of me. Just saying.

If you love food, you have GOT to check out the site, it's just ridiculously delicious, like major droolage everytime you visit.

2012_02080030

These babies have been making their rounds in the food bloggy world since 2010, at the time when I first saw them, I made sure that I had the Cook's Country magazine where the recipe was found. Sure enough I did and it thrilled me because there's certain kind of dishes that can take me back to a point in time, a different decade etc. When these first caught my eye on Stirring the Pot, they totally reminded me of diner food, served in the little baskets with the fries. Yep, a must try recipe.

And then it happened again, it ended up being forgotten and pushed to the side until I was drooling browsing through Foodgawker and saw a pic, so long story short, I whipped through my Cook's Country until I found it and put it on this week's menu.

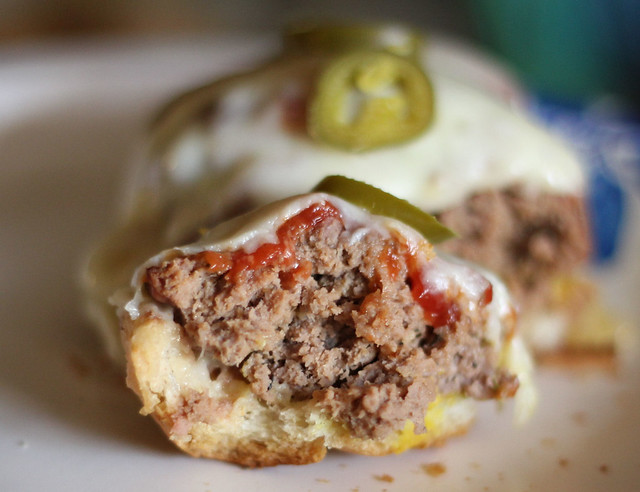
If you love meatloaf and burgers, you have got to try these. It's like a meshing of both on top of a toasty sub roll and holy moly is it good.

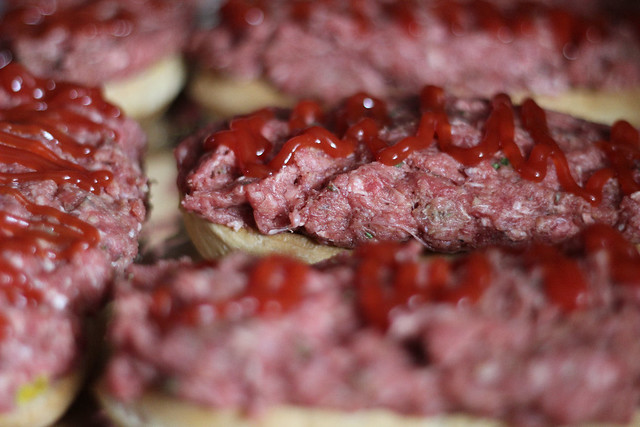
The interesting part is that the meat is cooked ON the buns. I know, I know, I also had that initial *uhhh raw meat what if it doesn't cook right* reaction, but it DOES and it's amazing.

2012_02080029

I tweaked the recipe a little, so here is my version.

2012_02080032

Long Boy Burgers


Sub rolls, split in half lengthwise (I used 3)
1/4 cup of breadcrumbs
Onion powder
Garlic powder
salt and pepper to taste
1/3 cup milk
3 tablespoons ketchup
1 tablespoon Worcestershire sauce
1 teaspoon dry thyme
1 large egg
1 1/2 pounds ground beef
Mustard
Provolone and Pepper Jack cheese

Adjust the oven rack to middle position and heat oven to 450 degrees.

1. On a cookie sheet covered with foil, place the split buns, cut side up. Pop in the oven for about 5 minutes until golden crisp.

2. In a medium bowl, combine the breadcrumbs onion powder, garlic powder, salt and pepper, ketchup, Worcestershire sauce, thyme, egg and ground beef. Combine well.

3. Remove the buns from the oven.....squeeze a bit of mustard over each one,

2012_02080022

then top evenly with meat mixture, spreading meat to edges of rolls. (it will prevent the edges from burning while it's cooking). Squeeze a bunch more Ketchup on each one (omit if you don't want the extra ketchup)....

2012_02080024

and bake for 30 minutes or until meat registers 160 degrees.

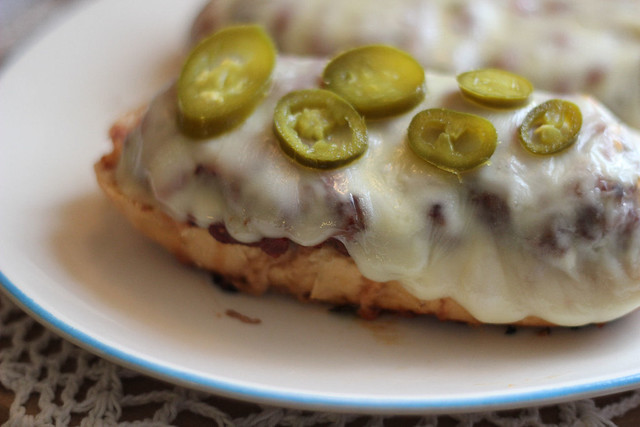
Top burgers with cheese and continue to bake until cheese melts. (we like cheese, lots of it)

2012_02080025

Let rest 5 minutes. Serve.

For myself, I added some Jalapeno slices to mine and it was divine :)

Tuesday, February 07, 2012

Pasta Casserole

I don't even know how I came across this one, it's one of those recipes that you find scribbled on a random piece of paper and stashed with your never ending "wanna try and don't even remember where I got this" pile.

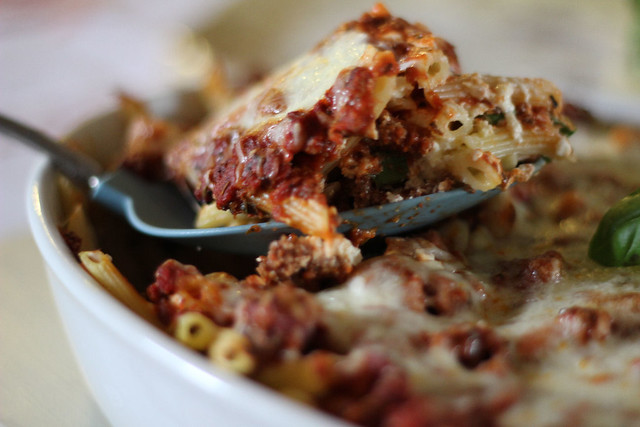
There's really nothing special about it, it's sorta like a baked ziti/lasagna/cheesy kielbasa bake kinda dish.  But it's good and it's filling and it sticks to your tummy and my kids always yell out "PASTA" when I make it LOL

2012_02070052

Pasta Casserole

1 lb. ground beef
1 (6 oz.) can tomato paste
1 (15 oz.) can tomato sauce
1 tsp. sugar
½ tsp. dried oregano
Salt
6 oz water (just fill the tomato paste can with water)
1 lb. mezze penne
1 cup sour cream
4 oz. cream cheese, softened
1 large egg
2 bunches green onions, chopped
Shredded Mozzarella


Preheat the oven to 350 degrees.

Brown the meat in a skillet over medium heat.   When done, add in the tomato paste, tomato sauce, sugar, oregano and a little bit of salt to taste.  Mix well, then pour in the water.  Turn the heat to low and simmer covered for about 10 minutes.

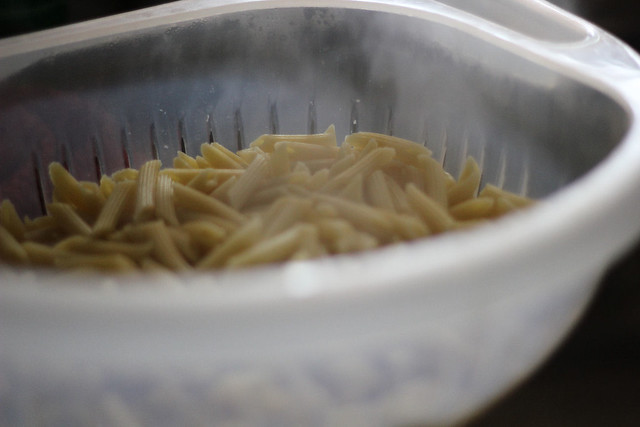
Meanwhile, cook the pasta according to package directions, when done drain and set aside.

2012_02070047

In a small bowl, stir together the sour cream, cream cheese, egg and green onions.  Stir well.

In a casserole dish, on the bottom add a scoop of the meat mixture.  I just grab my big serving spoon and add a scoop to the dish and spread it out.  It will be thin, no worries.  Top with half of the penne, then half of the cream cheese mix, then half of the meat mixture in the skillet.

2012_02070051

Add the rest of the penne, the rest of the cream cheese mix and the remaining meat.  Sprinkle the mozzarella on top and then pop into the oven for about 30 minutes or until the cheese is melted.

2012_02070061

Sunday, February 05, 2012

Lucky Leaf for Valentine's Day - Review and Giveaway

I've been working with Lucky Leaf for a long time now and before I even started doing so, Lucky Leaf Pie fillings were already my favorite pie fillings to use.

I've tried others before but to me, nothing tastes like homemade like the Lucky Leaf ones.

2012_02040014

With Valentine's day right around the corner, this is the perfect time to bake up some delicious goodies to share with your sweetheart, whether that be your significant other, your little ones, friends and family or even for yourself.  We all deserve a little pie in our lives don't we?

Lucky Leaf sent me a few Pie Fillings to try along with some delicious sounding recipes, which I plan on trying, but for this review I decided to go with one of our favorites, Apple Pie.

2012_02040012

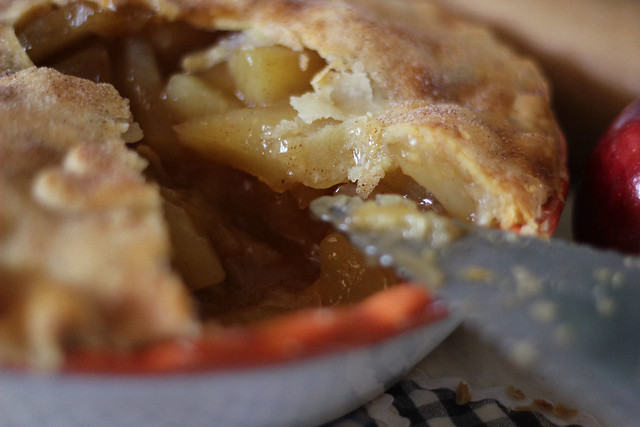
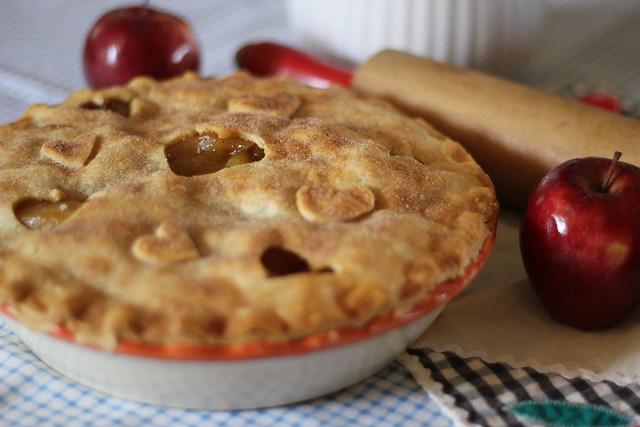
Ginger Spice Apple Pie and oh my, it is delicious.

So let me show you how it's made and if you're a fan of Apple Pie, you have to try this one :)

Lucky Stars Ginger Spice Apple Tart

1 15-ounce package rolled refrigerated unbaked pie crust (2 crusts)
2 21-ounce cans LUCKY LEAF ® Apple Pie Filling
1/2 cup butter
1 tablespoon finely chopped crystallized ginger
1 tablespoon vanilla
1 teaspoon ground cinnamon
1/2 teaspoon ground nutmeg
1/2 teaspoon grated fresh ginger
Butter-flavor nonstick cooking spray
1 teaspoon sugar
1/4 teaspoon ground cinnamon
Frozen whipped dessert topping, thawed, or vanilla ice cream (optional)
Chopped crystallized ginger (optional)
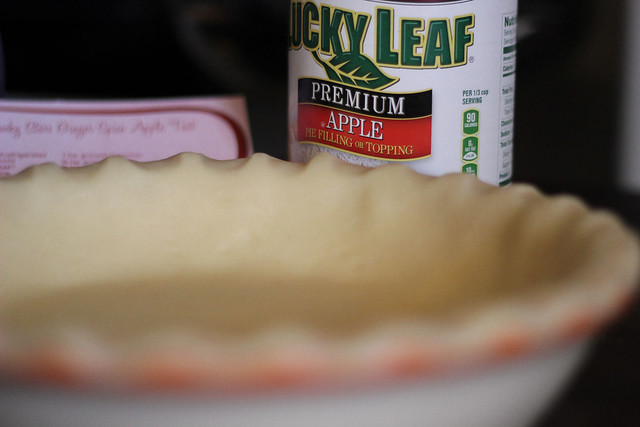
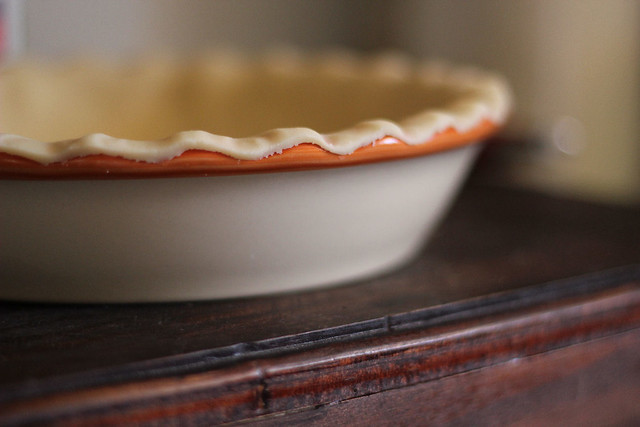
1. Preheat oven to 375°F. Let pie crusts stand at room temperature according to package directions. Unroll one of the pie crusts. On a lightly floured surface, roll crust to a 13- to 14-inch circle. Transfer pie crust to a 10x2-inch round tart pan with removable bottom or a 10-inch deep-dish pie plate. Trim crust to the edge of the pan. Set aside.

2012_02040003

Don't be afraid of pie.  I used to be and I will tell you right now that I'm not the best baker or pastry maker, it still intimidates me especially when I see those beautiful crusts and lattice work and whatnot, but I've learned to just dive right in and not be scared.  Try it :)

2012_02040004

2. Unroll remaining pie crust. Using a 2- to 3-inch star cutter or other desired cutter, make 5 to 6 cutouts in the pastry. Set pastry and cutouts aside.

2012_02040008

3. In a large saucepan heat pie filling, butter, 1 tablespoon crystallized ginger, vanilla, 1 teaspoon cinnamon, nutmeg, and fresh ginger over medium heat until butter is melted, gently stirring frequently.

4. Pour apple filling into pastry lined tart pan.

2012_02040006

Place the pastry with the cutouts atop the filling. Trim pastry to edge of tart pan and gently press the top pastry to the bottom pastry to seal.

2012_02040010

If using a pie plate, fold top pastry under bottom pastry and pinch to seal; crimp edge as desired. Place star cutouts atop the pastry, leaving most of the openings in the crust exposed. Lightly coat pastry with nonstick cooking spray. In a small bowl combine sugar and 1/4 teaspoon cinnamon; sprinkle over pastry. Place tart on a foil-lined baking sheet.

2012_02040011

5. To prevent overbrowning, cover the edge of the tart or pie with foil. Bake for 40 minutes. Remove foil. Bake about 10 minutes more or until pastry is golden brown and filling is bubbly. Cool on a wire rack about 1 hour.

2012_02040013

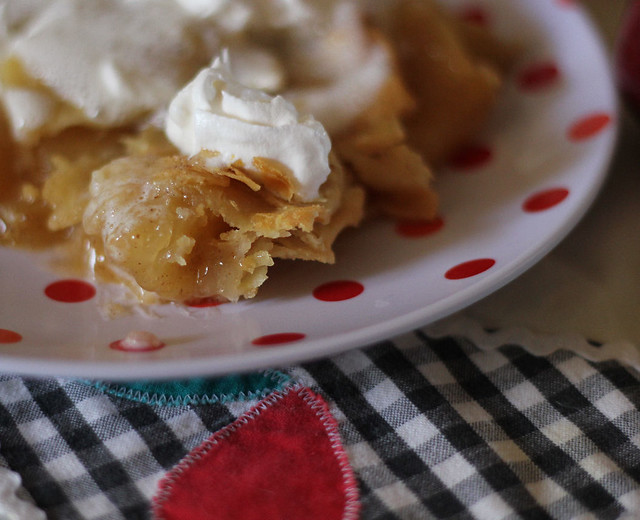
Remove sides of the tart pan. Serve warm. If desired, top with whipped topping and additional crystallized ginger. Makes 8 servings.

2012_02040018

***************************************

And now for the Giveaway.  Lucky Leaf are kind enough to be giving one of my readers a package of Lucky Leaf Products...this is what you'll received:

- Lucky Leaf Premium Pie Filling

- The New Bake Your Heart Out Recipe Book

- Crisp mix

- Pot holder

The giveaway is open to US residents only.  I will draw  a winner using Random.org next week Wednesday the 8th.

Just leave me a comment, please make sure there is an email included or a link to your blog or some way for me to contact you if you are the winner.  The winner will have 2 days to claim the prize, if I don't hear back from them, I will draw a new one.

Be sure to like the Lucky Leaf page on Facebook too if you wish, it's not a prerequisite for this giveaway, but they do have many interesting things going on, including some how to video's you may enjoy :)

Good Luck!

Friday, February 03, 2012

Pepperoni Pizza and Roast Chicken Rolls

Friday nights around here mean pizza, or calzones, or pizza rolls, or pepperoni bread or foccacia or whatever along those lines, which means I'm always on the look out for something to try.

Enter Pinterest.  I would tell you all about it but I don't think I need to, seems everyone and their momma is on pinterest pinning things and sharing things and trying things.

2012_02030009

It's like the cool place to hang out and also the place you go to when you want to do absolutely nothing for hours and hours on end.  Yeah you know all about Pinterest.

So while searching for pizza ideas etc, I saw this recipe for Pepperoni Rolls.  Light Bulb moment for me, I haven't made Pepperoni Pizza Rolls in a while, perfect.  Quick, easy and the family loves them.  Now there really isn't a specific recipe for these, matter of fact you can find all sorts of variations all over the internet, everyone uses different dough, everyone uses different fillings, some put the sauce inside, others leave it as a dip on the outside, some leave it whole and slice it when it's time to serve (which is what I do), others slice it up BEFORE baking.  And so on and so forth.

2012_02030022

The recipe I saw on Pinterest was from What About Pie and the only different thing about hers, is that she uses my favorite Rhodes Frozen Bread loaves.  Genius!  I usually go with crescent rolls, or homemade pizza dough or Pillsbury French Bread dough, but I really do like how the Rhodes Loaves turned out. :)

We've had a super crazy busy week with sick people, including myself so tonight was Pizza night and the perfect time to serve these again.     But I'm weird, I don't really much care for Pepperoni, I know, shocker.  So when I make Pizza or whatever, I always make something else for myself and tonight I decided to use my leftover roast chicken....and well.........I'll show you what came out of it below.

2012_02030023

Pepperoni Pizza Rolls

1 bag Rhodes Frozen Bread Loaves (I always have this in my freezer, use it for many recipes)
Pepperoni slices (I always use the big slices)
Mozzarella, Cheddar, Provolone, whatever you wish
Italian Seasoning
Butter

Let your bread loaves thaw out according to package directions.

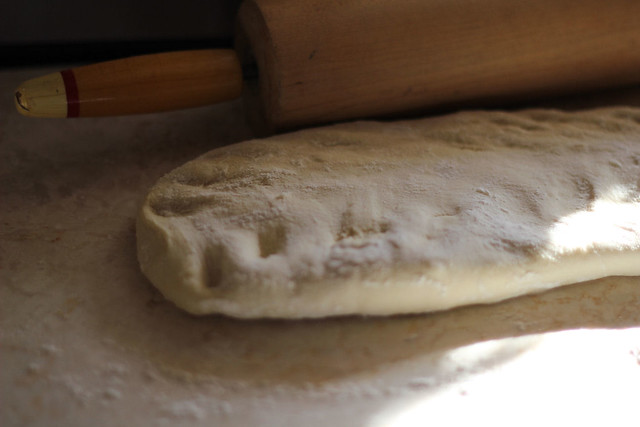
When completely thawed, sprinkle a little bit of flour on your working surface and then roll the dough out into a rectangle. It may be a little hard at first cause it has the tendency to be elastic and snap back....but keep it at, it will eventually work.

Drizzle a little bit of olive oil and brush it all over, I actually prefer to use my hand to just smear it on nicely. (Just remember to wash your hands well after)

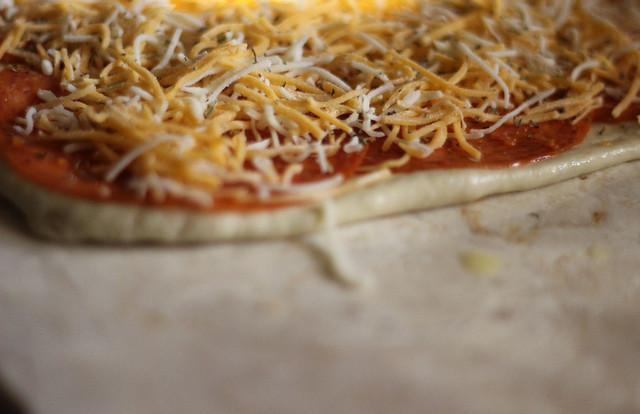
Layer on the pepperoni, then your cheese. I used whatever I have on hand, shredded is fine, sliced is fine too.

2012_02030011

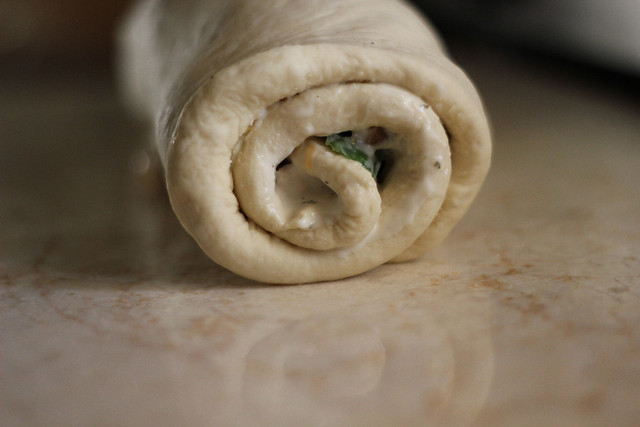
Sprinkle on some Italian Seasoning and then roll the bread up nice and tight. Place on a cookie sheet.

2012_02030015

Repeat with the other 2 bread loaves.

I only did 2 of the Pepperoni because as I said, I don't much care for it, so I wanted to use up leftover roast chicken.

Here's what I did......rolled the dough to a rectangle.

Then spread on some Buttermilk Ranch. Next I added the leftover chicken which I first shredded.

Topped the chicken with some Provolone Cheese slices, sprinkled on some onion powder and a little oregano and finished it with a basil leaf which I tore into pieces. Roll it up.

2012_02030018

2012_02030019

Place it on the sheet with the other two, remember to leave a little space.

For the top, the recipe from What About Pie uses melted better, I don't, but I decided to try it, so I just grabbed my butter dish and spread some butter over the top of the rolls.

2012_02030021

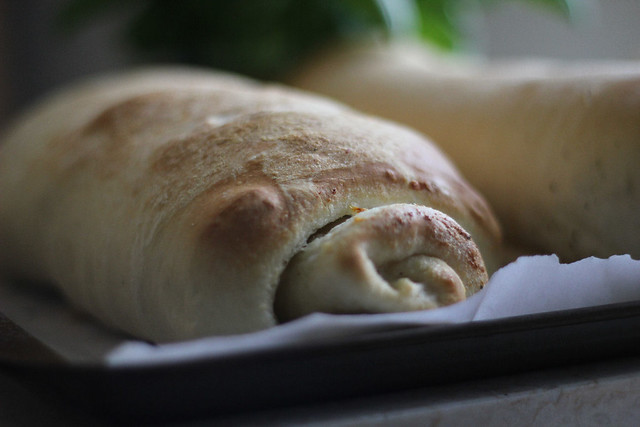
Pop in a 375 degree oven and cook for about 20 to 25 minutes until golden brown and hollow sounding when tapped on top.

2012_02030025

2012_02030026

NOTE: It's happened to me before where the very center of the pepperoni bread/calzone etc, wasn't cooked through, that is usually because I don't have the dough rolled out thin enough. If your dough is on the thicker side you may want to turn the oven down to about 325 and cook it a little longer to ensure the middle is cooked through :)