Showing posts with label homemade. Show all posts

Monday, June 01, 2020

Homemade Cream Cheese

_MG_8565

This recipe should have gone up a long time ago.

It is one of those homemade recipes that needs to be in your binder/folder/recipe box, because I'm pretty sure once you try it you may never go back to store bought cream cheese, again.

It takes but a few ingredients to turn a liter of milk into the creamiest, yummiest cream cheese you've ever tasted.

Let me show you.

_MG_8566

Homemade Cream Cheese

1 litre milk (I used Whole Milk)
4 tablespoons vinegar
2 tablespoons butter
Salt to taste

Add the milk to a saucepan and bring to a boil, just when it starts to bubble up and form that skin on top.  Immediately remove from heat. 

Add the vinegar and stir well.

Let the mixture sit for 5 minutes until the curds start forming and separating from the liquid. 

Next, pour the mixture through a strainer until you get all the liquid out.  Use a spoon if you have to, to help push out all the liquid. 

Put the curds in a blender, add in the butter and salt to taste and blend for 1 to 2 minutes, until it becomes a thick creamy consistency.

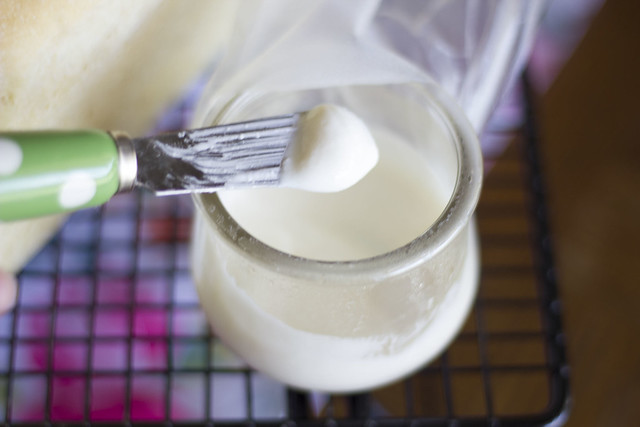
Give it a good stir and pour into mason jars.  These will keep in your fridge for about 5 days, though I doubt they'll last that long.


_MG_8570

_MG_8572

I slathered the cream cheese on some fresh out of the oven sourdough bread.  It was divine!!!!

_MG_8573


Give it a go and let me know what you think.  I can tell you that for my family we are not interested in store bought any longer, this one is creamier and much tastier.

Monday, May 04, 2020

Homemade Strawberry Shortcake

_MG_8275

I was at the grocery store on Friday and the strawberries were pretty inexpensive, only $2.99 a punnet.  I grabbed two because not only do we love strawberries on their own, or sprinkled with some sugar and dipped in whipped cream, but strawberry shortcake is one of those simple desserts that is perfect for warm weather.

Usually I would buy the packs from the supermarket, you know the ones with the already made shortcake?  But here's the thing, homemade is always better and I find the ones from the store get a little rubbery and chewy over time.

_MG_8276

So I went on a hunt for a simple recipe that would produce flaky yummy shortcake, and as always, Sally's Baking Addiction came through.  I can't stress enough how much her website has changed my baking life.  There is not one single recipe that I have tried that didn't turn out right.

Now, let's make some shortcake.  I am only sharing the shortcake part of the recipe because that is all that I used.  But if you're wanting to make the full recipe including preparing the strawberries and making your own whipping cream, please head on over and check out the full recipe on Sally's site.

_MG_8277

Homemade Strawberry Shortcake
Adapted recipe from: Sally's Baking Addiction


3 cups (375g) all-purpose flour* (spoon and leveled)
1/4 cup (50g) granulated sugar
2 Tablespoons baking powder (yes, Tablespoons!)
1 teaspoon salt
3/4 cup (180g) unsalted butter, cold and cubed
1 cup (240ml) cold buttermilk*
2 Tablespoons (30ml) heavy cream (or buttermilk)
coarse sugar, for sprinkling


Preheat oven to 425°F (218°C). Mix the flour, granulated sugar, baking powder, and salt together in a large bowl or in a large food processor. Whisk or pulse until combined. Add the cubed butter and cut into the dry ingredients with a pastry cutter or by pulsing several times in the processor. Pulse until coarse crumbs form. If you used a food processor, pour the mixture into a large bowl.

Pour buttermilk on top. Stir everything together until just about combined– do not overwork the dough. The dough will look like shreds and be very crumbly. Turn the dough out onto a work surface and gently mold it together in a ball using your hands. Gently flatten until it is evenly 1/2 inch thick. Cut into 3-inch circles. Re-roll any scraps until you have about 12 biscuits.

Arrange in a 10-inch cast iron skillet or close together on a lined baking sheet. (Make sure they’re touching.)

Brush the tops with 2 Tablespoons heavy cream (or buttermilk) and sprinkle with coarse sugar. Bake for 15 minutes or until biscuits are golden brown on top. Remove from the oven and allow to cool for 10 minutes before assembling.


Slice the biscuits in half and layer with strawberries and whipped cream. Serve immediately.

Wednesday, October 10, 2018

Cheiro Verde - Parsley, Cilantro and Green Onion

If I were to translate the name in Portuguese to English, it would sound so ridiculous, that you would probably laugh and laugh for days.

Cheiro Verde basically means Green Smell or Green Scent.  Go ahead and laugh LOL

It is basically a mixture of parsley, cilantro and green onion.  I use it in a lot of my Portuguese recipes, and it really does help bring out the flavor.

The best part is that it is frozen, so I can pinch off little bits at a time, and add to my food.  It's just another way to make meal prepping quicker and easier.

_MG_3386

Cheiro Verde - Parsley, Cilantro and Green Onion


Parsley
Cilantro
Green Onion


Start by washing the parsley, cilantro and green onion, being careful to remove any wilted leaves.

Spread them out over some paper towels to dry completely.  When dry, rough chop the green onions, removing the roots which you can place in a small glass container with a little bit of water, to regrow.  I've been doing this for years and only really need to buy green onions once in a while.

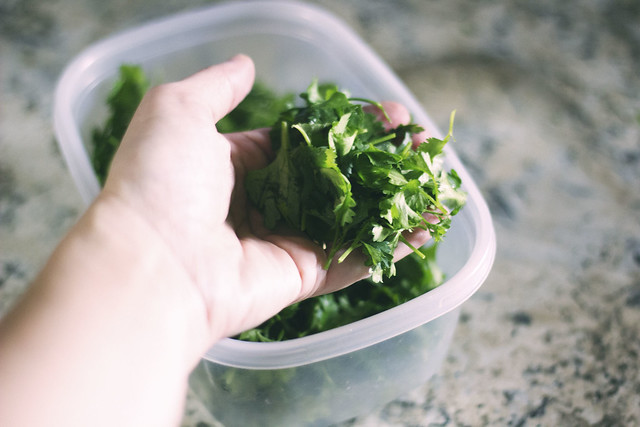
Remove the stems from the parsley and cilantro.  I don't remove ALL the stems from the cilantro and parsley, but the majority, leaving just the bit closer to the leaves.  Give them a rough chop too. (you can finely dice them too if you prefer)

Mix all three in a freezer safe tupperware container, and place in the freezer.  It keeps for up to one month.

For cooking, I usually just add enough to my taste, depending on what I'm making.

Wednesday, August 15, 2018

Garlic in olive oil - For cooking

There are a couple things I do after grocery shopping.  I not only put the groceries away, but I leave out certain items to prep for the upcoming weeks, like fruit, veggies and so on.

One thing I always make, is my garlic for cooking.

I find it easier to have it readily available to add to whatever I'm cooking at the time, and I also don't like the store bought minced garlic, it has a weird taste to me.

This is so easy to throw together, takes but a few minutes and it cuts down on prep time when you are needing garlic for a specific recipe.  I'm Portuguese, so garlic is pretty much in every single dish I make.


Garlic in Olive Oil


1 head of garlic
Olive oil


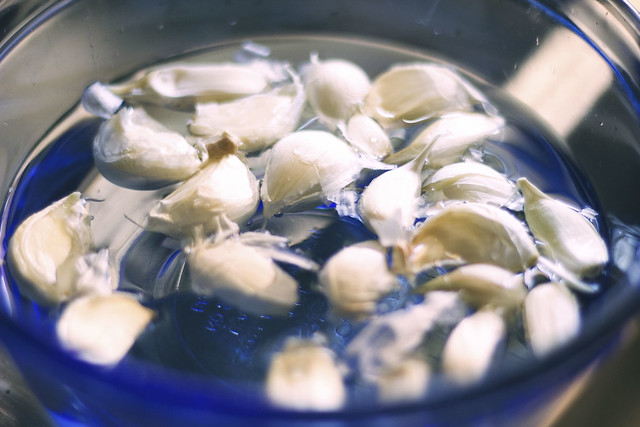
First thing you're going to do, and this is merely to make it easier to peel the garlic cloves, is to place them all in a bowl of water.  Let them sit for about an hour.  I do this first thing when I get home, and then let them sit while I get the groceries put away.

_MG_2560

Peel the garlic cloves, you'll notice that the skin comes right off. 


_MG_2564

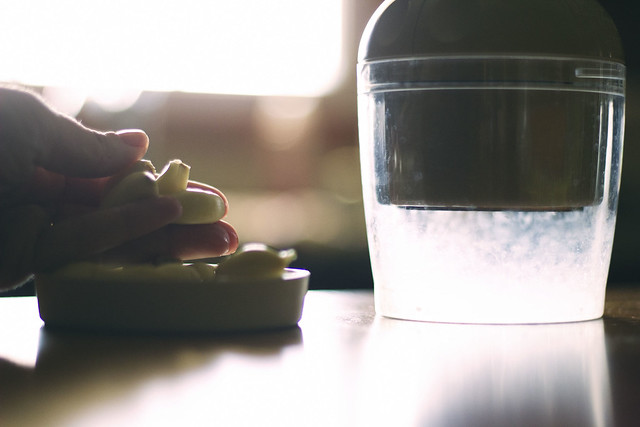
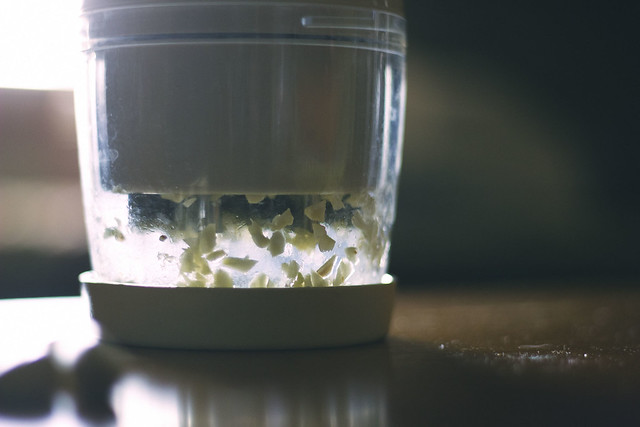
Next, chop them up finely.  You can do it by hand, or pop them in a blender, I use my handy Pampered Chef Chopper.

_MG_2565

Give them a really good chop, then transfer them to a small mason jar.  Now the size of the jar will depend on the amount of garlic you have, I find that for one head of garlic, the small 4 oz. jar works fine.

_MG_2578

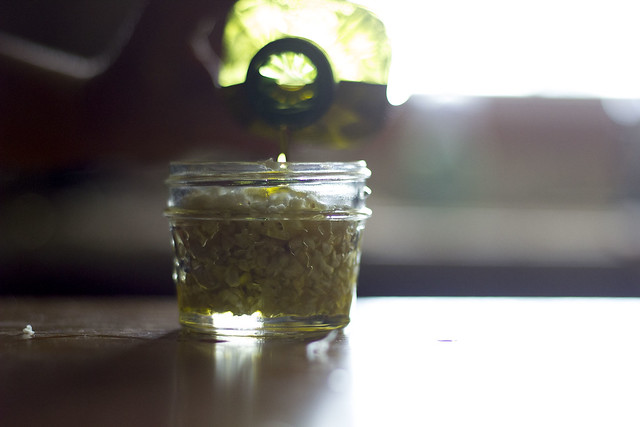
To finish off, pour in some olive oil just until it covers the garlic.  That's it!!!

Pop it in your fridge and it's ready to use. 

It really is an easy way to have your own fresh minced garlic ready to use.  If you want to make a larger amount, just use the same process, remembering to cover with olive oil to the top.

Thursday, May 24, 2018

Homemade Teriyaki Sauce

A few weeks ago, I had placed down on my meal plan - Beef Teriyaki.

It used to be one of our favorite meals but it had also been quite a long time since I had made it.  Stupidly, I should have checked my pantry beforehand, but I was convinced I had Teriyaki sauce on hand.

Well, no, I didn't and honestly didn't even realize it until I had sliced up the beef and was ready to start making dinner.

One thing I'm always talking about on my main blog, is my belief that you don't need to always buy everything you run out of, because most of what you buy at the store can be easily  made at home and much healthier too.

I quickly went on the hunt for a good homemade teriyaki sauce, and found one over on Taste and Tell. It came out so good and it was easy to make.

Give it a try and let me know what you think.


Homemade Teriyaki Sauce

1 cup water
5 tablespoons packed brown sugar
1/4 cup soy sauce
1-2 tablespoons honey
1 large clove of garlic, finely minced
1/2 teaspoon ground ginger
2 tablespoons cornstarch
1/4 cup cold water


Combine the 1 cup water, brown sugar, soy sauce, honey, garlic and ginger in a medium saucepan and set over medium heat.

In a small bowl, combine the cornstarch with the 1/4 cup water and whisk until dissolved. Add the cornstarch mixture to the saucepan.

Heat the sauce until it thickens to your desired thickness. If the sauce becomes too thick, add more water to thin it out.


**I omitted the first two steps because I was in a hurry, so I basically sprinkled the cornstarch over the meat and stirred well to make sure it was well incorporated.  Dumped the meat, and sliced onion into the skillet, then added all the other ingredients and mixed well.

Then cooked the steak as I normally would.  It turned out really well and was delicious.