Monday, September 04, 2017

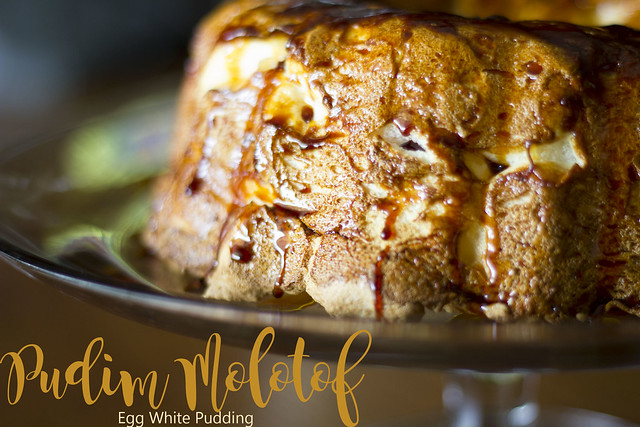
Pudim Molotof - Egg White Pudding


When I was growing up, in Portugal, we used to go out on Saturday afternoons to a Pastelaria (bakery), and we would have an iced cold coke with lemon slices, and then a cake of some sort.  It depended on what I felt like in the moment, but Pudim Molotof was by far one of my favorites.

It's this amazing egg white pudding that just melts in your mouth with each spoonful, and is drizzled with caramel sauce or in some cases an egg sweet sauce almost like a curd, and toasted almonds.  It is absolutely divine.

I grew up loving it, I grew up wanting to learn how to make it, but was always very intimidated by the process.  It's a bit of a finicky recipe and if you mess with it too much it will go terribly wrong, flop and you end up with a chewy meringue instead of fluffy melt in your mouth egg whites.

About two weeks ago I was craving it and decided that it's now or never.  I sweated and my hands shook but I was determined that I would conquer this dessert.

And conquer it I did.  So pleased and now that I've made it it is no longer intimidating and I plan on making it again for Christmas.

Hint:  Do NOT touch the oven when it's baking, do not open the door at all even if you're curious and tempted to take a peek.
_MG_8870

Pudim Molotof - Egg White Pudding

8 egg whites
8 tablespoons of sugar
1 teaspoon vanilla extract

For the caramel:
1 cup sugar (175 gr)
1/2 cup water  (100 ml)


To make the caramel:  In a saucepan add the water and the sugar, stir until well dissolved.  Cook over high heat until caramelized and a beautiful dark brown.  Do not overcook or it will burn the caramel and be extremely bitter.  Once done, pour into a fluted cake pan and swirl all around to cover the bottom, sides and up the middle of the cake pan.

Preheat the oven to 350° F.   Place a baking tray in the oven with water, I usually fill with water about halfway up the baking pan.

In a standing mixer, add the egg whites and whisk until stiff peaks form, slowly add in the sugar a little at a time, and finally the vanilla extract.  Scoop the egg whites into the caramelized cake pan, smooth the top, then smack the pan on the counter a few times to get rid of any air bubbles.  Place the pan into the middle of the baking pan with the water, you're going to cook the pudding in a Bain Marie.

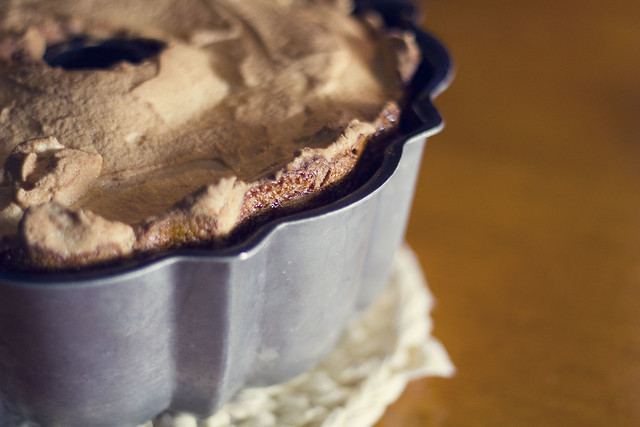
Bake for about 20 minutes (do NOT open the door at all).  Once the 20 minutes are up, turn the oven off and let it sit in the oven with the door closed for another 30 minutes.  Again do not open the door at all, if you do the pudding will deflate.
_MG_8866

Once the time is up, remove from the oven, let it cool down a bit and then remove from pan.  You have to do this really quickly and in one go or you'll end up with caramel sauce all over the place.   Remove the cake pan slowly so the pudding will release without breaking.

You can spoon some of the sauce over the pudding.  Enjoy!!!

Sheet Pan Chicken Fajitas


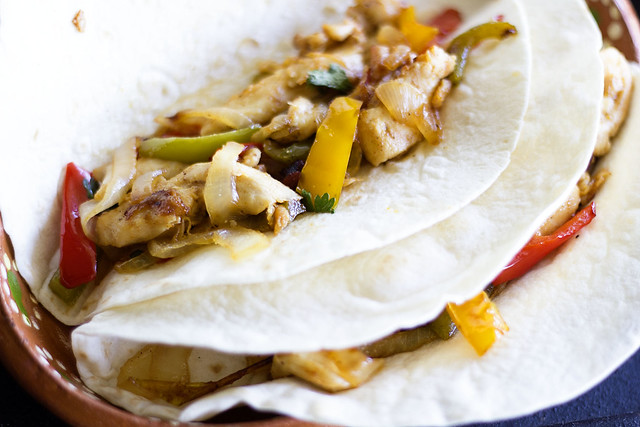
My family loves Mexican food, and my husband's favorite are Fajitas.  It's not something I make too often, but when I saw this recipe for sheet pan fajitas I thought "now that's brilliant".

It saves time, the clean up is easier with everything in one pan and I can pop these in the oven while I get the rest of dinner finished off.

Go ahead and give these a try, you won't be disappointed.

Chicken Fajitas

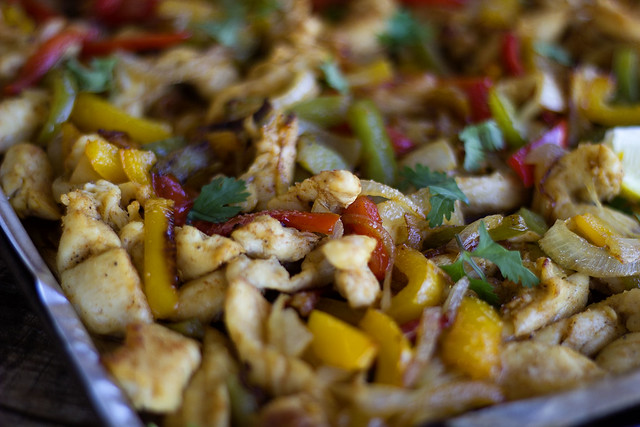
Sheet Pan Chicken Fajitas
Source:  Life Made Simple


3 tbsp. vegetable, grapeseed or avocado oil, divided**
3 bell peppers, seeds removed, ¼-inch thick slices
1 yellow onion, thinly sliced
1 - 1½ lb chicken breasts, ¼-inch thick slices*
2 tsp. chili powder
1 tsp. cumin
1 tsp. garlic powder
1 tsp. kosher sea salt
½ tsp. ground black pepper
½ tsp. paprika
½ tsp. coriander
⅛ tsp. chili flakes or cayenne pepper (optional)
1 lime


Preheat oven to 400 degrees. Place a standard size rimmed baking sheet in the oven while it heats so that it's nice and hot.
In large bowl toss 1 tablespoon oil with the bell peppers and onions. Carefully remove the hot baking sheet from the oven and spread the peppers and onions evenly across the sheet. Place in the oven and bake for 8 minutes.

Meanwhile, in the same bowl, combine the remaining oil along with the chicken, chili powder, cumin, garlic powder, salt, black pepper, paprika, coriander and chili flakes.

Remove the sheet from the oven, drain off any excess liquid and add the chicken, making sure to separate the pieces of chicken from each other. Return to the oven and bake for 15-20 minutes or until the vegetables are roasted and the fajitas are golden brown.

Remove, squeeze the lime juice over top and serve with desired toppings.

Chicken Fajitas

Pork Dumplings

I absolutely love dumplings, but as always, with some dishes, I'm a bit intimidated by the thought of making them myself, and so I steer clear.

Well last week while making the new menu plan, I decided that I needed to conquer this fear.  Actually it seems that lately I've been conquering quite a few cooking fears, here and there.  It's a good thing, and I'm really determined to stop being so scared of trying new dishes and to just jump right in and go for it.  What's the worse that could happen?  I have to remake it again?

I actually found this recipe on Tasty.  If you don't know what Tasty is, you have to get on the ball, you can find them all over Facebook, Internet, Youtube and so on.

This was super simple to make, and the only real change I will be putting in effect next time I make these, is that I found the dough a bit too thick and I didn't put quite near enough filling because once it's cooked it tends to shrink. I also need to practice the art of pleating and folding a dumpling, which I am terrible at.

Other than that, they were delicious, with a very big Capital D.


Pork Dumplings
Source:  Tasty
Servings: makes 24-32 dumplings


4 cups flour
1 teaspoon salt
1¼ cups warm water
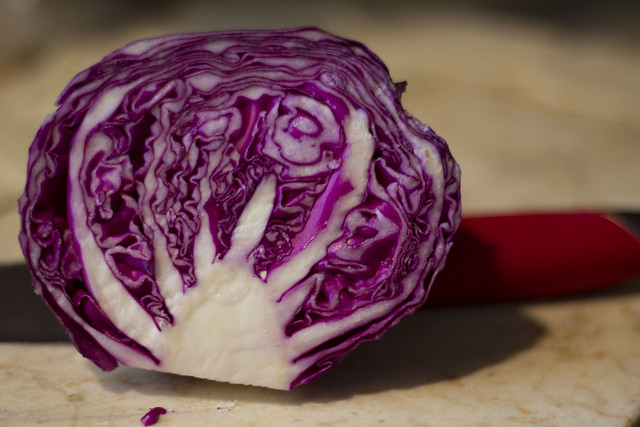
2 cups red cabbage
2 cups green onions, sliced
cloves garlic, minced
4 tablespoons ginger, minced
2 tablespoons sesame oil
2 tablespoons soy sauce
1 pound ground pork
½ teaspoon pepper
1 teaspoon salt


¼ cup soy sauce
¼ cup rice wine vinegar
1 teaspoon sesame oil
1 teaspoon crushed red pepper flakes


PREPARATION

1. Combine the flour, salt, and warm water and mix until well combined.
2. Roll out dough on a floured surface and knead until smooth.

3. Separate the dough into 4 equal parts.
4. Roll out the piece into a thin log and divide into 6 or 8 pieces depend on the size of dumplings you want.

Pork Dumplings

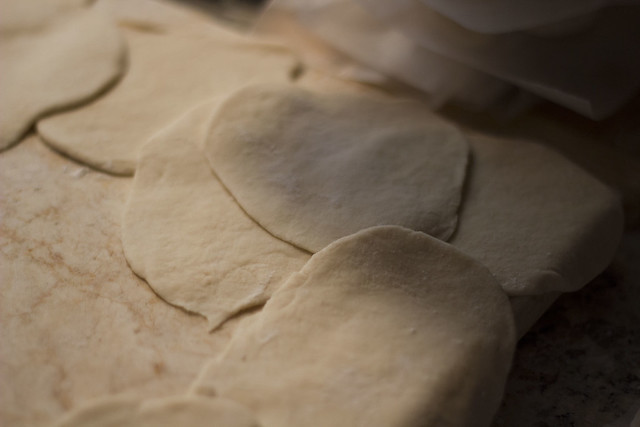
5. Lightly flour the divided piece of dough and roll out piece to a thin circle roughly 4-inches in diameter.
6. Keep the dumpling wrappers separated with parchment paper, and repeat with remaining dough.

Pork Dumplings

7. Combine cabbage, green onions, garlic, ginger, soy sauce, and sesame oil and mix until well incorporated. Add pork, salt and pepper. 
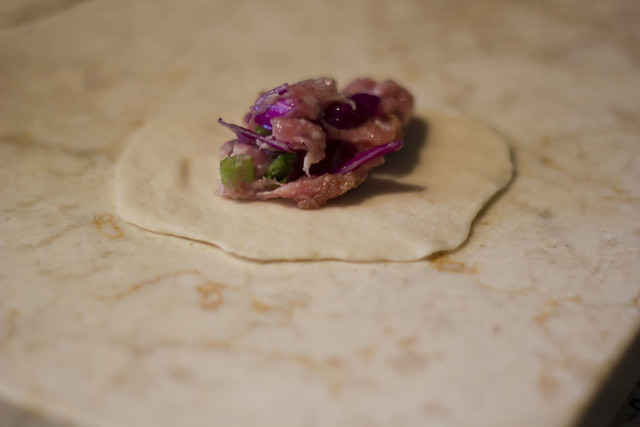
8. To assembly dumplings, add roughly 1 heaping tablespoon of filling into the center of a dumpling wrapper.

Pork Dumplings

9. With your finger lightly coat 1 half of the outside of the wrapper with water.
10. Seal the dumplings using your preferred method.
11. With pleating, start from one side and pleat the half of the dumpling closest to you, keeping the other half still.

12. Heat oil on medium high in a pan and add a few dumplings, cooking them in batches.
13. Once the bottom of the dumplings start to brown, add in a splash of water and cover with a lid.
14. Steam for roughly 5 minutes, or until dumplings are cooked and water has evaporated.

Enjoy!

Tuesday, August 01, 2017

Whistle Dogs


If you've ever eaten at a A& W, then you will for sure know about their Whistle Dogs.  Although they've been discontinued from many of the A&W restaurants, you can still enjoy them at home.

They are so easy to make, but definitely take a normal hotdog to another level.  Bacon......melted cheese......sweet relish......all of these combined bring you a hotdog that is amazingly delicious.

Whistle Dogs

Whistle Dogs

Hotdog Buns
Hotdogs
Bacon Slices
American Cheese
Sweet Relish


Begin by cooking your bacon in a skillet, until it is crispy.  Remove and set aside.

Slice the hotdogs in half lengthwise, making sure not to go all the way through.  In essence, you are butterflying the hotdogs.  Cook them in the skillet for a few minutes, then remove them and set them aside.

In the same skillet, toast the buns for a minute or so, until warm.  Remove the buns and return the hotdogs to the pan.  Now take a slice of cheese and top the hotdogs.  Cover with a lid until the cheese gets all melted and gooey.  Place the crispy bacon on top of the cheesy goodness, then using a spatula transfer the hotdogs to the warm buns.

Top with some sweet relish and serve.

Quick, simple, AMAZING!!!

Bacon, Corn and Shallot Spaghetti

This one came about purely out of what I had on hand.  I usually don't mix corn in with my spaghetti, but I wanted a pop of color and it did the job.


There is nothing to this spaghetti, no special sauce, or baking or anything involved.  Just a skillet, a couple of ingredients and a delicious pasta dish that everyone will enjoy.

Bacon, Corn and Shallot Spaghetti

Bacon, Corn and Shallot Spaghetti

12 oz Spaghetti noodles
6 slices of bacon
1 shallot, finely diced
1 can of whole kernel corn
Garlic clove, finely chopped
Salt and pepper
Olive oil

In a skillet, cook the bacon until crisp or just tender, however your family prefers.  We all like crispy, except for my son, so I just cooked it until it was done so he would enjoy it as well.

Add in the garlic, the shallot and the corn and mix everything together.  Give it a stir and cook for a minute or two until the shallot is transparent.  Season to taste with salt and pepper.

In the meantime, cook the spaghetti noodles until al dente, then drain and add to the skillet.  Toss everything together, check the spices, then drizzle on a little olive oil, giving everything a final toss.

Serve with a sprinkle of parsley (if you wish) and some shredded parmesan cheese.

Bacon, Corn and Shallot Spaghetti