Tuesday, October 09, 2018

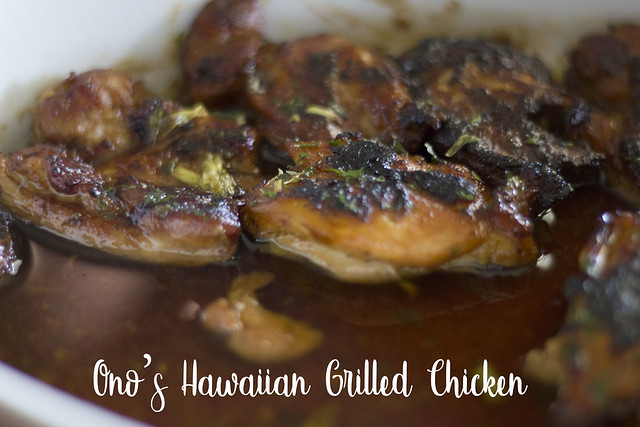
Ono's Hawaiian Grilled Chicken

While stationed in Arizona, we came to find a ton of amazing restaurants, and to this day, some of our favorites remain in Phoenix, AZ.  It is one of the reasons we are looking to visit sometime next year.

One such place was Ono Hawaiian BBQ.  Their food was so good, but so good, that we went back constantly.

I only wish there was an Ono's in Texas, but alas, there isn't.

So with that in mind, I went on the look for copycat recipes that could recreate this wonderful food, and found one for our favorite chicken, so I thought I would share it with you.  If you have an Ono's nearby, I highly recommend checking it out.

By the way, the proper way to make this chicken is by grilling it, but I adapted the recipe to use my cast iron skillet instead.

_MG_3323

Ono's Hawaiian Grilled Chicken
Adapted from: Best Recipes Ever


Boneless skinless Chicken Thighs (thin, if needed use a mallet to flatten the chicken)
1 C. packed light brown sugar
1 C. soy sauce
4-5 cloves of garlic chopped
1 1/2 T. fresh ginger root chopped
1/4-1/2 large onion sliced

For the prepared chicken:
1 stick of butter
Green onions


In a bowl, mix the brown sugar and soy sauce together. Add in the garlic, ginger and onion.  Pour the mixture into a ziploc bag, add the chicken thighs, make sure the bag is closed tightly and then give it all a good shake.  Let it marinade for a few hours, or even overnight. 

Heat up a cast iron skillet with a little bit of butter, add the chicken thighs and cook until brown and cooked through. 

In the meantime, place a 13x9 inch casserole dish in the oven, at about 250 degrees F.  Add a stick of butter and let it melt. 


As the chicken gets done, transfer to the casserole dish and keep it in the oven where it will be swimming in all that buttery goodness.

Once all the chicken is done, cut up some green onions and add to the chicken. 

Monday, September 24, 2018

{ Pork Chops in Mustard Sauce }

You guys, I have one of the tastiest pork recipes for you all.

I love pork but I get a little tired of making it the same way, over and over again.  I don't know, I just find that pork is a bit harder to find good recipes for, and that's probably just me, but anyway, in my attempt to find a different way to fix pork, I turned to my old Teleculinaria Portuguese Cooking Magazine.

The Teleculinaria magazine is a really old one but is always filled with the yummiest recipes.

Back to the pork.  No joke, this was one of the tastiest meals we've had in a while, I paired with some Pressure Cooker Twice Baked Potatoes and a salad, and everyone raved.


Pork Chops in Mustard Sauce


8 pork tenderloin chops (I use the pretty thin ones and usually make 2 for each person)
Salt and pepper to taste
Garlic
Butter to fry the chops
2 cups Heavy Cream
1 tablespoon Spicy Mustard (you don't have to use spicy, just make sure it's a good mustard, not the yellow hotdog mustard)
Parsley


Season the chops with the salt and pepper and some fresh garlic.  Set aside and let sit for about 30 minutes.

Fry the chops in some butter until nicely browned and completely cooked through.  Transfer to a baking dish to keep warm. 

In a small bowl mix the heavy cream and the mustard.

In the skilled you fried the chops in, scrape up the bits, add the heavy cream and mustard mixture, and mix well.  Let it come to a boil so that it thickens a bit, then pour over the chops.  Sprinkle on some parsley and serve immediately.

Pressure Cooker Twice Baked Potatoes

I have a lot of kitchen gadgets and appliances and enjoy trying them all out.  I can't really say that any of the appliances I have bought, have been a disappointment, but I can for sure say that some have become my favorite to use and I try to use them as much as I can, sometimes daily.

My pressure cooker is one of those.  Not just for it's convenience, but I love putting it to the test and making things in it that I would never have thought of doing.

Last week I made some delicious pork chops (recipe will be up after this one), and to go with them I wanted twice baked potatoes, but it was a super busy day and by the time I got around to dinner prepping, I realized that I wouldn't have an hour or more to wait for the potatoes to bake in the oven.

Obviously, I turned to the pressure cooker, looked through my user manual, searched a few online tips and tricks and went for it.

Guys????  They came out so good that I will never bake them in the oven again.

Let me tell you real quick how to make these delicious potatoes.


Pressure Cooker Twice Baked Potatoes


4 medium russet potatoes
2 cups water


Wash the potatoes well and then poke them a few times with a fork or knife.  In the meantime, placeyour trivet inside the pressure cooker, you don't want the potatoes to touch the bottom of the pan. 
Add 2 cups of water, close the lid, making sure the valve is set to seal.  Press the Manual Button for 25 minutes on High pressure.

When the potatoes are done cooking, place a dishtowel over the release valve.  I always do this because sometimes it sputters water everywhere.  Do a quick release of the valve and then remove the potatoes carefully.  I used tongs for this.
 

Let the potatoes cool just enough so you can handle them, then slice them in half.  Using a spoon remove the inside into a bowl.  Now for the filling, you can make your baked potatoes however you prefer.  Some people do a simple mash with milk, salt, pepper and butter.  Some people use mayonnaise or sour cream, whatever you want.

I use butter, salt and pepper, some garlic powder and a little bit of sour cream to make them nice and creamy.  I also like to add bacon bits and cheese to the mixture.

Scoop the filling back into the potatoes, sprinkle on some green onions, and you're done.

If you wish, you can also sprinkle on some shredded cheese and pop them under the broiler to melt the cheese. 

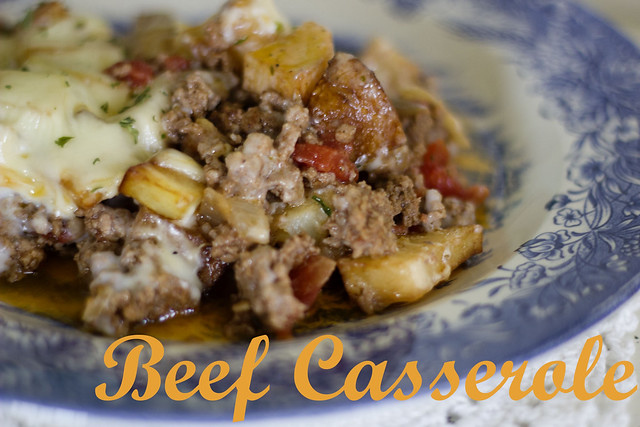
Beef Casserole


Today I'm bringing you a recipe that is sure to become a hit in your home.

Imagine if you will a Cottage Pie, but instead of mashed potatoes, you use cubed fried potatoes and a delicious white bechamel sauce that will make it all yummy and creamy.

I've been trying to get back into cooking and baking on a daily schedule, and most importantly coming up with and trying new recipes.  I always menu plan but it gets a bit tiring making the same things over and over, and it feels like the past year that is what I've done.

So out come the old cookbooks for inspiration.  I truly do hope you enjoy this one, as always if you try it, I would love for you to let me know in the comments below.


_MG_2985

Beef Casserole


1 pound ground beef
4 medium potatoes, peeled and cubed
1 medium onion, diced
2 garlic cloves (I used two teaspoons of my homemade diced garlic)
1 can diced tomatoes, undrained
Olive oil
White Bechamel Sauce (I'll tell you below how to make it, if you don't know how)
1 teaspoon oregano
Salt and pepper to taste
1 Bay Leaf
Shredded cheese of your liking (I used mozzarella)
Oil to fry


In a pot, add a bit of olive oil (I eyeball, but it's about 1 tablespoon), add the diced onion, garlic and bay leaf.  Cook over medium heat until onion is transparent.  Add the ground beef and brown.  Next, pour in the diced tomatoes with their juice, oregano and salt and pepper to taste.  Simmer until the meat is cooked through and there is hardly any sauce left.

In a separate saucepan, add 2 tablespoons of butter and cook over medium heat until melted, next add in 2 tablespoons of flour and stir vigorously and cook for just under a minute.  Pour in milk, a little at a time, stirring with a whisk to make sure there are no lumps.  I season it with a little salt, pepper and a dash of nutmeg.  ( I always add nutmeg to my white sauce).    Bring to the boil and stir constantly until the sauce thickens.

Once meat and sauce are done, set them aside.

Fry the cubed potatoes in oil until golden brown, drain on paper towels.


In a casserole dish, pour in the meat mixture, remember to remove the bay leaf.  Add the fried potatoes on top and spread them on evenly.

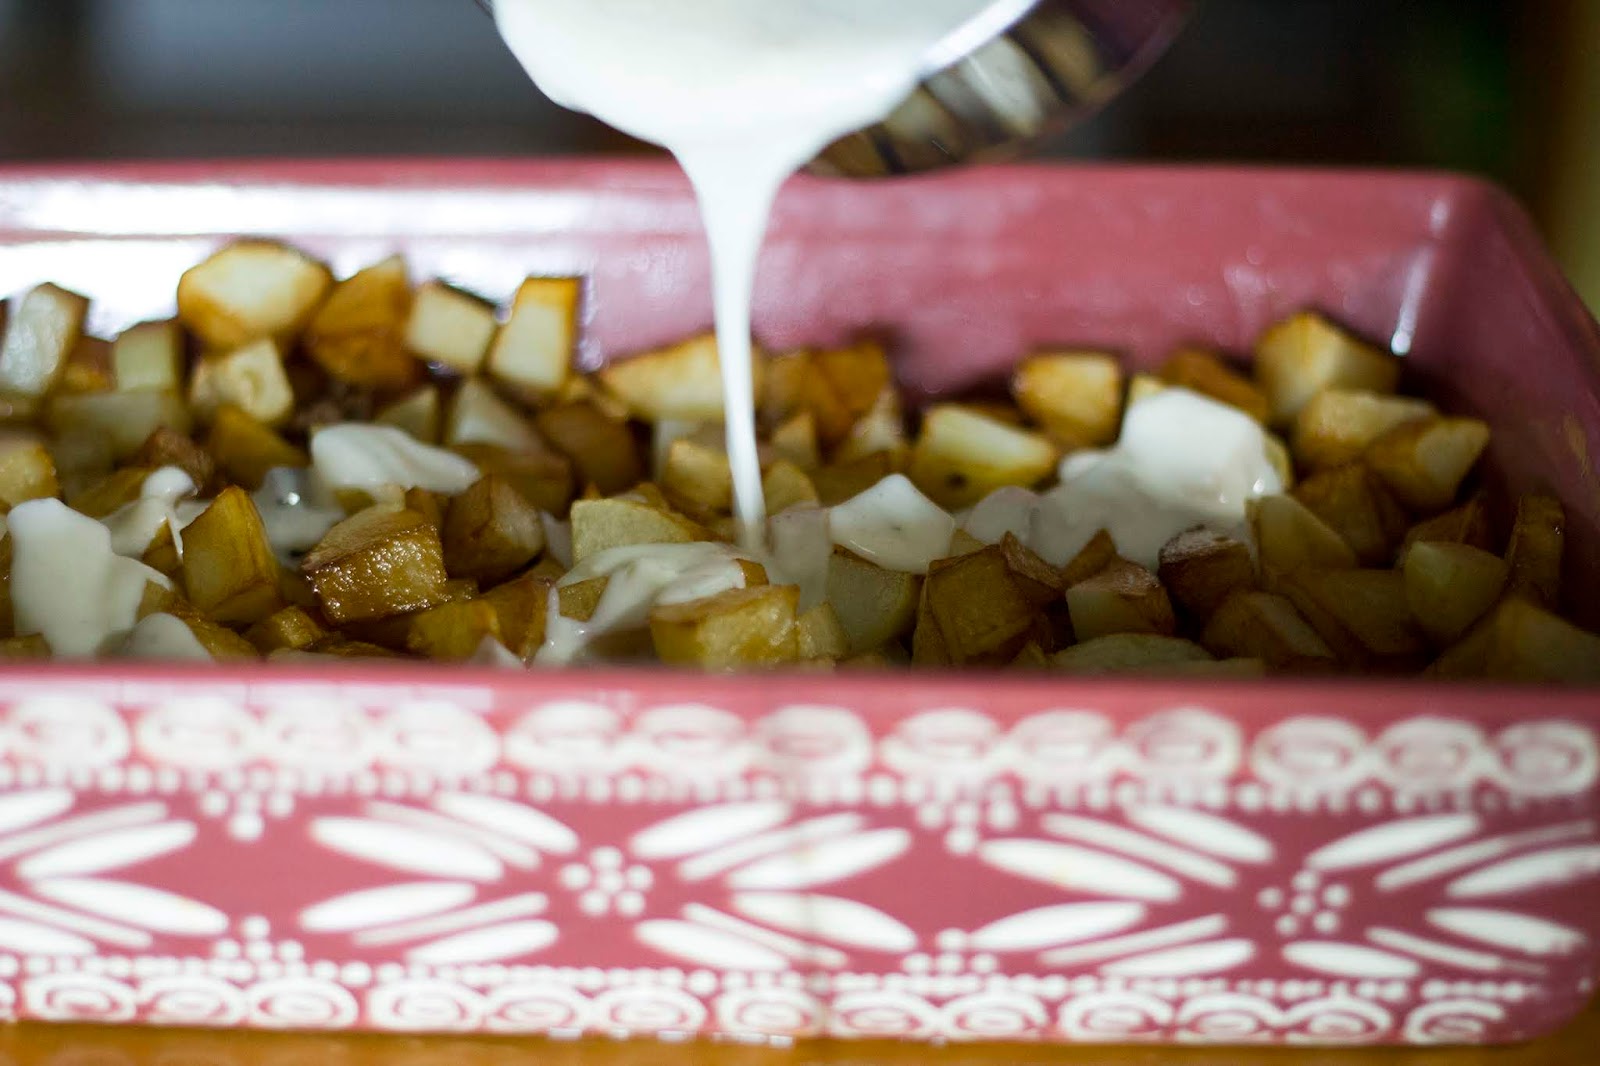
Pour over the potatoes the white bechamel sauce, then top with shredded cheese of your choosing.  Bake in a 375 degree oven for 20 minutes.  Sprinkle with Parsley and serve immediately!!!

Wednesday, August 15, 2018

Garlic in olive oil - For cooking

There are a couple things I do after grocery shopping.  I not only put the groceries away, but I leave out certain items to prep for the upcoming weeks, like fruit, veggies and so on.

One thing I always make, is my garlic for cooking.

I find it easier to have it readily available to add to whatever I'm cooking at the time, and I also don't like the store bought minced garlic, it has a weird taste to me.

This is so easy to throw together, takes but a few minutes and it cuts down on prep time when you are needing garlic for a specific recipe.  I'm Portuguese, so garlic is pretty much in every single dish I make.


Garlic in Olive Oil


1 head of garlic
Olive oil


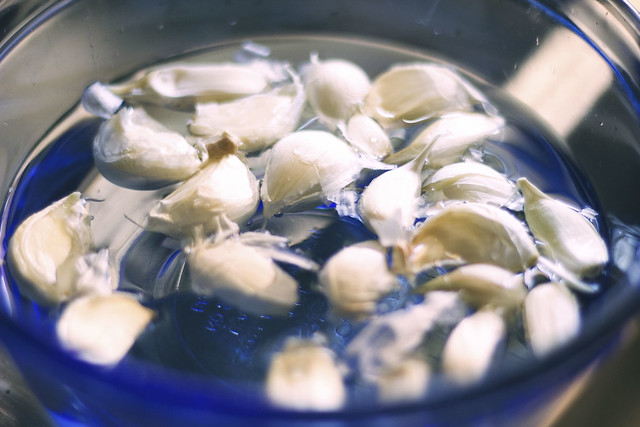
First thing you're going to do, and this is merely to make it easier to peel the garlic cloves, is to place them all in a bowl of water.  Let them sit for about an hour.  I do this first thing when I get home, and then let them sit while I get the groceries put away.

_MG_2560

Peel the garlic cloves, you'll notice that the skin comes right off. 


_MG_2564

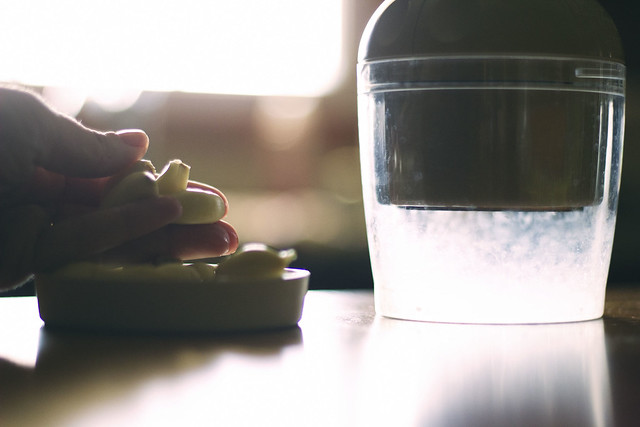
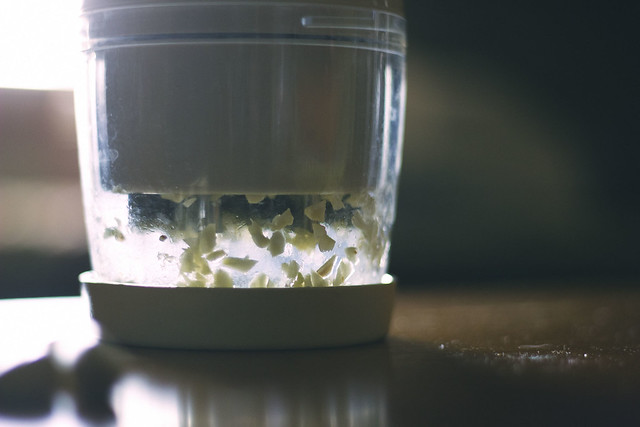
Next, chop them up finely.  You can do it by hand, or pop them in a blender, I use my handy Pampered Chef Chopper.

_MG_2565

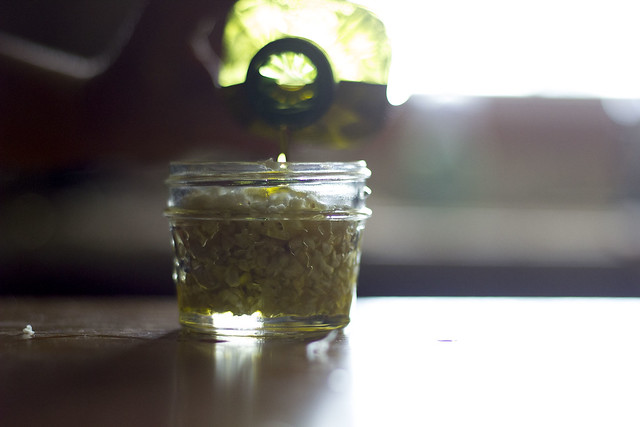
Give them a really good chop, then transfer them to a small mason jar.  Now the size of the jar will depend on the amount of garlic you have, I find that for one head of garlic, the small 4 oz. jar works fine.

_MG_2578

To finish off, pour in some olive oil just until it covers the garlic.  That's it!!!

Pop it in your fridge and it's ready to use. 

It really is an easy way to have your own fresh minced garlic ready to use.  If you want to make a larger amount, just use the same process, remembering to cover with olive oil to the top.