Thursday, May 31, 2012

Homemade Mac and Cheese

I think there are like, a gazillion macaroni and cheese recipes out there.  Anything from specialty cheeses to 5 cheese, to one cheese to this and that and whatever.

I don't usually follow recipes, I'm more of a "cook by the heart" kind of gal.  I know what tastes good together, I throw it in a pot with a pinch of this and a spoon of that and call it good.

Homemade Mac and Cheese

It's called learning how to cook with your greatgrandma.  I used to find it intimidating watching her in the kitchen, this amazingly cute little old lady who never followed a recipe, but yet knew exactly the right amount of spices to throw in.

That's how I learned, that's how she taught me, and that's why I love cooking, in a way.  That sense of freedom in the kitchen to do whatever I want, eat whatever I wish and experiment.

As most of you already know, I'm a military wife and with that come deployments and TDY's, separations that are never easy on the soldier or the family.  To make things easier and a little more bearable for the kids, we do all sorts of things to keep them connected with daddy.....and then we also give them a little more reign of certain things.

Like in this case....the Menu Planning for the time that daddy is away.

Needless to say, there's a whole lot of hotdogs, ravioli, homemade pizza, quesadillas, mac and cheese etc. going on.

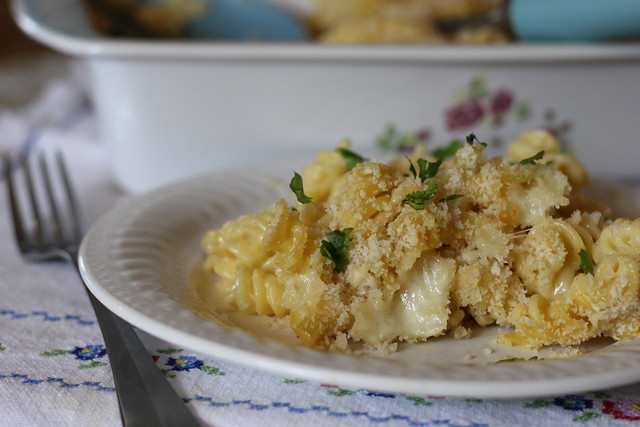
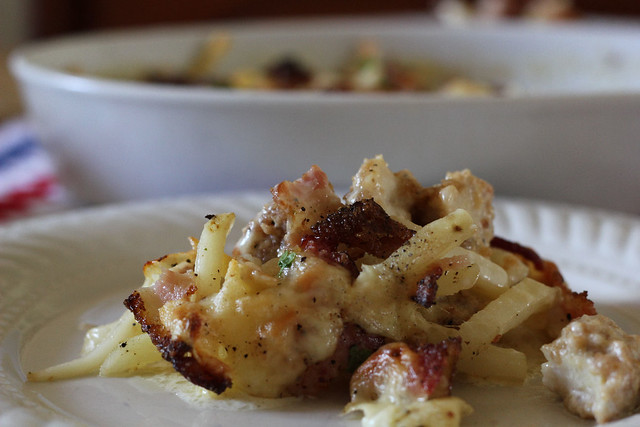
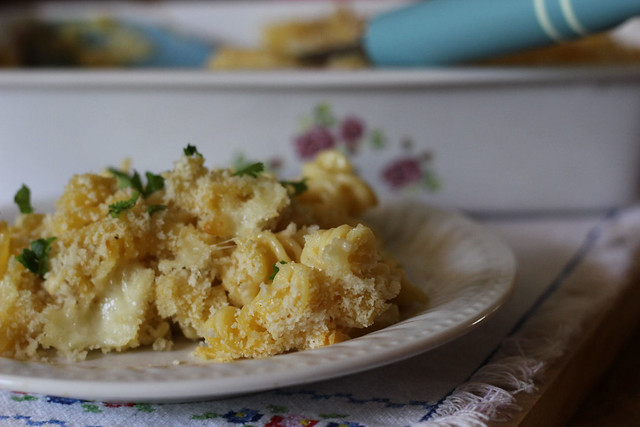
So for tonight's dinner they jotted down Homemade Mac and Cheese, and that's what I gave them.  No recipe, just a few things thrown together and they loved it, and my 9 year old boy said that on a scale of 1 to 10 it was a 1000.  I'll.take.it!!!

Homemade Mac and Cheese

Homemade Mac and Cheese

1 box macaroni or whatever pasta you have available (I used rotini)
2 tablespoons butter
2 tablespoons flour
2 cups of milk
salt, pepper and nutmeg to taste
Shredded Mozzarella, Cheddar, Colby Jack cheese
Panko breadcrumbs

Cook the noodles according to package directions, set aside.

Preheat oven to 375 degrees.

In a skillet, melt the butter, then add the flour and whisk well....start adding the milk slowly to the skillet while stirring vigorously with the whisk to prevent lumps.

When it starts thickening, add salt, pepper and nutmeg to taste.

Add in the shredded cheeses (again to taste, if you want it very cheesy, by all means go for it).  Turn off the heat and continue stirring until all the cheese is melted.

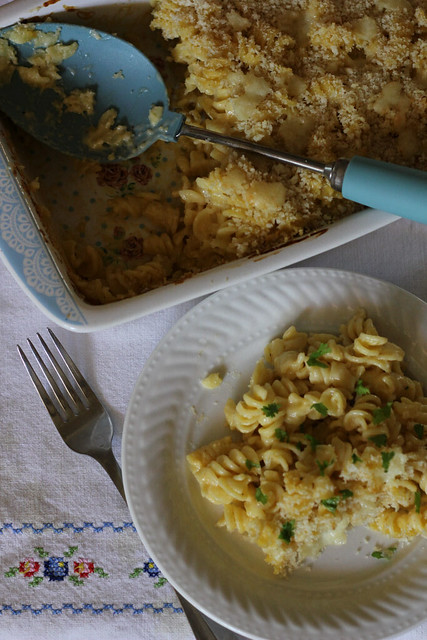
Pour the pasta into the skillet and incorporate everything well.  Transfer to a baking dish.  Sprinkle with panko breadcrumbs and some more shredded cheese and bake for 30 minutes until bubbly and nice and brown on the top :)

Homemade Mac and Cheese

I made a pan of the mac and cheese and since it's a lot for us 3, I scooped some into small 1/4 oz mason jars for a quick lunch for the kids.

Homemade Mac and Cheese

The remaining mac and cheese is cooling on my counter and will then be transferred to a foil dish, covered tightly with plastic wrap and frozen :)

Wednesday, May 30, 2012

Herb Mayonnaise

My husband left this morning for a usual military thing.  It will be a while before we see him again, which meant that I found myself crying and needing to do something, anything, bake, cook, whatever, just to get my mind off it for now.

I then remembered that I had been wanting to try a herb mayonnaise and never got around to it.

Herb Mayonnaise

Perfect!  Something to distract me.

You can google herb mayonnaise and find a bunch of different recipes, some call for vinegar, others call for lemon juice, some use 2 eggs, others use 4 etc.  Just find the one that works for you and try it.

The recipe I'm using is adapted from actually from Aunt Holly's Homemade Happiness......and I'll have you know that the first batch went into the trash because I totally messed up on the emulsifying part.  I'll let you know below what to do to ensure it doesn't happen to you.


Herb Mayonnaise

Herb Mayonnaise

  • 4 large egg yolks, at room temperature
  • 6 tablespoons freshly squeezed lemon juice
  • 1/2 tablespoon minced or ground garlic
  • 1 teaspoon salt
  • 1 teaspoon freshly ground black pepper
  • 2 cups oil.  Any kind or combination.  (I used 1 cup vegetable and 1 cup olive oil)
  • Chopped fresh herbs


Herb Mayonnaise

Directions

Place the egg yolks, lemon juice, garlic, salt and pepper in a food processor and run until smooth.

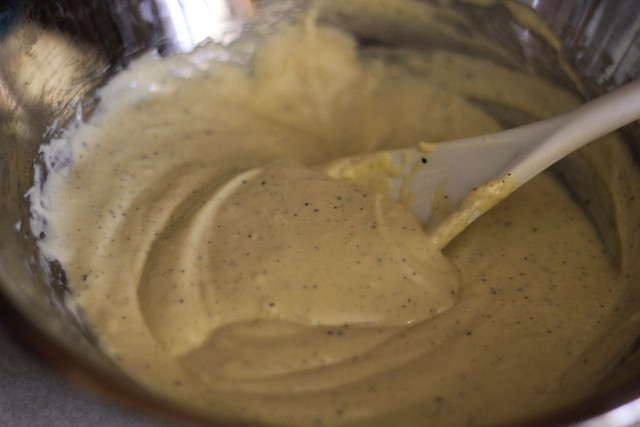
With the processor running, slowly pour the oil in through the feed tube.  Now listen up and listen well.  When I say slowly, I mean SLOWWWWWWW....like a few drops at at time.  I mean so slow that within 2 minutes you'll be wanting to just give up and walk away.  But you can't, because you have to keep adding the oil slowly to ensure that it emulsifies (thickens).

See this????? This is what NOT to do. I added the oil too fast because I got distracted with a call from my husband on the road. This was the batch that got thrown out because it didn't emulsify, it was just watery.

Herb Mayonnaise

When it starts turning a nice pale yellow and you can see that it starts to thicken, then you can start drizzling in the oil, again SLOWLY, into the blender.  Keep doing so until all the oil is used up.  I actually used my blender just until it started to thicken, then I transferred it to a mixing bowl and added the oil a little at a time, mixing by hand.

Herb Mayonnaise

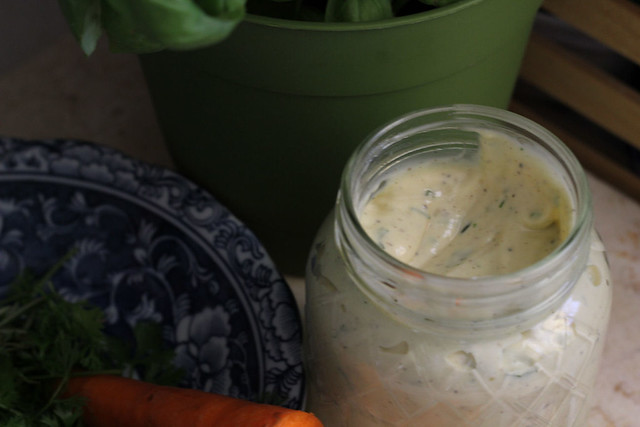
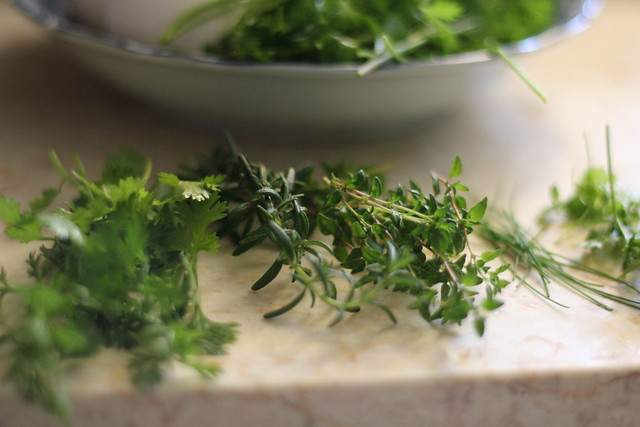
Add in your herbs.  I used a variety from my garden, so I threw in cilantro, parsley, chives, thyme and basil and rosemary.  

Herb Mayonnaise

Just add more or less, or stick with one herb, it's your choice.  You can also use dried herbs but I love fresh :)
Herb Mayonnaise

Store the mayonnaise in the refrigerator.  Let me tell you, it makes a mean potato salad :)

Herb Mayonnaise

Tuesday, May 29, 2012

Frito Lay Chips Review and Giveaway

Run on over to the Wordpress site real quick.

A few weeks ago, before I made the decision to return to this old blog, I had accepted a review and giveaway on the other site, so I'm posting it over there.

If you're interested in winning some chips, make sure to run over and leave a comment :)
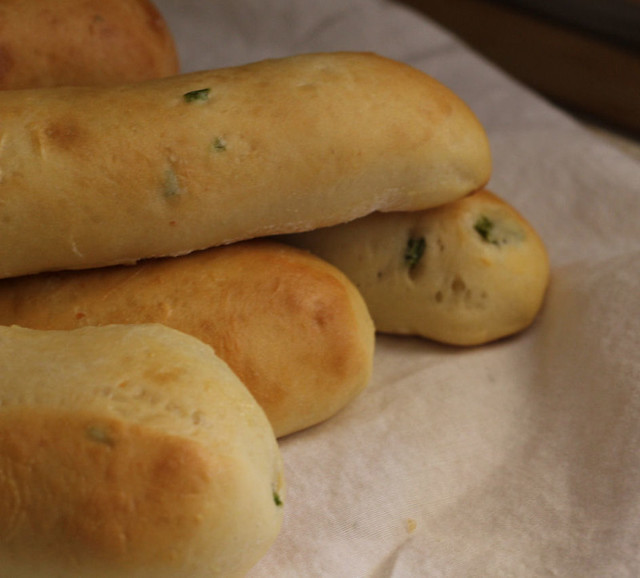
Jalapeno and Cheddar Buns

I haven't bought Hamburger or Hotdog buns in a long time, I much prefer the homemade kind and yes, while it may be easier to just head to the store and buy them, it really is worth investing the time in making your own.

I've experimented with different kinds of buns and flavors and when I saw this one over at Confessions of a Foodie Bride, I just knew I had to try them.

WOW!  These are so good and so easy to throw together.

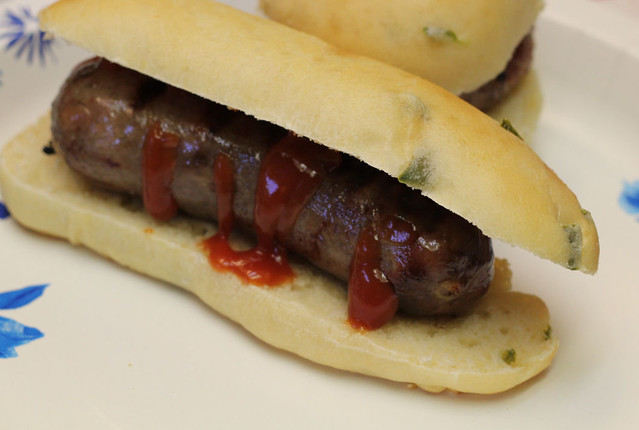
I made hamburger slider buns and hotdog buns out of this recipe.  After you divide the dough  in half, use half for the small buns and the other half shape into the hotdog buns.


Jalapeno and Cheddar Buns

Jalapeno Cheddar Buns
Yields: 8-12 hamburger buns


1 package (2 1/4 tsp) yeast
1 cup lukewarm water
2 Tbsp oil (vegetable, canola, or olive) plus more for greasing bowl
2 large eggs
3 Tbsp sugar
3 1/4 cups flour
1 tsp salt
6 oz sharp cheddar, shredded
3 large jalapenos, seeded and chopped


Add warm water to the bowl of your mixer and sprinkle the yeast over top. Let sit 10 minutes, until frothy.

Add the, oil, 1 egg, and sugar to the bowl.

Add the flour, salt, cheese, and peppers and mix on medium-low speed with the hook until the dough holds together, about 2 minutes. The dough should clean the sides of the bowl. If not, add additional flour by the Tbsp.

Increase speed to medium and knead the dough for 5 minutes.

Transfer the dough to a large bowl that has been lightly greased with oil.

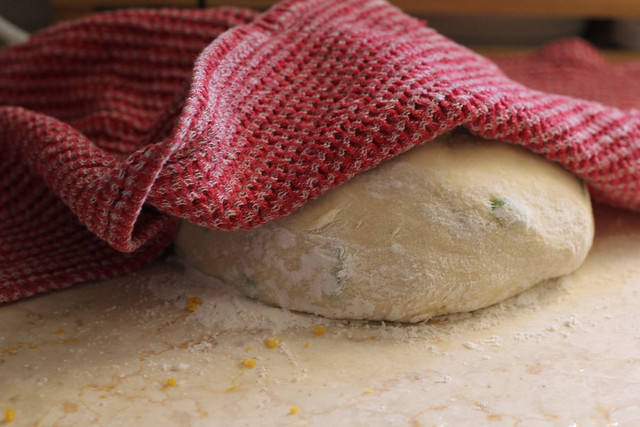
Cover it with a damp towel and let rise in a warm place until doubled in bulk, 1-1 1/2 hours.

Jalapeno and Cheddar Buns

Line a baking sheet with parchment.
Turn out the dough onto a lightly floured surface.

Divide the dough in half and each half into 4-6 pieces (depending on the size of your burgers, I typically get 8-9 buns per batch).

Roll into rounds and flatten with the palm of your hand onto the baking sheet; placing buns about 1/2-1 inch apart.

Cover with a damp towel and let them rise for 20 minutes + oven preheating time.

Preheat oven to 350.

Whisk the remaining egg with 1 Tbsp water.
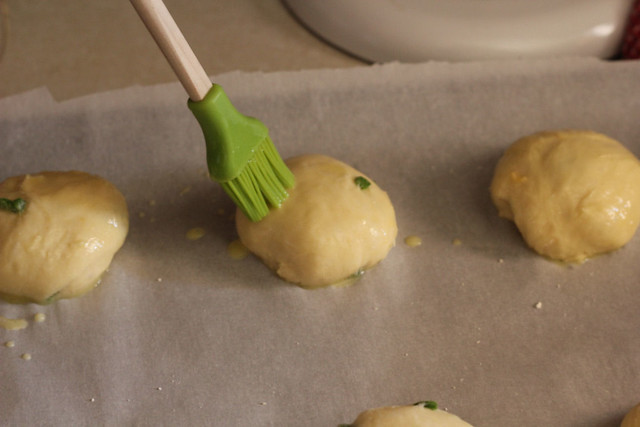
Brush the buns with the egg wash and bake for 20 to 30 minutes, until golden brown.

Jalapeno and Cheddar Buns

Let cool 10 minutes before slicing and serving.

Store leftovers in a zip-top bag at room temperature. They freeze well, too.

Jalapeno and Cheddar Buns

Here are the turkey sliders

Jalapeno and Cheddar Buns

and the hotdog buns I used for the bratwurst

Jalapeno and Cheddar Buns

Monday, May 28, 2012

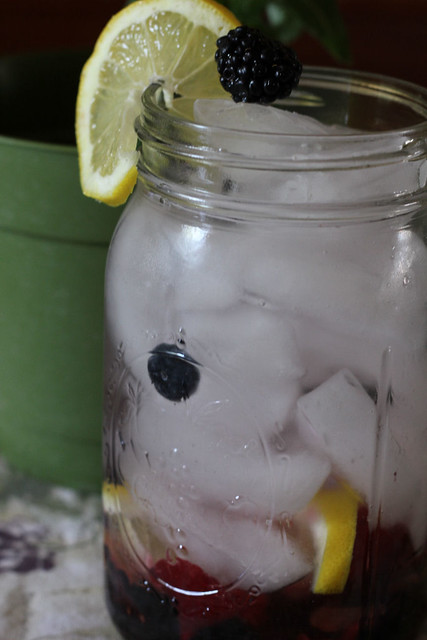
Fruit Flavored Water

Such a simple concept, yet I hadn't even thought of, it save for the lemon water which I have been drinking for years.

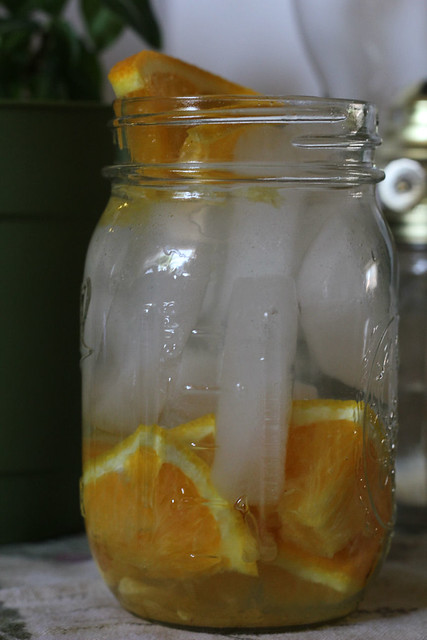
See I'm not really a big fan of water, it's one of those things that I need to literally force myself to drink, and the only way I like it is with ice and sliced lemon.

Fruit Flavored Water

So while getting my jar of lemon water ready last week, I realized that I had run out of lemon, so I popped in orange slices instead and I had a little bit of crushed pineapple in a small bowl, from when I made Pineapple Mousse a few days before, so spooned some of that into the jar as well.

GOODNESS that was some good water.  YUM!

I'm thinking I'm going to try Watermelon and Mint....Cucumber and Mint and a few others.

But now I always have a pitcher of flavored water or a few quart mason jars sitting in the fridge.

It's helped me get my water intake in and it's delicious.  It's NOT sweet though, but you can add a little bit of sugar or sweetener if you like.  I do add a tiny spoon of sugar for the kids because they prefer it sweetened.

Just get creative and if you need inspiration, you can do a simple google search and find a bunch of websites/blogs trying out different combinations.

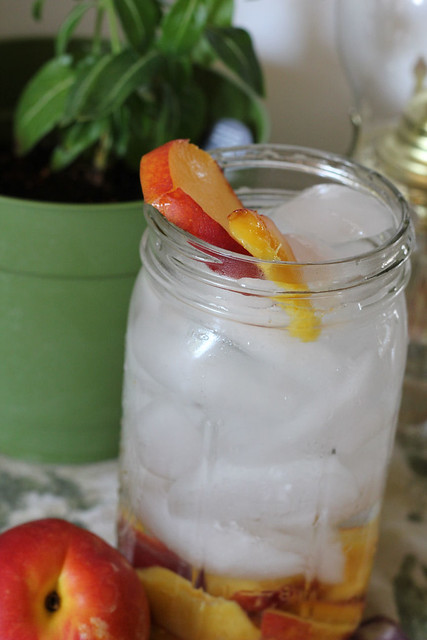
Some of my favorites are Nectarine and Apricot Water

Fruit Flavored Water

Mixed Berries and Lemon Water

Fruit Flavored Water

Also, try out,  Pineapple Water  and Tutti Frutti Water (I literally make a fruit salad in the bottom of a pitcher, then fill with ice and water).

Sunday, May 27, 2012

All caught up.....

Alrighty, I just finished bringing over all the recipes I posted for the last 9 months over at the new address.

From August 11th right up to today, so if you've missed anything since then, feel free to go back and browse through the archives.

Happy Cooking!!!

© 2006 - 2012 Full Bellies, Happy Kids - All Rights Reserved

Saturday, May 26, 2012

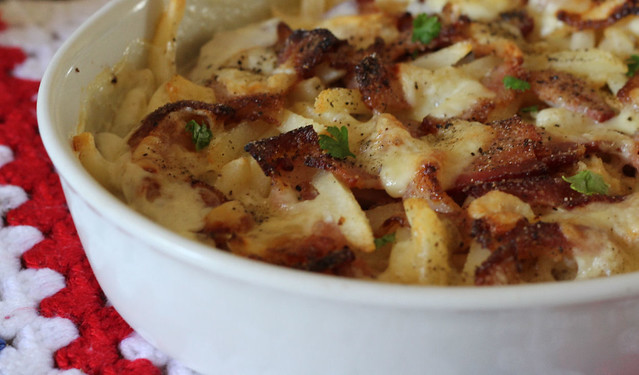
Chicken, Potatoes and Bacon Au Gratin

You could throw bacon on anything for me and I would be thrilled.  Well maybe except dessert, I'm sorry but I've seen some dessert recipes out there wrapped in bacon and I just can't bring myself to try.

It's not my thing.  LOL

Anyway, aside from bacon, I'm a huge potato fan, and I love cheese and cream and ooooohhhhhhh *drool*

When I saw this recipe over at Get Off Your Butt and Bake, I KNEW that I had to make it.  No if's, ands or buts about it.

And I'm glad I did, cause YUM!

Chicken, Bacon and


Chicken, Potatoes and Bacon Au Gratin


4 to 5 strips of crispy bacon
4 to 6 boneless boneless skinless chicken breasts
1 stick (cube) of margarine to brown the chicken in
1 cup of flour (for dredging the flour in)
About 5 – med to lg. potatoes
*enough to fill a 9×13 glass baking dih
 1 pint whipping cream- 2 cups
Salt and Pepper
 2 tsp. Parsley flakes
 2 cups grated cheddar cheese


Directions:
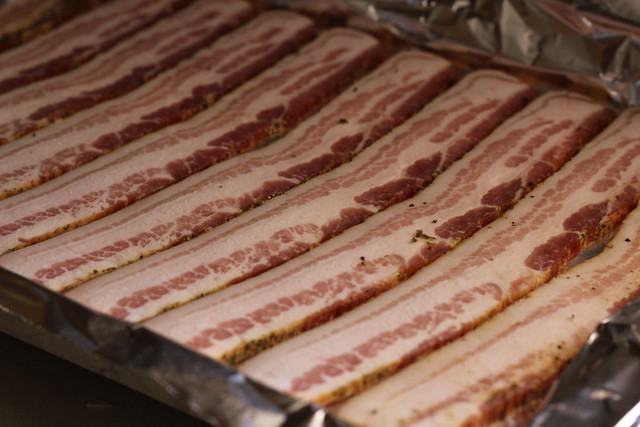
 Place bacon slices on a foil lined baking sheet.

Chicken, Bacon and

 Preheat the oven to 400 degrees and place bacon in the oven for 15 to 20 minutes, or until bacon is crisp and brown.  Remove bacon to a paper towel lined plate and pat away any remaining grease.  Set bacon aside for later.
While the bacon is cooking, brown the chicken breasts.  In a large skillet or electric fry pan, melt 1 stick of margarine.  (I use margarine, because butter burns too quickly)
Place 1 cup of flour into a baggie and season it with salt and pepper.  About 1/2 tsp of each will do.

Shake each piece of chicken in the seasoned flour until it’s well coated.  Place chicken pieces in skillet and brown until golden on each side.
Place browned chicken in a 9×13 ” glass baking pan.
Cut your potatoes into thin french fry strips, and lay the fries around the chicken (Arctic circle type of thin!)
Pour all of the cream over the top of the fries and the chicken. Salt and pepper a bit more.
Crumble bacon over the top.
Sprinkle at least 2 cups grated Cheddar Cheese over the top. Sprinkle Parsley flakes on top of the cheese.

Chicken, Bacon and

Spray the underside of the foil with pam or pan release, and cover the chicken and potatoes. Poke a fork through the top of the foil, 2 or 3 times to allow a little steam to escape. This way, your cream doesn’t boil over into your oven!
Cook at 400 degrees for about 1 hour, or until potatoes are tender.

Chicken, Bacon and

Place your oven rack in the middle of the oven to begin with.
For crispy potatoes:  During the last 15 or 20 minutes of baking lower your rack one more step. This makes the bottom of your potatoes, brown and crispy.


On this day:

In 2006:  Palmiers
In 2007: 
In 2008: 
In 2009: 
In 2010:  Cast Iron Beer Chicken
In 2011:  Pizza Sauce

I'm back :)

2012_05220027

So after the whole debacle over my stuff being stolen, and having to move my blog over to the Wordpress platform, I have decided to come back to Blogger.

It's not that I didn't get along with Wordpress, I did, but I missed this little space of mine so very much.

You have to understand that I started this blog back in 2006 and I have so many memories in here.

When I had to move, it literally broke my heart.  You may find me silly for saying that because honestly it's just a blog, right?

Ahhh, but it's not.  It's my heart and soul, it's my sweat and tears and my life, right here, in this little corner, and I've left it for almost a year but never felt quite right about it.

When the plagiarism happened, I was furious, I was hurt and I just wanted to walk away completely.  I didn't want to ever think about another recipe being posted, or pictures taken, I just didn't want to deal with it at all, I guess in my mind I felt if I put enough space between me and the issue, it wouldn't be really happening.

But since that day, back in August of 2011, I have been so heartbroken.  I've tried to make the best of Wordpress and it's been a wonderful home for all these months, but it wasn't really HOME, know what I mean???

So I have decided that I'm not going to be chased away from my home by some unworthy person out there in the blogosphere.  I've put way too much into this blog to let it just sit here.

With that said......I will start posting my recipes back on here, but I'll continue to copy them on over to the Wordpress site as well, at least for the next month or so, just so I don't lose anyone :)

I can NOT tell you how excited I am to be back, I actually want to cry right now :)


On this day:

In 2006:  Palmiers
In 2007: 
In 2008: 
In 2009: 
In 2010:  Cast Iron Beer Chicken
In 2011:  Pizza Sauce

Some changes coming.....

Please go on over to the old blog and read all about it......the fact that I'm sending you over to the old blog is a big *hint hint*  :)


Wednesday, May 23, 2012

Gooseberry Patch Cookbook Winner

Thank you all for participating.  Wish I could each of you a copy of the cookbook :)


I used Random.org and the winning number was:

#12 - Christina Duffney


Congratulations Christina, I will be contacting you shortly.

Tuesday, May 22, 2012

Lemon and Orange Bars

My husband is crazy for lemon bars.  It is his favorite thing on earth.

Now, he's kind of like me,  in the sense that we are not big sweet fans.  We are not into cakes and pies and cookies etc.  It's just MEH!

Lemon and Orange Bars

If it's there and I'm offered a slice, I'll eat it but it's not something I will go out of my way to have, hence the reason you see more dinners etc on the blog than actual desserts.

But this is the one thing that we do enjoy, and him more than I.

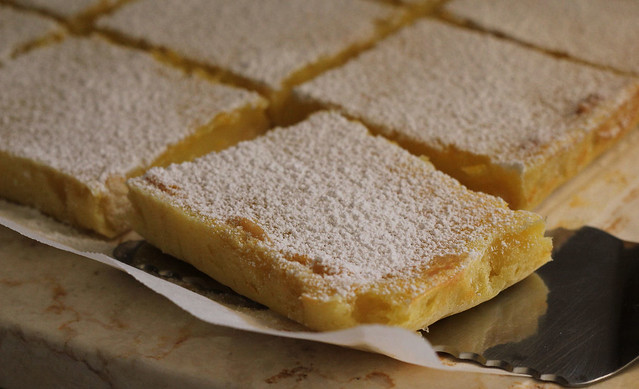
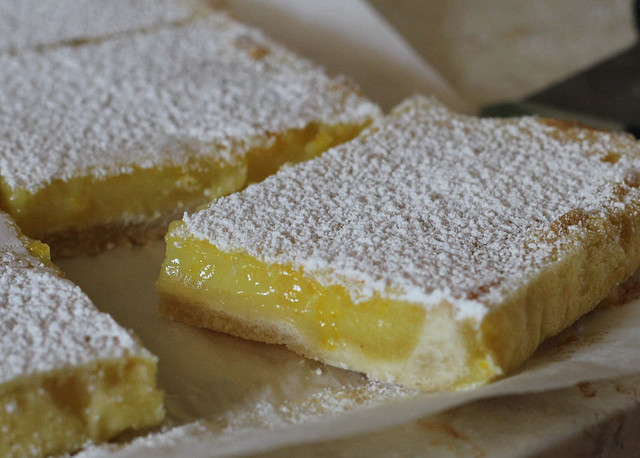
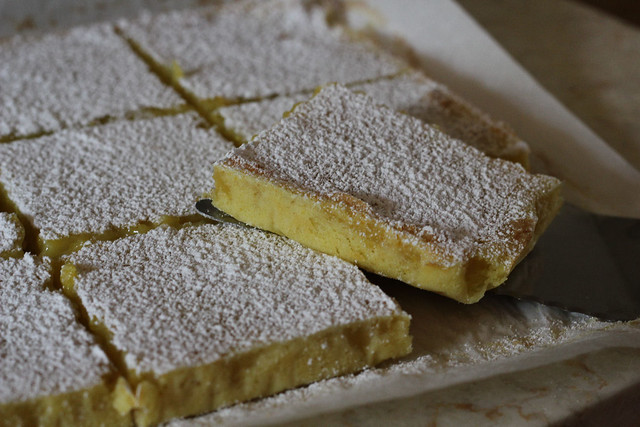
Today he is turning 39 years old and instead of the usual cake, I made him Lemon Bars but with Orange too.  So it's more of a citrus bar which is perfect for this time of the year.

Lemon and Orange Bars

These are SO good and they look so pretty too.  Give it a try. By the way, these came from the Good Food Magazine, June 2012 issue. The directions are for grams and ml. But here is a great link to visit to help you convert.

Lemon and Orange Bars

Lemon and Orange Bars


For the base:

250gr of flour (2 cups)
85gr of powdered sugar (3/4 cup)
175gr of butter, cut into small pieces (3/4 cup)

For the topping:
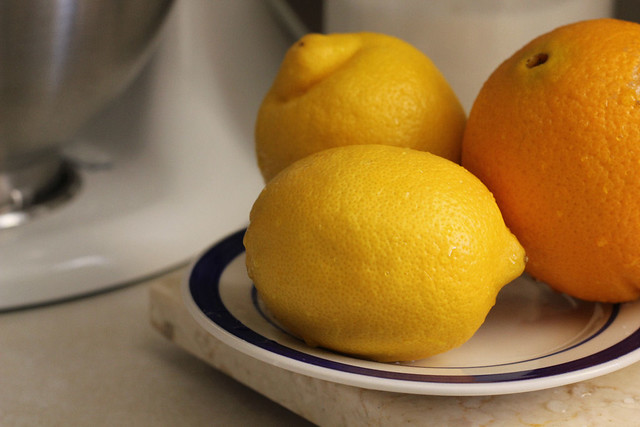
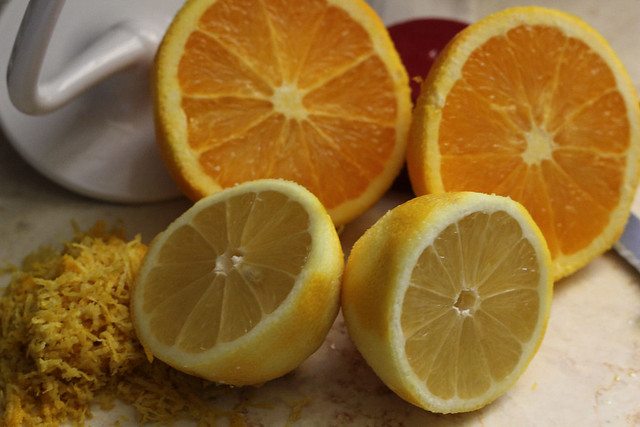
2 lemons and 1 large orange
4 large eggs
400gr sugar (I think that's too much, I only used 1 cup)
50gr flour (1/2 cup)


Heat oven to 375 degrees.

Line a 9 x 12 inch pan with parchment paper and set aside.

In your standing mixer, beat together the flour, sugar and butter until it forms crumbs. (I beat mine a little longer because I got distracted with a kid, so mine came out more bound like a dough, still good though)

Press into the prepared pan. Pop in the oven for 20-25 minutes until pale golden.

Finely grate the zest from the lemons and the orange.

Lemon and Orange Bars

Then squeeze out all the juice into a cup. You will need the juice from both lemons and the orange.

Lemon and Orange Bars

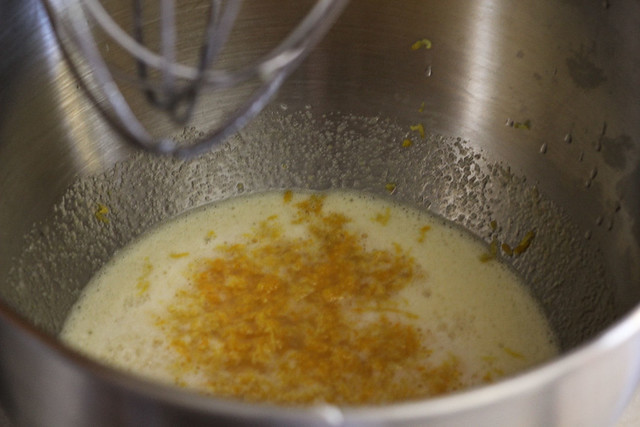
Whisk together the eggs and sugar, then add the zest and the juice, add the flour and mix well.

Lemon and Orange Bars

Pour over the base and bake for another 15 to 20 minutes, just until the topping has set. Remove from oven and let cool completely in the pan.

When cool, lift the parchment paper out, and then dust heavily with powdered sugar.

Enjoy :)

Lemon and Orange Bars

Monday, May 21, 2012

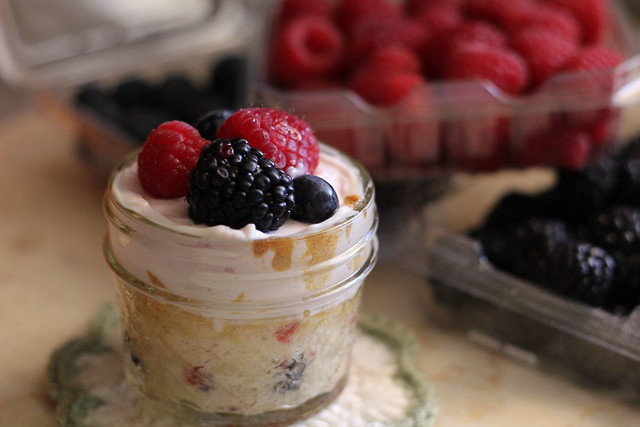
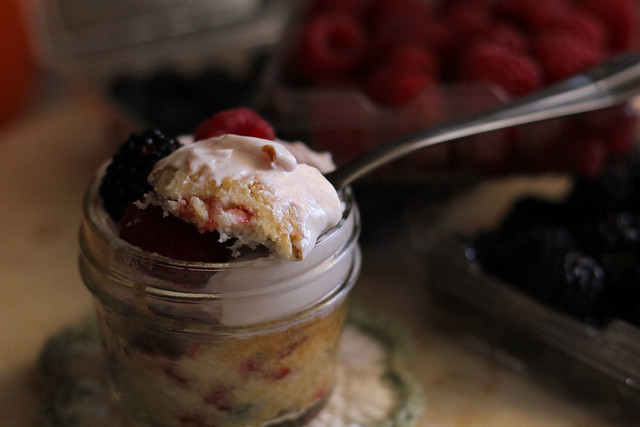
Mini Breakfast Jars

I was at the store the other day and found the really small 4 oz. mason jars.

Of course being the mason jar addict that I am, I couldn't exactly leave them there, so home they came with me.

Mini Breakfast Jars

Fast forward to today, and I was sitting at the kitchen table writing up some menu plans, and I sometimes like to add breakfast and lunch, even though we usually don't change that up very much.  As I was writing down muffins and yogurt with fresh berries, I had sort of a light bulb moment go off.

I thought, why not mix both up in the small jars, I mean muffins and yogurt together actually sounds really good.  And then throw in the fresh berries....and Yum!

Mini Breakfast Jars

I set to work right away.

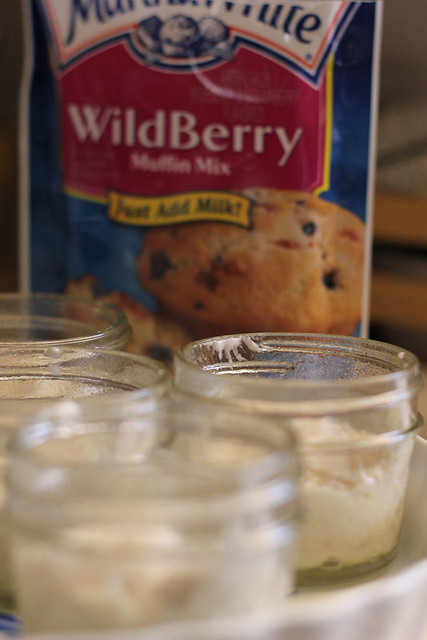
All I did was use the little packs of muffin mix that you get at the store.  I had mixed berry

Mini Breakfast Jars

and chocolate chip

Mini Breakfast Jars

and apple cinnamon.  I decided to leave the apple one for now, and experimented with the other two.

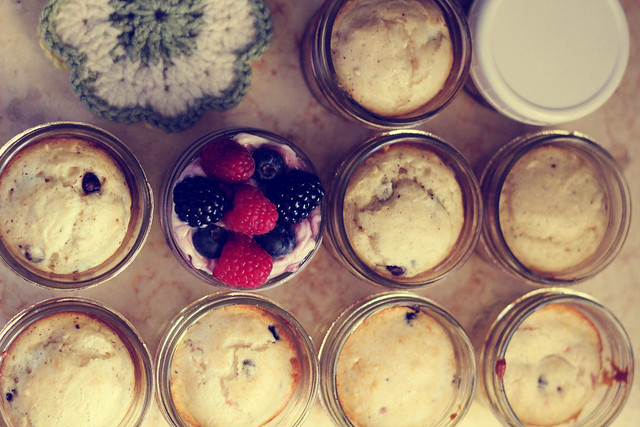
Mix according to directions, then spoon a little less than a 1/4 cup of the batter into each jar.

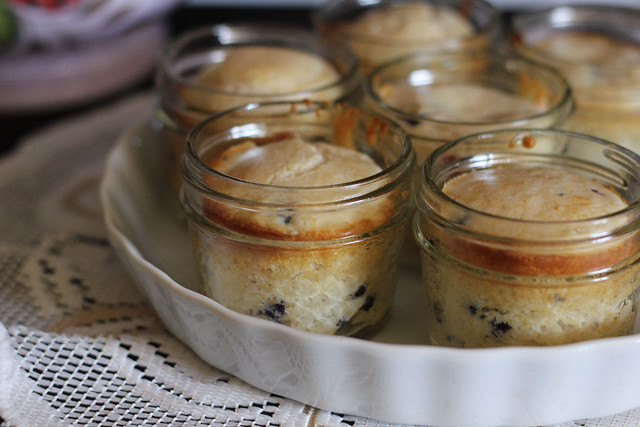
Bake in a 350 degree oven for about 25 minutes or until a toothpick inserted near the center, comes out clean.

Mini Breakfast Jars

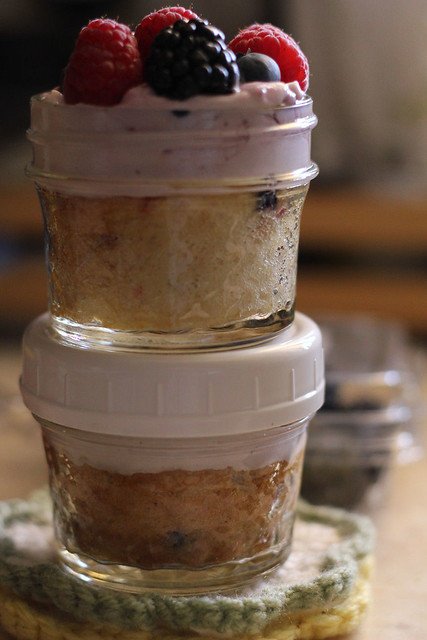
Let it cool completely.  At this point, if you are making a huge batch, I would suggest freezing them just as they are, they should keep for about a month,  which is how long my muffins usually keep in the freezer.

Mini Breakfast Jars

The rest of the jars, I'm assuming will last a day or two in the fridge once you add the yogurt and the fruit.  Though, I can tell you, I don't think they'll last that long at ALL.

Spoon on some of your favorite yogurt, I think the combination of flavors if what makes this fun.  For these I had Vanilla and Strawberry Greek Yogurt so that is what I used.

Mini Breakfast Jars

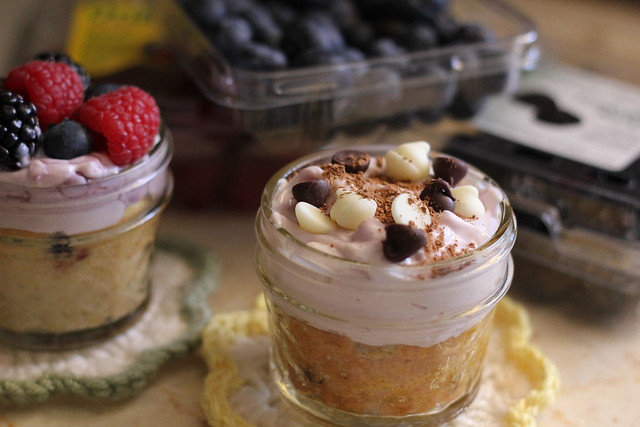
For the mixed berry muffin base, spoon on some strawberry yogurt (keep in mind you'll need to put a lid on these).  Add a few fresh berries.  Pop the lid on and into the fridge it goes.

Mini Breakfast Jars

For the chocolate chip base, I used vanilla yogurt, sprinkled on some chocolate chips and a little bit of powdered cocoa.  YUM!

Mini Breakfast Jars

I'm thinking tomorrow I'll make a batch of the apple cinnamon and use vanilla yogurt, then top with some apple slices and a sprinkling of cinnamon.

Oh I can't wait to try different flavor combos.  Quick, easy, simple breakfast and I'm already thinking when my hubby and I are watching our weight, I can use low fat/low calorie muffins and yogurt mixes :)

Mini Breakfast Jars

The perfect lids for these, are the Plastic Storage Caps. I actually need to get some more. You can find them at Walmart, or buy them on Amazon.

I'm using 4 oz  mason jars for these which you can also purchase at Amazon, or Walmart or your local Ace Hardware too.

Saturday, May 19, 2012

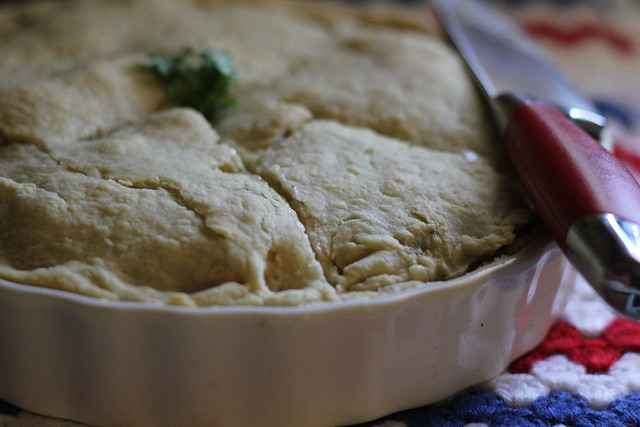
Amish Chicken Pot Pie

I often find myself just browsing through my cookbooks, reading the stories that go with the recipes, looking at the beautiful pictures, sifting through the ingredients etc.

Even though I've read The Amish Cook at Home a gazillion times already, I still pull it out and sit and read.

Amish Chicken Pot Pie

It was during one of these times that I once again happened across the page with the Chicken Pot Pie.

Now I've made chicken pot pie many times before and I've even shared the recipe here on the blog, but I figured, you know, Amish cooking is to me the epitome of comfort food and I've yet to try one of the recipes in this book that I didn't enjoy.  I'm SO glad I decided to put aside my preconceived notions of "it's just another pot pie", and gave this one a try.

YUM!

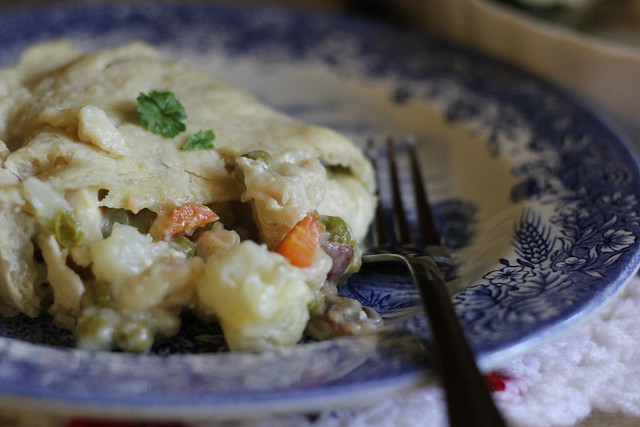
So simple, and yet so delicious.  Do give a try. This recipe makes 2, 9 inch pies, I halved it for myself and still ended up with 2 pies so I'm not sure what happened there LOL Maybe my pie dish is not deep enough or it's too small, but regardless, I now have an extra pie to pop in the freezer.

Amish Chicken Pot Pie

Chicken Pot Pie


2 cups peeled diced potatoes (I left the skin on my red potatoes)
1 3/4 cups sliced carrots
2 sticks of butter
2/3 cup chopped onion
1 cup all purpose flour
1 3/4 teaspoons salt
3/4 teaspoon ground pepper
2 tablespoons chicken soup base
3 cups chicken broth
1 1/2 cups of milk
4 cups cubed cooked chicken
1 cup frozen or fresh green peas
4 disks homemade pie dough


Preheat oven to 375 degrees F.

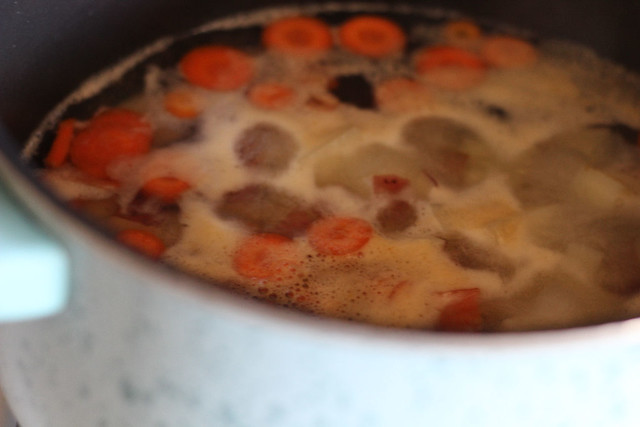
Combine the potatoes and carrots in a large saucepan. Cover with water and boil until almost tender, 12 to 15 minutes. Drain and set aside.

Amish Chicken Pot Pie

Melt the butter in a large saucepan over medium heat and saute the onion until tender, about 5 minutes. Stir in the flour, salt and pepper and chicken soup base until blended.

Gradually whisk in the broth and milk. Bring to a boil and cook, whisking constantly, until thick, about 2 minutes. Stir in the chicken, peas, potatoes and carrots. Remove from the heat.

Amish Chicken Pot Pie

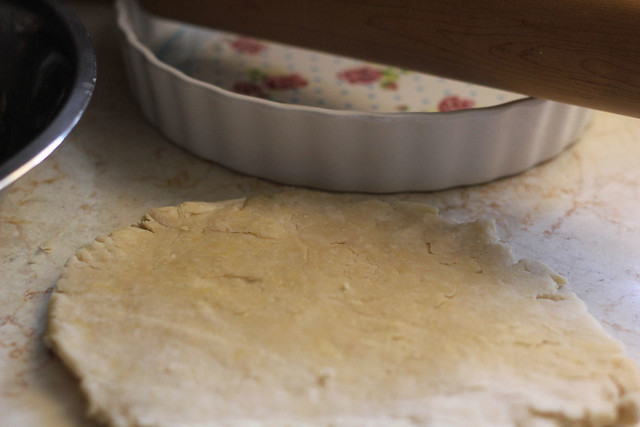
Roll out two disks of pastry to 1/8 inch thickness. Line two 9 inch pie pans with the pastry and trim to a 1/2 inch overhang. Spoon the chicken mixture into the pastry shells. Roll out 2 more pastry disks to a 1/8 inch thickness. Cover the pie pans with the pastry and trim to a 1 inch overhang. Fold the dough under and crimp the edges.
Cut decorative slashes in the tops of the pies. Bake until golden brown, about 30 minutes.

Amish Chicken Pot Pie

Amish Homemade Pie Dough

Here's a great pie dough recipe from the Amish Cook at Home Cookbook.

It's great for a sweet or savory pie, such as the Chicken Pot Pie I'm sharing tonight.

Amish Homemade Pie Dough

Homemade Pie Dough


3 cups all purpose flour
1 teaspoon salt
1 cup lard (I use shortening)
1 large egg
1/3 cup cold water
1 tablespoon apple cider vinegar

In a large bowl, combine the flour and salt. Stir to blend. Add the lard and rub it into flour with your fingertips until the mixture resembles coarse crumbs. Add the egg, water, and vinegar and stir with a fork until the dry ingredients are moistened.

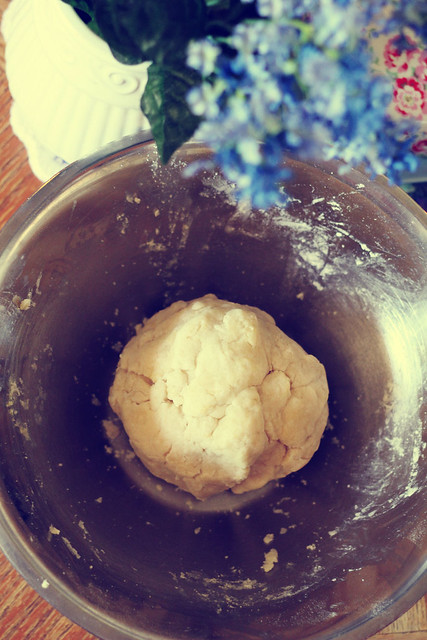
Form the dough into a ball and divide that into 3 balls.

Amish Homemade Pie Dough

Form a ball into a disk and roll it out into a 1/8 inch thickness on a floured surface. Fit the dough into a 9 inch pie pan and trim the edges into a 1 inch overhand.

Fold the dough under and crimp the edges. If not using now, form the remaining 2 balls of dough into disks, place each in a resealable plastic bag and freeze for up to 3 months.