Wednesday, March 17, 2010

Garlic Sauced Chicken

Easy chicken dish but it tastes amazing. Besides, who doesn't love garlic?


2010_03170036

Garlic Sauced Chicken

1 tablespoon vegetable oil
1 (2 1/2 pound) chicken, quartered
1 onion, chopped
3 cloves garlic, minced
2 tablespoons flour
1 1/2 cups boiling water
Salt and pepper
Paprika
1 Bay leaf

Heat oil in large skillet over medium-high heat. Add chicken; cook until browned, about 5 minutes per side. Remove chicken; keep warm.

Add onion and garlic to drippings in skillet. Cook, stirring frequently, until vegetables are a deep golden brown, about 5 minutes. Add flour. Cook, stirring continually, until golden brown.

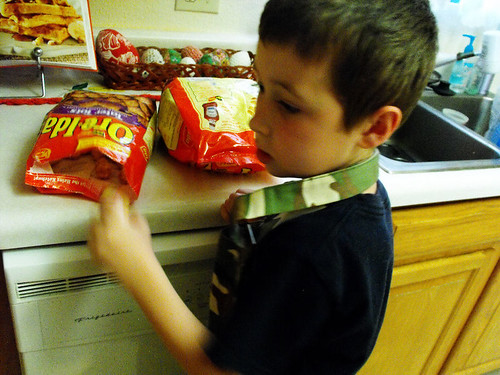
Nicholas picked tater tots and curly fries as a side dish, so here he is getting them ready. The kids absolutely LOVE cooking and I'm so thrilled.
2010_03170032

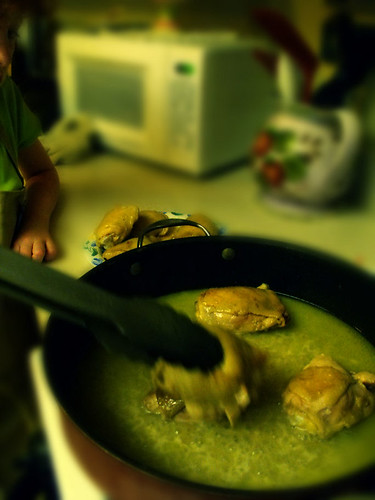
Gradually stir boiling water into skillet. Cook, stirring continually, until sauce thickens slightly. Return chicken to skillet.
2010_03170035

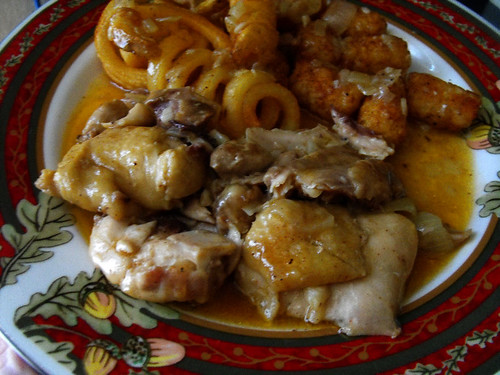
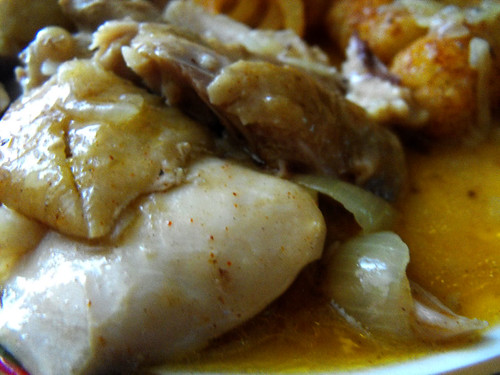
Simmer, covered, stirring occasionally, for 20 minutes or until chicken is tender. Add salt and pepper, paprika and bay leaf and cook chicken for 5 minutes longer.
2010_03170037

Monday, March 15, 2010

Kids in the Kitchen - Pepperoni Pizzaz

It's Spring Break here in our household and my children are home for the whole week.

Pepperoni Pizzaz

Thankfully they both love helping in the kitchen and cooking, so this week they've requested to be the ones making dinner every night, so with me just supervising and overseeing, they will be the Chefs in the kitchen this week.

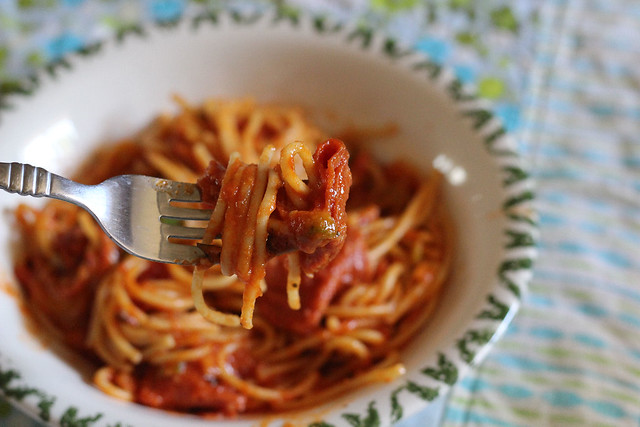
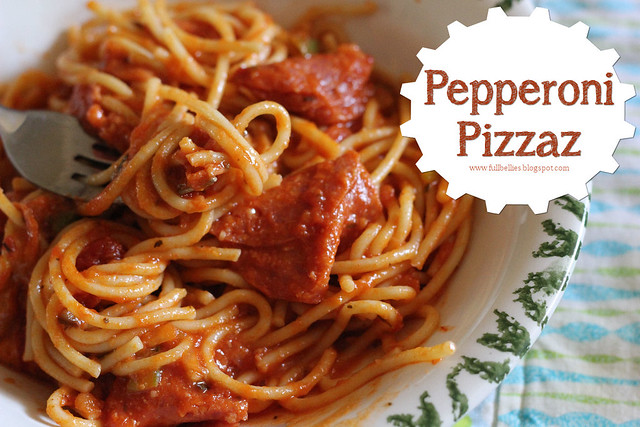
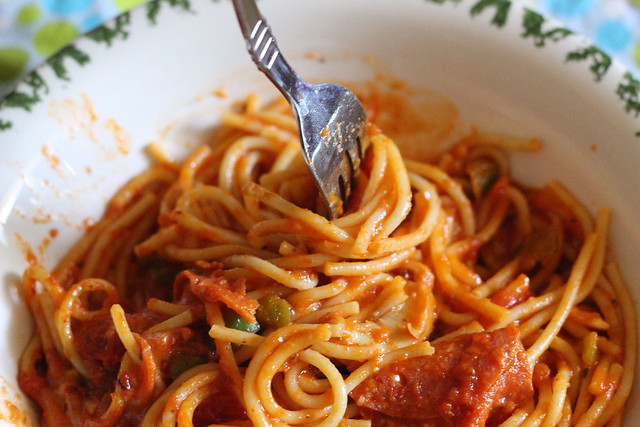
Starting with Jasmine who made Pepperoni Pizzaz, a great meal for kids who love Pizza and Pepperoni.

I used Spaghetti Noodles this time, instead of Penne pasta.

Pepperoni Pizzaz

PEPPERONI PIZZAZ
Credit: Tried and True Cooking with Heidi


8 ounces uncooked penne pasta
1 jar (28 ounces) spaghetti sauce, divided
1 package (8 ounces) sliced pepperoni
1 jar (4-1/2 ounces) sliced mushrooms, drained
1/2 cup chopped green pepper
1/2 cup chopped onion
1/2 cup grated Parmesan cheese
1/2 teaspoon garlic powder
1/2 teaspoon salt
1/8 teaspoon pepper
1/8 teaspoon crushed red pepper flakes
1 can (8 ounces) tomato sauce
2 cups (8 ounces) shredded mozzarella cheese


Cook pasta according to package directions.

Meanwhile, combine 2-1/3 cups spaghetti sauce, pepperoni, mushrooms, green pepper, onion,

Parmesan cheese, garlic powder, salt, pepper and red pepper flakes in a bowl.
Drain pasta; add to sauce mixture and mix well.

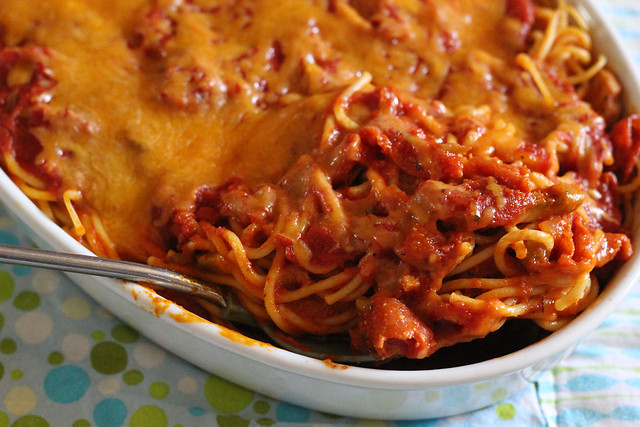
Transfer to a greased 3-qt. baking dish. Combine the tomato sauce and remaining spaghetti sauce; pour over top. (Note: for easier clean up, just empty the tomato sauce into the remaining spaghetti sauce jar, close tight and shake)

Cover and bake at 350° for 40-45 minutes or until bubbly. Sprinkle with mozzarella cheese. Bake, uncovered, 5-10 longer or until cheese is melted. Let stand 5 minutes before serving. Yield: 9 servings.

Pepperoni Pizzaz

Pepperoni Pizzaz

Sunday, March 14, 2010

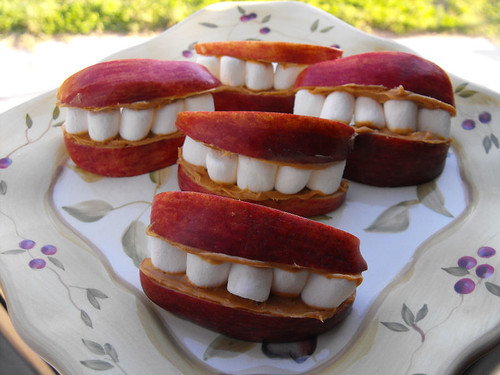
Hillbilly Teeth Snack!

My kids love snacks but sometimes they tend to go for what is easily accessible, which may not exactly be the healthiest to have around.

But here's a snack they can really sink their teeth into. *snicker*

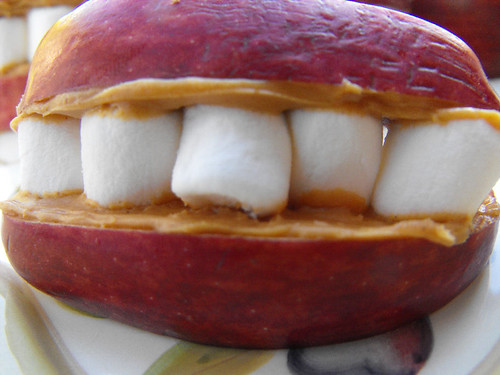
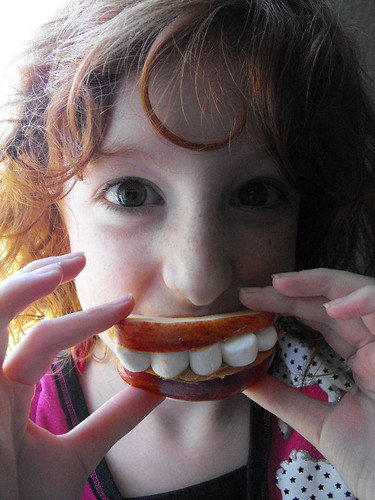
And don't forget to grab your camera, because kids will not only love eating these but playing with them too, mine lost a few teeth along the way, but thankfully these false teeth are cheap and easily accessed in your own kitchen, and they're mighty purty too, just look at them pearly whites.

2010_03140022

HILLBILLY TEETH
Credit: Heide at Tried and True Cooking with Heidi

smooth peanut butter
1 red apple, cored and slice into eighths
miniature marshmallows


Spread peanut butter on one side of each apple slice (squeeze a little lemon juice over apple if not serving immediately). Place marshmallows on one apple slice using the peanut butter as glue. Lay another apple slice, peanut butter side down, on top.


2010_03140023

Now that's what I call a pretty smile.

2010_03140017

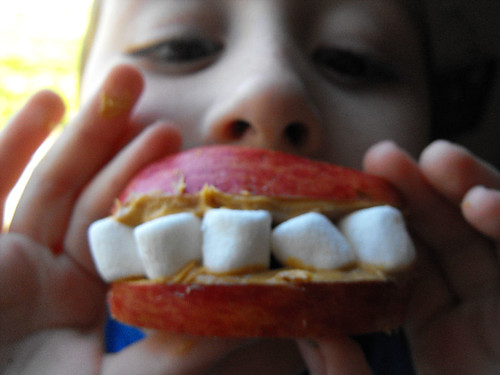
He should really see the dentist, that one crooked tooth on the right is growing in sideways

2010_03140020

Saturday, March 13, 2010

Banana Nut Buttermilk Waffles

Week day breakfasts are super simple around here, either toast, cereal or oatmeal, but weekends I try to make something special.

This morning I whipped up a batch of Banana Nut Buttermilk Waffles from my Kitchenaid Best-Loved Recipes cookbook. They are SO good!

2010_03130010

Banana Nut Buttermilk Waffles

3/4 cup walnuts or pecans
2 cups flour
1/4 cup sugar
2 teaspoons baking powder
1 teaspoon salt
2 eggs, separated
2 cups buttermilk
2 very ripe bananas, mashed (about 1 cup)
4 tablespoons butter, melted
1 teaspoon vanilla


Toast walnuts in medium nonstick skillet over medium heat 5 to 8 minutes until fragrant, stirring frequently. Transfer to plate to cool; chop and set aside.

Lightly spray waffle iron with nonstick cooking spray; preheat according to manufacturer's directions.

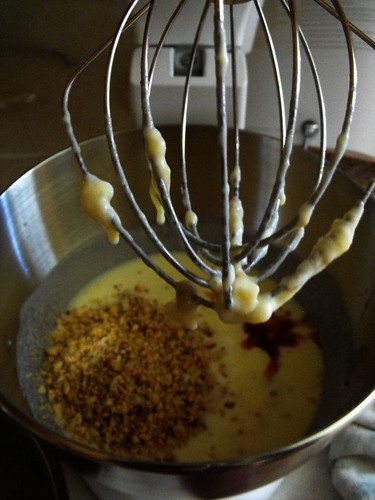
Meanwhile, combine flour, sugar, baking powder and salt in large bowl. Beat egg yolks in medium bowl. Add buttermilk, mashed bananas, butter, vanilla and wanuts; mix well.

2010_03130003

Stir buttermilk mixture into flour mixture just until moistened.

2010_03130005

Beat egg whites in bowl of electric stand mixer on high until stiff but not dry. Fold egg whites into batter.

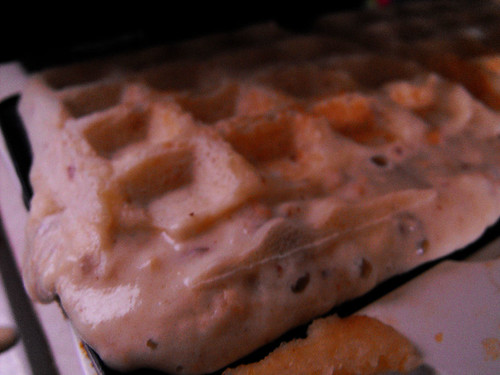
Pour 3/4 cup batter into waffle iron; bake 4 to 5 minutes or until golden.

2010_03130006

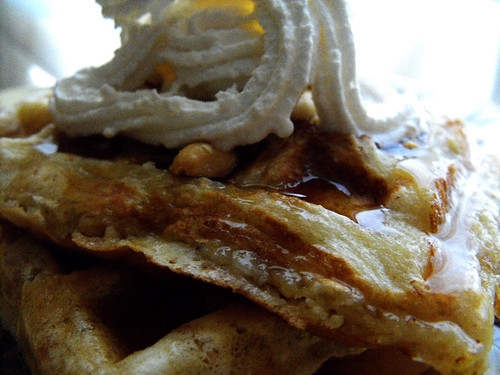
Serve with syrup and banana slices. Garnish with additional walnuts.

2010_03130009

Friday, March 05, 2010

Quick Yellow Cake and Chocolate Frosting

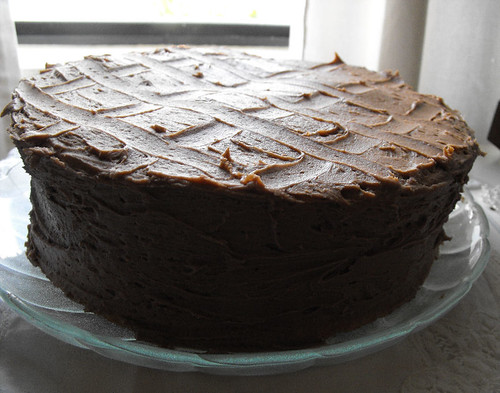
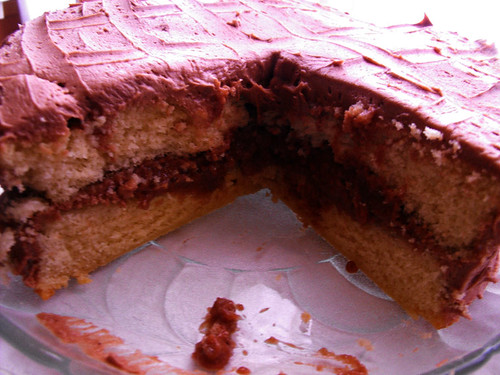
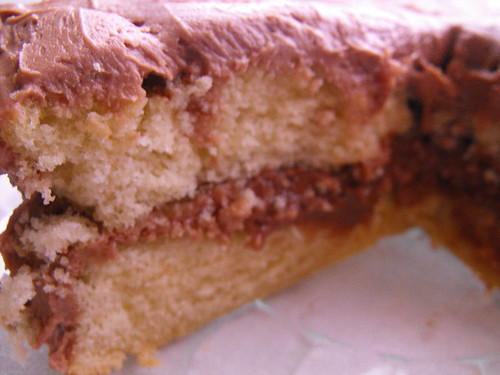
Straight from my new KitchenAid Cookbook, comes this super easy yellow cake and chocolate frosting.

It brings me memories of my grandfather and the cakes he would bake for us, sometimes late at night on a weekend he would ask if we wanted some cake and after our joyful replies of yes, he would stroll into the kitchen and dump a little of this and a little of that, pop it in the oven and 30 minutes later we sat around with big slices of warm yellow cake.

I miss him and I miss those cakes and I want my children to one day look back and say "you know, my mom baked cakes that did not come out of a box".

Let's face it, they are convenient but nothing beats a made from scratch cake and that includes frosting made at home too, not from a tub.

2010_03050023


Quick Yellow Cake

2 1/4 cups all purpose flour
1 1/3 cups sugar
3 teaspoons baking powder
1/2 teaspoon salt
1/2 cup shortening
1 cup low-fat milk
1 teaspoon vanilla
2 eggs

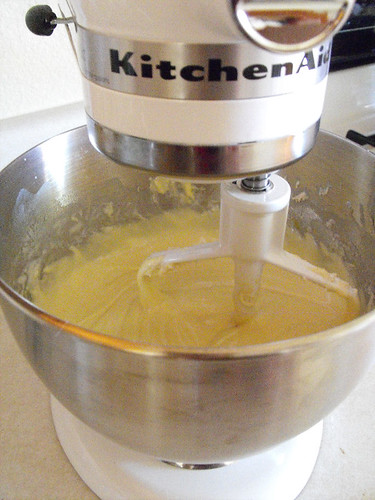
Combine dry ingredients in bowl of electric stand mixer. Add shortening, milk and vanilla. Turn to low and mix about 1 minute. Stop and scrape bowl. Add eggs. Continuing on low, mix about 30 seconds. Stop and scrape bowl. Increase speed to medium and beat about 1 minute.

2010_03050006

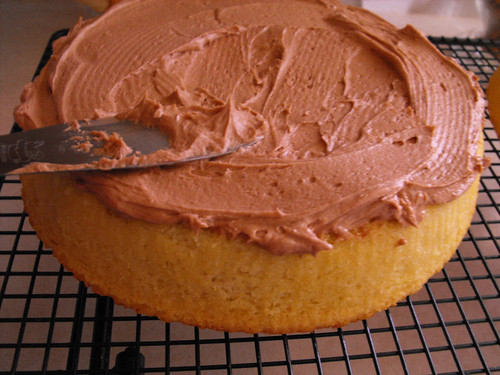
Pour batter into 2 greased and floured 8- or 9- inch round baking pans. Bake at 350 F for 30 to 35 minutes or until toothpick inserted into center comes out clean. Cool 10 minutes. Remove from pans. Cool completely on wire rack. Frost, if desired.

2010_03050019

2010_03050029

2010_03050031

***************************************

2010_03050013

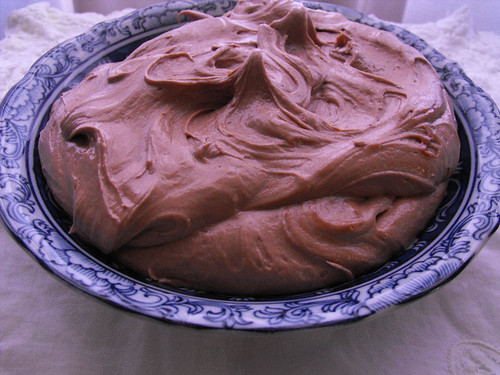
Chocolate Frosting

1 cup (2 sticks) butter, softened
2 tablespoons light corn syrup
4 cups powdered sugar
2 squares (1 ounce each) unsweetened chocolate, melted

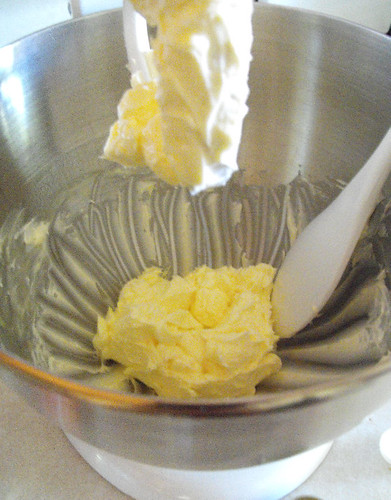
Place butter in bowl of electric stand mixer. Turn mixer to medium-low and beat 1 1/2 minutes or until creamy. Stop and scrap bowl. Add corn syrup. Reduce speed to low and mix well. Stop and scrape bowl.

2010_03050009

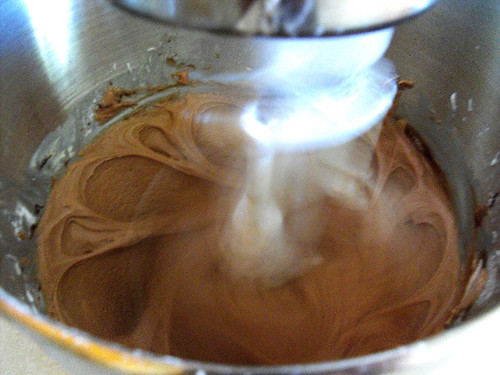
Continue mixing on low. Gradually add powdered sugar, mixing until blended. Turn speed to meidum-low and beat about 1 minute. Stop and scrape bowl. Reduce speed to low. Slowly add melted chocolate and mix about 1 1/2 minutes. Stop and scrape bowl. Turn speed to medium-low and beat about 1 minute.

2010_03050011

Makes frosting for a 2-layer or 13/9/2-inch cake.