Showing posts with label instant pot. Show all posts

Monday, September 06, 2021

Instant Pot Oatmeal

Instant Pot Oatmeal

Quick, creamy, delicious and perfect any time of year.  With this basic recipe you have a starting point to any variation, favorite flavors or all time favorites like brown sugar and cinnamon.
 
It's no secret that I love my Instant Pot and use it at least once a day.  If I can make it in there,  you better believe it's going in.  

When I learned how to make oatmeal for breakfast, it was like hitting the jackpot.  See, I don't like the oatmeal that comes in the little packets, to me it has to be homemade and creamy, and it's something I could never quite achieve with ready made.
 
Instant Pot Oatmeal

This instant pot oatmeal is so creamy and so delicious, you'll want to have it every morning.

Just a quick note.  You need to use old fashioned oats, but if all you have are quick oats, which is what I mostly have on hand, then you will need to cook it for just a minute and what I even do, is the minute it comes to pressure, I cancel it and do a quick release. 
 
If I don't, then I'll usually get the burn notice because the bottom will start to stick, not that it's a big deal, I still eat it just being careful not to scrape the burning parts on the bottom.
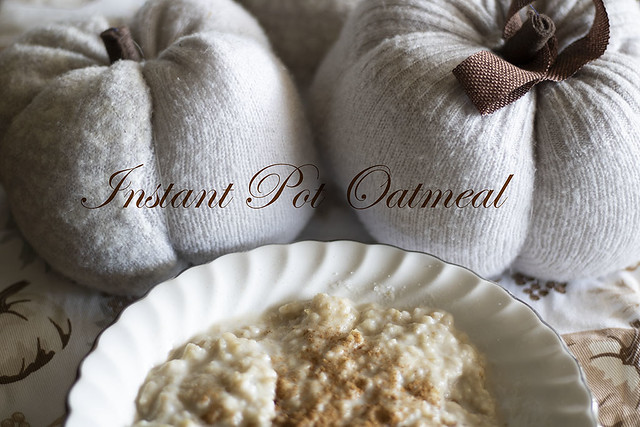
Instant Pot Oatmeal

Instant Pot Oatmeal 
 
 
Ingredients
1 and 1/2 cups old fashioned oats
1 and 3/4 cups of water
2 and 1/4 cups of milk
4 tablespoons brown sugar
Optional: you can add in dates, sliced bananas, blueberries, chopped apple.  Whatever you wish.  
 
 
Add the oats, water, milk and brown sugar to the instant pot.  Stir to combine.  Make sure it is set to seal, and then click the porridge button and set it at 6 minutes, then do a quick release.  You can also let it do a slow release, but don't let it go too long.
 
Serve immediately.


Tuesday, March 02, 2021

Instant Pot Chicken and Dumplings

My Instant Pot has become one of my most used, and favorite kitchen gadgets. 

I use it 2 to 3 times a week, basically use it, wash it and use it again.  From breakfast, to lunch, to dinner, I know I can get a meal going quickly and in no time, we are sitting down to eat.
 
This chicken and dumplings recipe is another, that has made getting dinner on the table, a breeze.  I got the recipe from one of my favorite Youtube Channels, The Moss Family TV.  The minute I saw Falon making it, I knew I had to try it, and boy am I glad I did.
 
The whole family loved it, and it is now printed out and in my recipe binder.  That's when you know a recipe is successful.
 
So give it a try and let me know what you think.
 

January 28, 2021 

Instant Pot Chicken and Dumplings 
 
 
2 tablespoons vegetable oil 
2 lb boneless, skinless chicken breast, cubed 
1 cup diced yellow onion 
1 cup sliced carrot 
3 cloves garlic cloves, minced 
1 teaspoon salt 
5 tablespoons unsalted butter 
6 tablespoons all-purpose flour 
6 cups chicken broth 
½ cup heavy cream
2 bay leaves 
1 ½ cups frozen peas 
4 tablespoons fresh parsley, minced 
 
DUMPLINGS 
2 cups all-purpose flour 
1 tablespoon baking powder 
½ teaspoon salt 
½ teaspoon pepper 
1 ⅓ cups heavy cream 
 
Turn Instant Pot onto the saute setting, pour in vegetable oil. Add the chicken and cook until browned on both sides. Add carrot and onion and cook until just tender, about 3 minutes. Add the garlic and stir for another minute, until fragrant. 
 
Add the butter and flour, stirring constantly for 3 minutes to prevent lumps from forming. Add the chicken broth, cream, thyme, and bay leaves. Add the frozen peas. Make the dumplings: In a large bowl, combine the flour, baking powder, salt, pepper, and cream. 
 
Stir until mixture comes together into single mass of dough. 
 
Form the dough into small round balls about 1 inch.  Place the dough balls in the simmering soup (making sure they don’t touch), add the parsley, and cover. 
 
Seal the lid and cook on high pressure for 8 minutes. Let it do a 10 minute slow release and then release any remaining pressure.

Tuesday, October 09, 2018

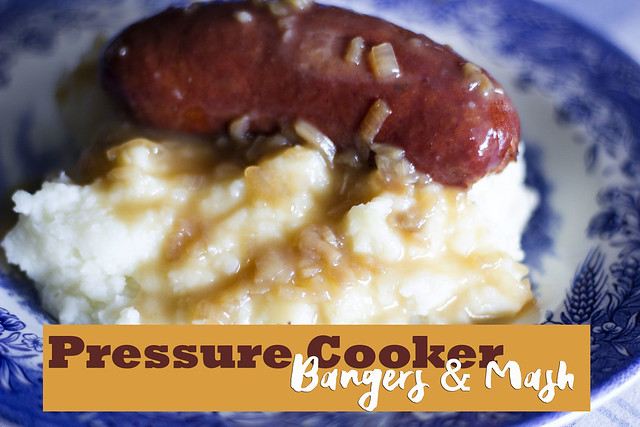
Pressure Cooker Bangers and Mash

It's no secret that one of my favorite kitchen gadgets, has been my pressure cooker.  The versatility and the endless ways we can prepare food in it, is by far one of the best investments you could ever make for your kitchen.

I received mine two years ago for Christmas, and I've actually requested another one for this year, that's how much I love mine.

One thing I find quite a lot of fun to do, is adapting recipes from the oven or stove, to make in the pressure cooker, I just find that it cuts down cooking time dramatically and sometimes, when our days are super busy, it really helps get a good home cooked meal on the table.


_MG_3202

Pressure Cooker Bangers and Mash


6 thick sausages
olive oil
1 cups water
1 packet of onion gravy mix


Turn the pressure cooker on to Saute, and then add a drizzle of olive oil, add the sausages and cook until brown.  When done, pour in the cup of water and the packet of onion gravy mix.  Press the cancel button on the pressure cooker.

Pop on the lid, make sure the valve is set to seal, then cook on Manual High for 6 minutes.  As soon as it is ready, click cancel/keep warm, and do a quick release of the steam.  I like to pop on a kitchen towel over the valve when releasing the steam so it doesn't sputter everywhere.


If the gravy is very thin, you can turn on the saute feature again and add in about a tablespoon of cornstarch, mix it well to avoid clumps and let sauce thicken.

Thursday, March 30, 2017

{ Pressure Cooker Boiled Eggs - Instant Pot }

I've been meaning to add more Instant Pot recipes to the blog, but I haven't had a chance to update it or get back into my usual posting.

Two Christmases ago, my husband got me this instant pot which he knew I had been wanting.  Seemed to be all the rave at the moment and to be frank, I wanted one but was very intimidated by the thought of using it in my own kitchen.

My run ins with pressure cookers were in my greatgrandmother's kitchen.  That huge metal thing would sit on the stove and whistle loudly, the little pressure valve quickly snapping back and forth.  It terrified me.  It didn't help that I would hear horrible stories of pressure cookers blowing up in the kitchen.

But I also knew the perks and advantages of having one and now that they are electric and pretty much do their own thing, I decided it was time to bite the bullet and go for it.

I am so glad I did, I use it a lot, and it's become a wonderful addition to my kitchen.

I'm hoping to add a few more recipes here as I try them, but I thought I would share how to make boiled eggs, especially with Easter right around the corner, knowing that we are all going to be making a ton of these for deviled eggs and decorating with the kids etc.


Pressure Cooker Boiled Eggs


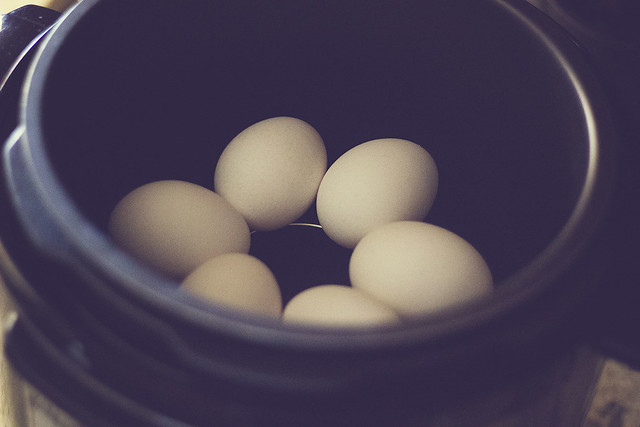
So here's how you do it.  I placed my metal rack on the bottom, and then sat the eggs on top.  You don't want the eggs to touch the bottom of the bowl.

Add 1 cup of water, and then set it on the rice setting for 9 minutes.

I've seen online where some people use their rice setting and turn it to 6 minutes, but my pressure cooker won't let me go below 9 so I went with it and it worked perfectly.

January 12, 2016

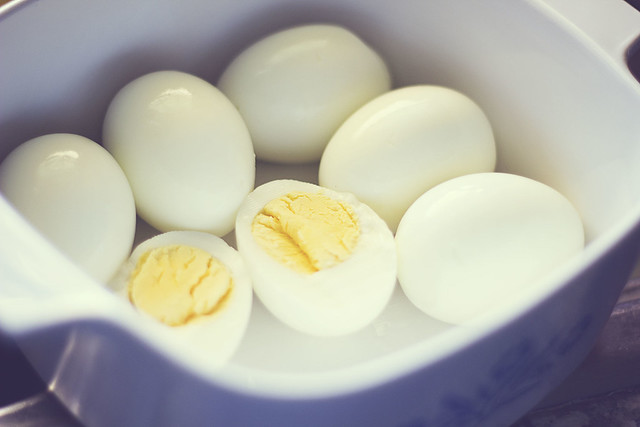
As soon as the eggs were done, I used the quick steam release, and dumped them into a bowl of ice cold water.  You DON'T have to use the quick steam release, you can just let the instant pot release the pressure on it's own.

They peeled off so well and were cooked to perfection as you can see below.

January 12, 2016

I'm trying some decorating techniques for Easter today, so at the moment I have another batch of eggs going in the instant pot. This is going to make Easter so much easier :)