Saturday, December 25, 2010

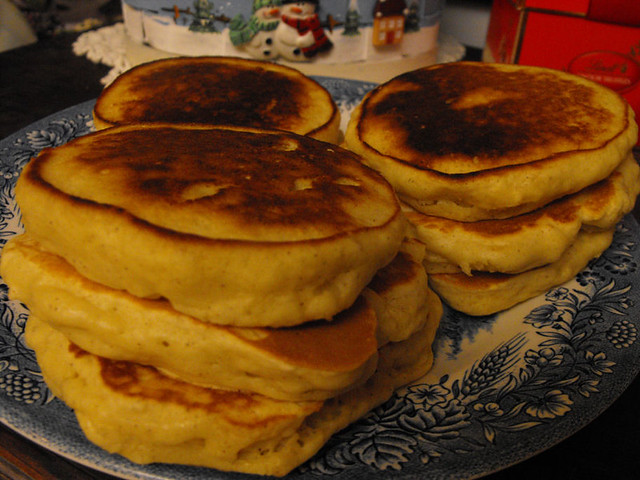
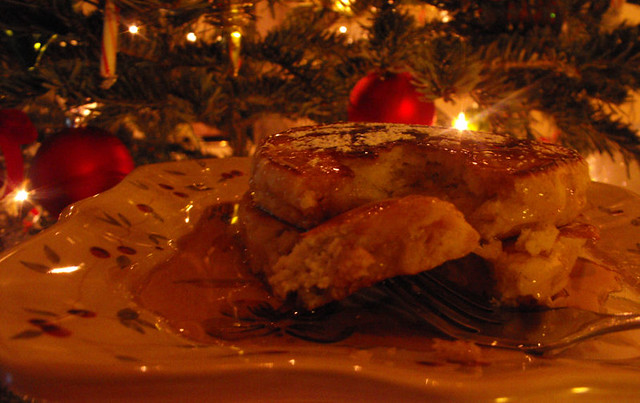
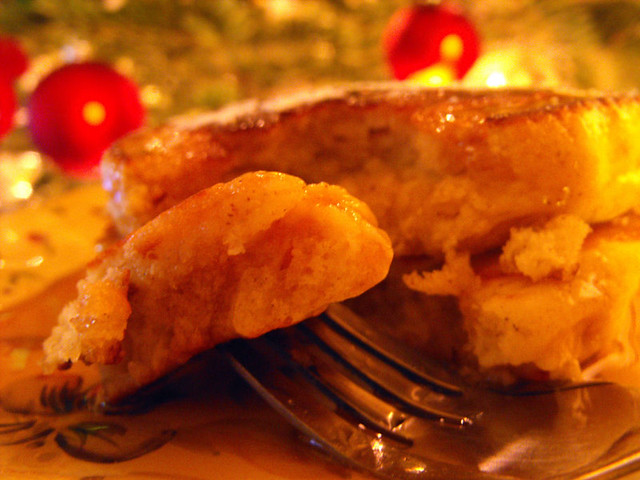
Eggnog Pancakes!

Oh Christmas, it seems like we always wait so long for it and then within a few hours it's all over and done with.

2010_12250023

One of the things I most look forward to during this holiday, is the food, and you can't think of Christmas in the States without thinking of Eggnog.

Truthfully I had never tried it until I moved to the USA back in 1998, the only reason I even knew it existed was from all the hollywood movies we would watch.

But, it's since become one of my favorite Christmas pleasures.

Apart from drinking it, one of my favorite ways to serve eggnog is in pancakes and these are SO fluffly and airy, they rise up beautifully.  We have it for Christmas morning breakfast or even for dinner if we're too full from the Ham or the Turkey.

It doesn't mean you're only allowed to have it at this time of the year, go ahead and try it ANY time, they are delicious.

2010_12250025

Eggnog Pancakes


Ingredients

* 2 cups all-purpose flour
* 4 teaspoons baking powder
* 1/2 teaspoon salt
* 1/4 teaspoon ground cinnamon
* 2 eggs
* 1 1/2 cups eggnog
* 2 tablespoons butter or margarine, melted

Directions

1. In a bowl, combine the flour, baking powder, salt and nutmeg if desired. In another bowl, beat eggs, eggnog and butter; stir into dry ingredients just until moistened. Pour batter by 1/4 cupfuls onto a lightly greased hot griddle. Turn when bubbles form on top; cook until second side is golden brown.

Notes:  I use the Shamrock Farms or Southern Comfort Eggnog

2010_12250034

Sunday, December 19, 2010

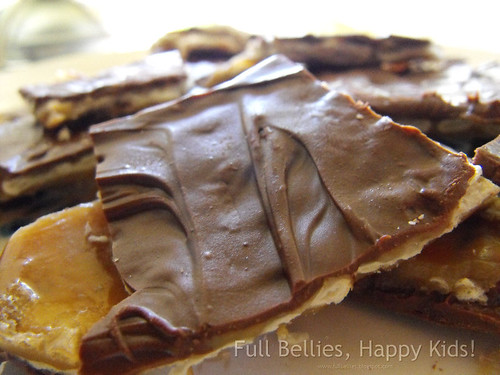
8 Days of Christmas - #3 Sweet and Saltines

Well this is just crack, there's no way that you can eat just one and walk away, frankly there's no way you can eat just two or three and walk away.  They are THAT addicting.

I am not going to post the whole recipe as it's already on my blog, I'll just link you to it.  Enjoy!

8 Days of Christmas - #1  Peppermint Bark
8 Days of Christmas - #2  Homemade Caramels
8 Days of Christmas - #3  Sweet and Saltines


2010_04160021

Saturday, December 18, 2010

8 Days of Christmas - #2 Homemade Caramels

These are not only easy to make but I promise you will never buy store bought caramels again.  So So good.

8 Days of Christmas - #1  Peppermint Bark
8 Days of Christmas - #2  Homemade Caramels


Credit: Southern Plate

Creamy Caramels

  • 1 Cup sugar
  • 1 Cup Butter or Margarine
  • 1 teaspoon vanilla
  • 1 cup dark corn syrup
  • 1 can (14 ounces) sweetened condensed milk
Line an eight inch square pan with heavy aluminum foil. Butter foil and set aside. In large sauce pot, place sugar, corn syrup, and butter. Bring to a boil over medium heat, stirring constantly. Boil slowly for four minutes without stirring and then remove from heat. Stir in sweetened condensed milk. Return to medium heat and place candy thermometer in pot. Cook, stirring constantly, until thermometer reads Soft Ball Stage (238 degrees). Remove from heat and stir in vanilla.
Pour into prepared pan. Allow to cool until able to handle. Cut into one inch squares and place each square (which will look like a blob at this point) in the center of a wax paper square, roll up and twist ends.

Friday, December 17, 2010

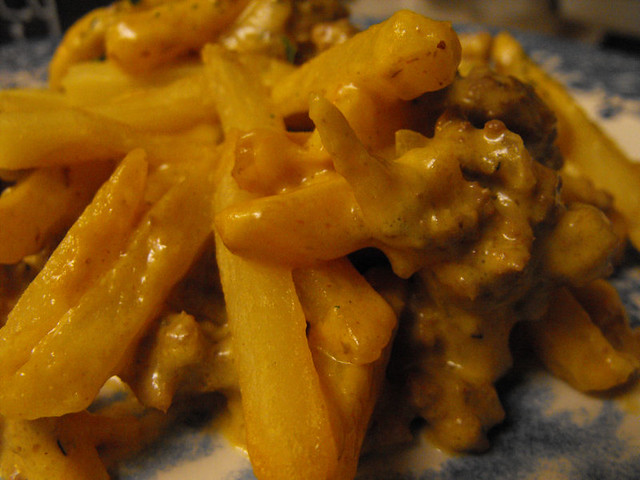
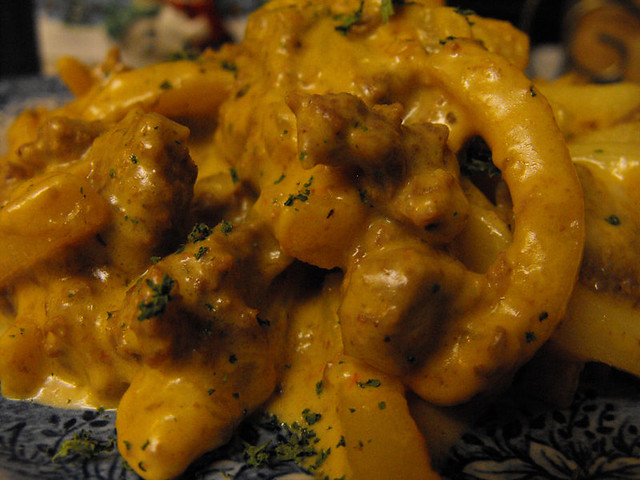
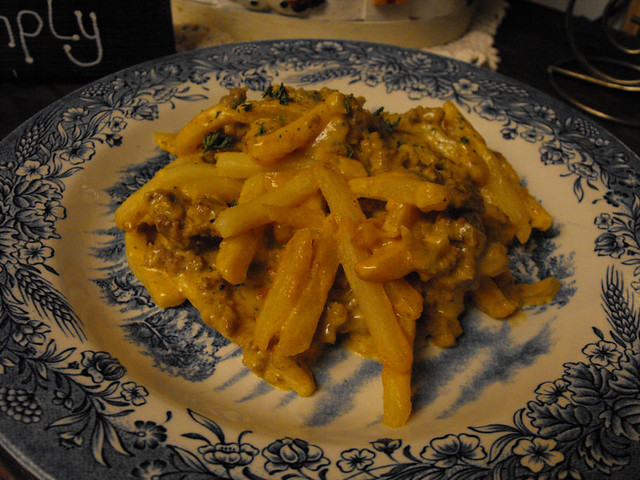
Green Chile Cheeseburger Casserole

2010_12170054

Yum.my!

That's all I can say about it.  My kids gobbled it down and thought it was super delicious, hubby said it was really good and I said nothing because I was too busy shoving it down my throat.  So good.

2010_12170056

I recently came across a blog named The Cooking Photographer and I fell in love, mainly because the author lives in Idaho and that's where I want to be, but also because of the great easy delicious food she graces the posts with....like this one.

Give it a try, I bet your family will love it.

2010_12170053

Green Chile Cheeseburger Casserole

Ingredients1 ½ pounds extra lean ground beef
½ an onion, diced
¼ teaspoon onion powder
¼ teaspoon garlic powder
¼ teaspoon salt
¼ teaspoon fresh ground pepper
1 (7 ounce) can diced mild green chiles
1 (15 ounce) can Garacias Nacho Cheese Mexican Cheese Sauce, medium or mild (I used medium)
1 heaping cup shredded chipotle cheddar cheese, or cheddar cheese of your choice
About 1 pound frozen shoe string french fries
A sprinkle of salt for fries

Instructions1. Preheat the oven to 400 degrees. Get out a 9x13 inch Pyrex pan and a large skillet.

2. Cook the ground beef, onions, onion powder, garlic powder, salt, and fresh ground pepper together over medium high heat until no longer pink, Strain off the fat and place the meat mixture back in the pan.

3. Add the chiles and nacho cheese sauce to the pan and stir into the meat. Cook for about four minutes on medium low until combined and warmed through.

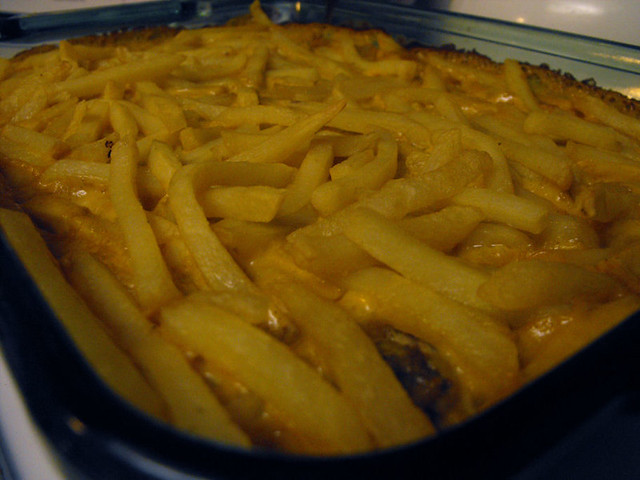
4. Pour the meat mixture into the 9x13 inch pan. Spread out and top with shredded cheddar. Top with frozen fries and sprinkle lightly with salt.

5. Bake for 30 minutes.

2010_12170052

8 Days of Christmas - #1 Peppermint Bark

Can you believe it?  Only 8 days left until Christmas, where has this year gone?

I was going to do the 12 days of Christmas to stick with tradition but I've been so busy around here that I haven't really had a chance to sit down and compose a post.

I've been baking and baking and baking some more, not only for us here at home but for gifts for friends and teachers and so forth.  It's been crazy busy but there's nothing more pleasant than a Christmas Kitchen.

So here we go folks.....the 8 Days of Christmas.   From today until Christmas Day, I will posting a recipe for goodies, who knows maybe it will inspire some of you to get into your kitchens and whip up some delicious gifts for those you love.

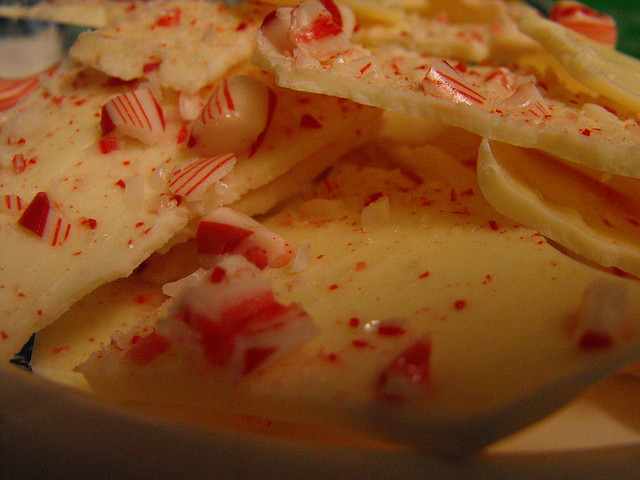
First on the list............Peppermint Bark.  Oh yeah, you know I wouldn't let that one go.  This is so so so easy to make and so so so easy to eat too LOL

Use dark, milk or white chocolate, whichever you prefer, I used White chocolate for this batch but my next one is Milk Chocolate.

8 Days of Christmas #1 - Peppermint Bark
 

2010_12170005

Peppermint Bark


1 bag of white chocolate chips
1 tablespoon shortening (don't have to use it, I actually learned this trick from my friend Jen and it really does make the chocolate melt easier)
10 or more candy canes


Place white chocolate chips in a microwave safe bowl.  Microwave for 30 seconds...stir.  Microwave for another 30 seconds...stir again.  Repeat until white chocolate is melted.

Crush candy canes, remember to leave some big pieces.   Place the candy cane pieces into a metal strainer and shake them into the melted white chocolate, stir.  

Line a cookie sheet (jelly roll pan) with wax paper.  Pour the white chocolate onto cookie sheet and sprinkle the remaining candy cane pieces on top of the white chocolate.

Place in the refrigerator until firm.  Break into chunks.
Watch hit disappear!  My first batch is GONE!  Now I have to make the second one.  

Tuesday, December 07, 2010

Cinnamon Oatmeal Cookies

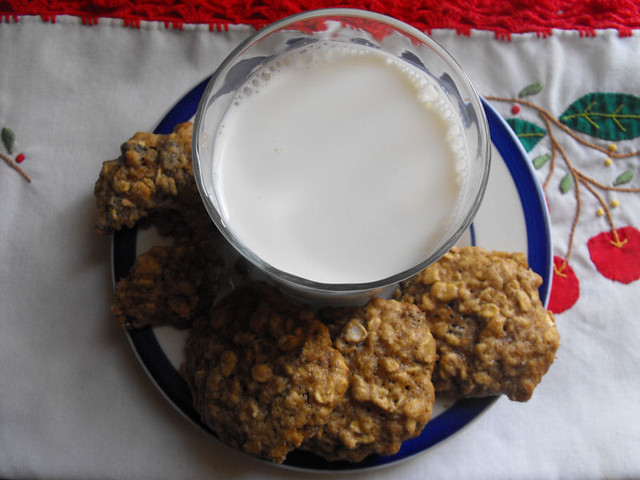
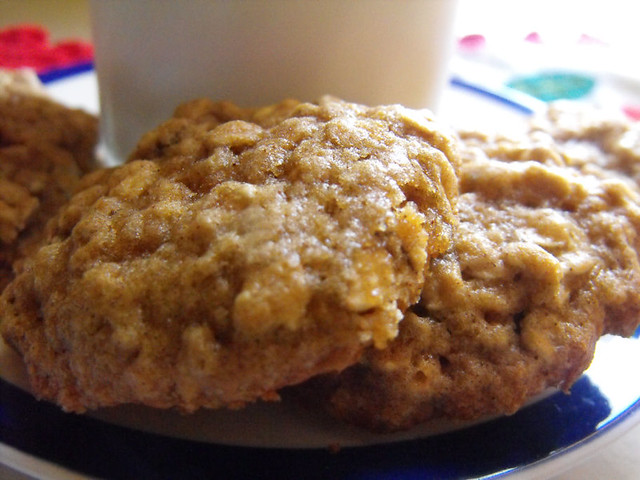
Hot out of the oven, there is nothing better than an oatmeal cookie, whether it's paired with chocolate chips or raisins or cinnamon.

I made these this afternoon as an after school snack for my kids.  The house smelled divine.

2010_12070014

My favorite way to eat these? Warm and dipped into a glass of milk. *drool*

2010_12070010

Cinnamon Oatmeal Cookies
Credit:  Taste of Home

Ingredients

  • 1 cup butter, softened
  • 1 cup sugar
  • 1 cup packed brown sugar
  • 2 eggs
  • 1 teaspoon Spice Island® Pure Vanilla Extract
  • 1-1/2 cups all-purpose flour
  • 1 teaspoon baking soda
  • 1 teaspoon ground cinnamon
  • 1/2 teaspoon baking powder
  • 1/2 teaspoon salt
  • 3 cups quick-cooking oats

Directions

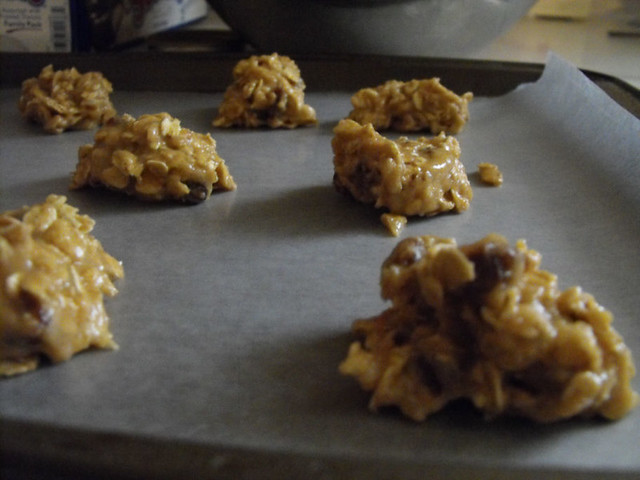
  • In a large bowl, cream butter and sugars until light and fluffy. Beat in eggs and vanilla. Combine the flour, baking soda, cinnamon, baking powder and salt; gradually add to creamed mixture and mix well. Stir in oats.
  • Shape into 1-1/2-in. balls. Place 2 in. apart on ungreased baking sheets.

    2010_12070005

    Bake at 350° for 10-12 minutes or until golden brown. Cool for 1 minute before removing to wire racks. Yield: 4 dozen
2010_12070011

Sunday, December 05, 2010

Bread Rolls

I love my KitchenAid, I use it pretty much every single day, no matter what I'm making.

I think my favorite recipes to make though are for bread dough, I love that I don't have to sit there and knead and knead and get all messy, though I DO once in a while still make bread that way, just because I love the whole process.

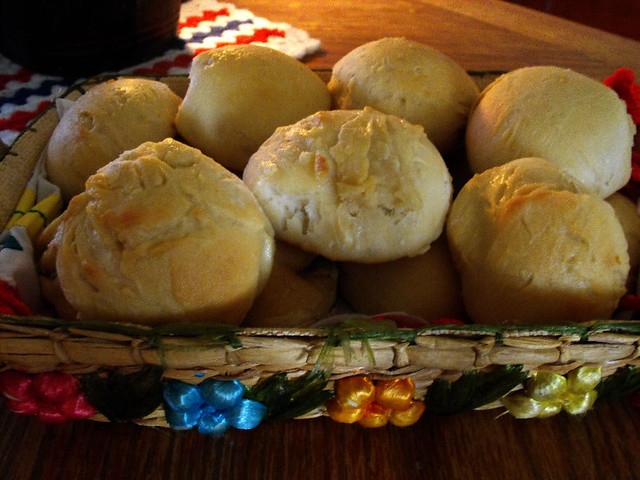
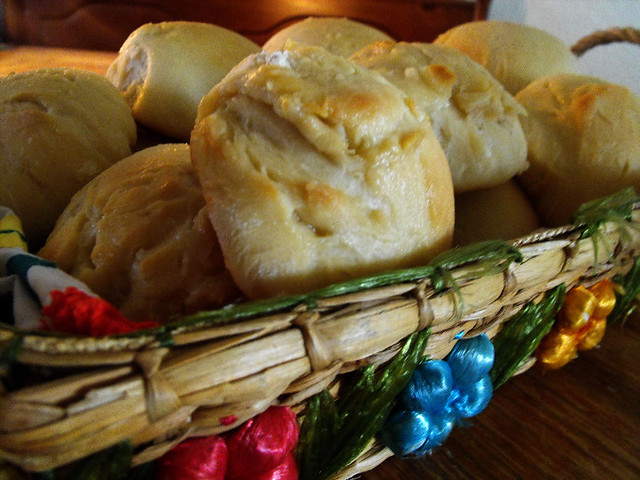
I found this recipe online while looking for a quick and easy way to make rolls.  These turned out pretty good.  I had a bit of a hard time when it came to adding the 1/2 cup flour increments and waiting for it to pull away from the sides of the bowl.  It just seemed like I added an enormous amount of flour and the rolls turned out a bit too doughy for my liking.

2010_12050003

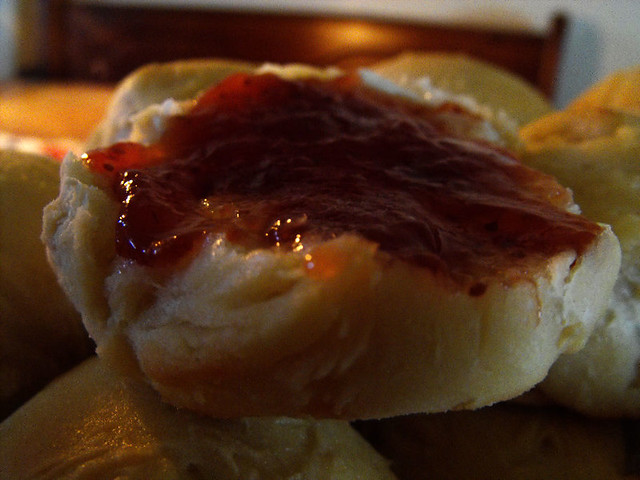
BUT they're still delicious and the kids and I slather on some butter and strawberry preserves while they were still warm.  Yum!


2010_12050001

Molly's Rolls
Credit: Real Mom Kitchen
Ingredients:
  • 1 cup warm water
  • 1 cup warm milk
  • 1/3 cup sugar
  • 1 package yeast(2 1/4 teaspoon)
  • 1/3 cup oil
  • 1/2 T salt
  • 1 egg
  • flour
Directions: In mixer combine yeast, sugar, and warm water; let grow until bubbly(about 5 minutes). Add milk and mix. Mix in oil and egg. Slowly add 2 cups flour, mix and then add salt. Add 1/2 cup flour at a time until it comes away from side of bowl. Let rise in mixing bowl for about 30 minutes. Form rolls as desired and place on a greased cookie sheet. Let rise and additional 30 minutes. Bake at 400 degrees for 10-12 minutes. (Rotate pans after 7 minutes.) Brush hot rolls with melted butter.

2010_12050002

Menu Plan - Week December 6th

Keeping things extremely simple and quick this week, it's such a busy time of the year and I needed a break from anything that would keep me in the kitchen for too long.

Here we go, nice and simple:


*Monday*
Meatloaf, Mashed Potatoes and Veggies
Photobucket


*Tuesday*
Chicken Curry
Photobucket


*Wednesday*

Bean and Ham Soup
Receita de Sopa de Feijão Branco


*Thursday*
Chili Dogs w/ Seasoned Fries
LUNA6.JPG


*Friday*
Impossibly Easy Taco Pie


*Saturday*
Pork Roast with Buttered Spaghetti Noodles


*Sunday*
Honey Ham, Mashed Potatoes

Picture of Honey Baked Ham Recipe

Thursday, November 25, 2010

Basic Pie Dough

Pie dough is one of those things that a lot of people, including some very good bakers, shy away from, they seem to find the whole concept intimidating.  I used to feel the same way, it would really freak me out just thinking that I needed to make a pie, so I would do what a lot do, run to the store and by a ready made pie crust.

There are a lot of opinions and thoughts when it comes to making pie dough, some people swear by shortening and only shortening.  I've tried a few versions here and there and have always pretty much come up with the same kind of pie dough, but this version I'm about to share with you is the one I always come back to.

It's easy, it uses ingredients that I always have on hand and I end up with a delicious flaky pie crust that everyone enjoys.


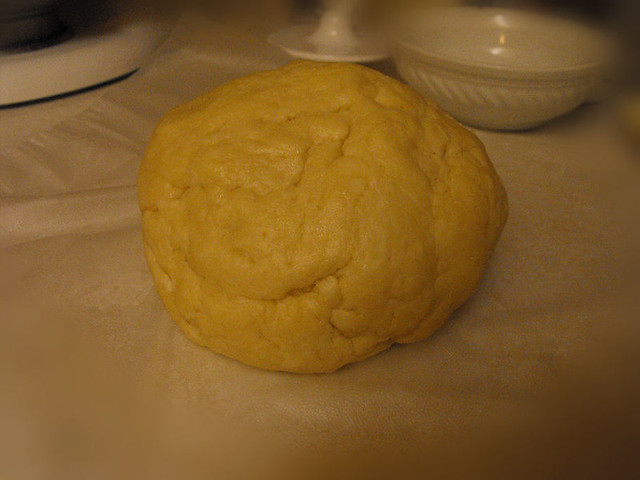
2010_11250016

Basic Pie Dough
Adapted from Williams Sonoma

Yield: 1 9-inch pie crust*
Ingredients:
1¼ cups all-purpose flour
1 tbsp. sugar
¼ tsp. salt
8 tbsp. cold, unsalted butter, cut into small pieces
3 tbsp. very cold water


Directions:
Combine the flour, sugar and salt in the bowl of a stand mixer fitted with the paddle attachment.  Mix briefly to blend.  Add in the butter pieces and mix on medium-low speed to cut the butter into the flour until the mixture resembles coarse sand and the largest butter pieces are not much bigger than peas.  Mix in the cold water on low speed just until the dough comes together.

Shape the dough into a ball, wrap in plastic wrap and chill in the refrigerator for at least 30 minutes.  (This dough can be frozen for up to 2 months.)

2010_11250010

 Remove from the refrigerator.  Roll out the dough on a lightly floured work surface.  Use as directed in your desired pie recipe.

2010_11250012

*Double the recipe for a double crust pie.

Dulce De Leche Apple Pie

What do you get when you combine two of the most delicious flavors on earth?  You get a pie that will have you licking your lips and wondering why you never thought to combine these two to begin with.

2010_11250026

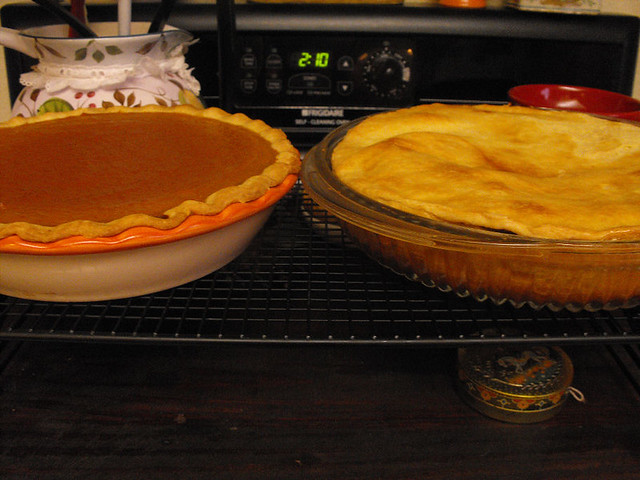
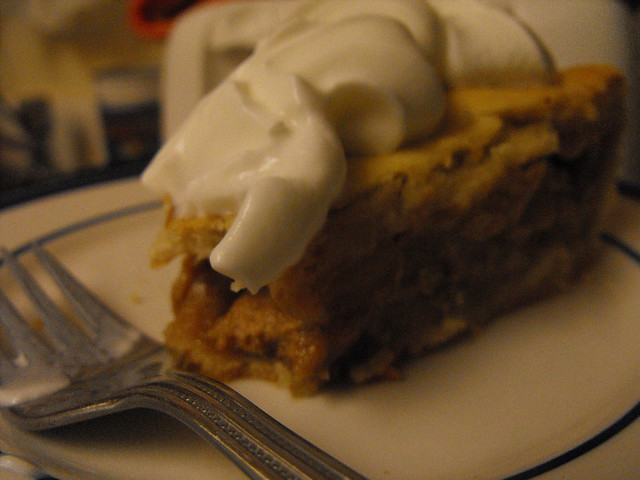
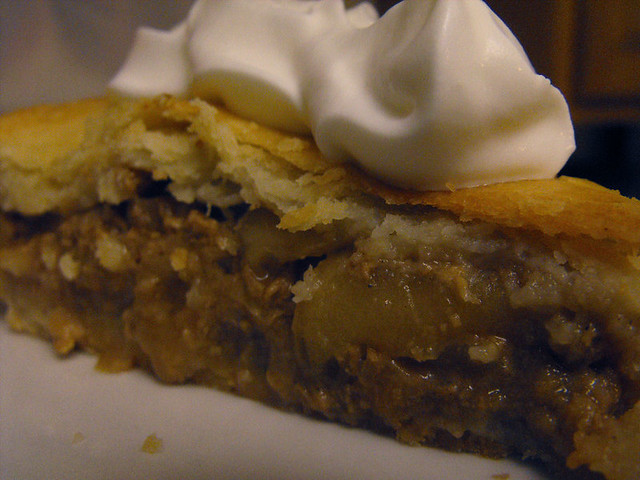
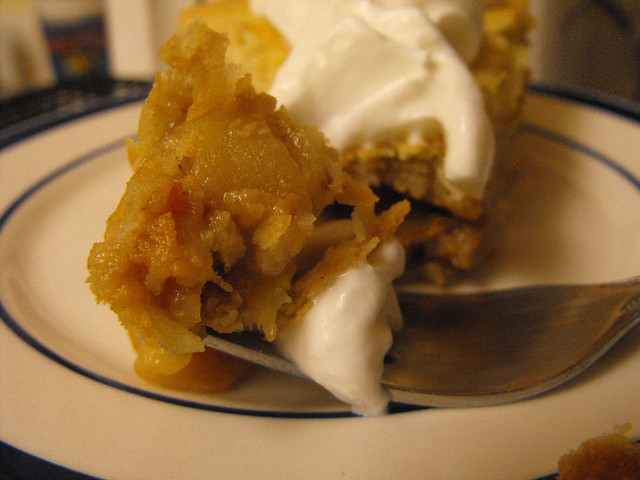
This pie was one of the desserts for our Thanksgiving Meal.  It's supposed to be eaten cold but I warmed my slice up and dropped on a dollop of whipped cream.  Goodness was it tasty.

2010_11250023


Dulce de Leche Apple Pie

Double crust for 9” pie (using Basic Pie Dough)
Egg white for brushing dough
5 cups peeled and sliced mixed apples
¼ cup dulce de leche
2 Tablespoons apple cider
½ cup brown sugar
1/3 cup granulated sugar
1/3 cup cornstarch
½ teaspoon vanilla extract
1/4 teaspoon cinnamon
1/8 teaspoon freshly grated nutmeg
Pinch of salt
1 Tablespoon of butter for dotting pie
9” Pyrex pie dish, not the 9 1/2" deep dish


1. Place the oven rack on the lower 3rd of the oven and preheat to 400 degrees.

2. Mix together sugars, cornstarch, cinnamon, nutmeg, and salt. Make sure the cornstarch is well mixed in so you don’t get cornstarch lumps in your pie.

3. In a large bowl toss together the apples, then toss with dulce de leche, apple cider, and vanilla extract. Add the dry mixture and toss to combine. Set aside.

4. Between wax paper gently roll out the pie dough and stretch it about another inch or more for the bottom piece, and roll the top piece gently to even out the dough.

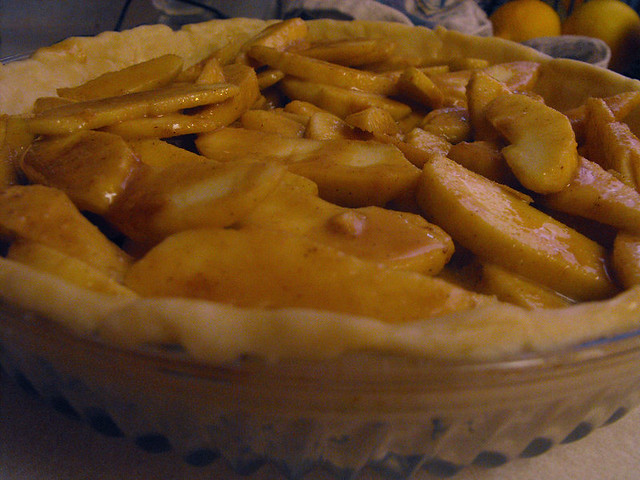
5. Line a 9” Pyrex pie dish with the bottom crust, brush with the egg white. Add the filling and spread out evenly. Dot the mixture with little bits of butter here and there.

2010_11250015

6. Cover with the top crust. Press the top dough into the bottom piece gently to stick together. Tuck the top edges into the pie dish leaving a little to crimp at the top. Flute the edges.

7. Poke a few holes in the crust for venting or cut out decorations.

8. Bake for 30 minutes. Then turn the temperature to 375 degrees, cover crust edges with a pie shield, and bake for another 30 minutes or until crust is golden on the bottom and no longer wet and raw looking.

9. Remove the pie from the oven and set on a cooling rack for several hours to set up the filling.

2010_11250025

Dulce De Leche

Delicious and yet it seems to be shrouded in this belief that it is something hard to make, out of our reach.

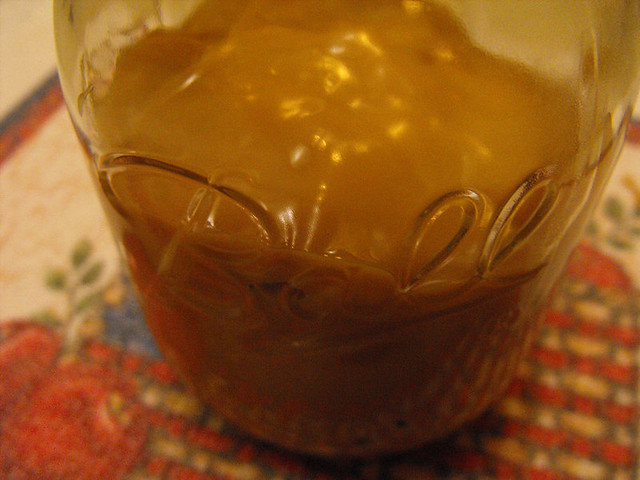
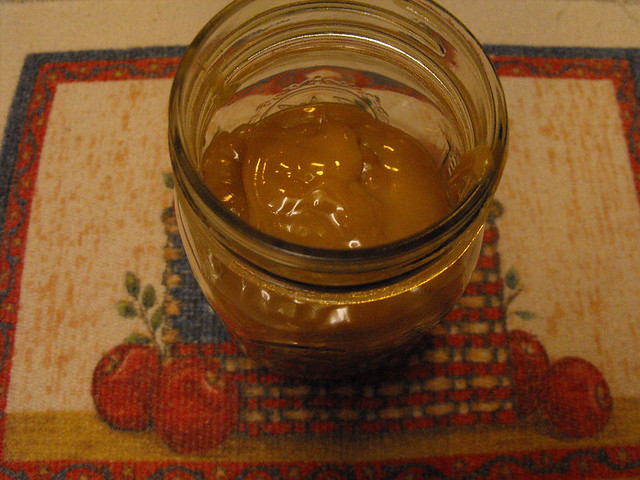
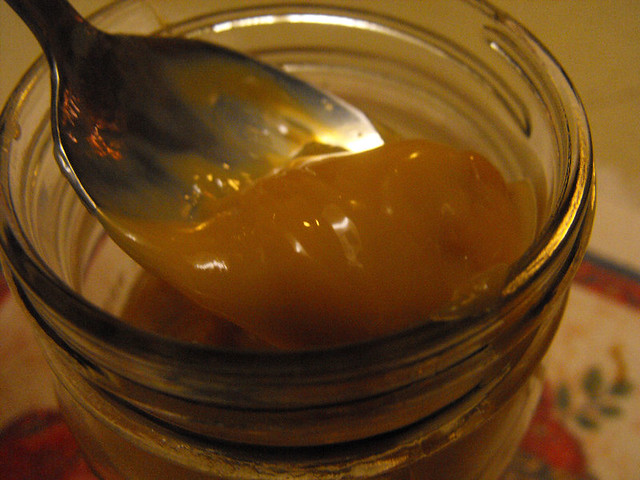
I'm sure there are those out there who know how to make it and also know that it basically is just sweetened condensed milk that has been cooked for a few hours until it caramelizes into a rich dark brown yumminess.

2010_11250004

I've been wanting to make some for a while but never got around to it, until this Thanksgiving when I wanted to make a Dulce De Leche Apple Pie and realized that I either had to buy it, or, finally put my reservations aside and make it myself.

If I had only known how easy this was, believe me, I would have been making it a very long time ago.

Now the most common way to make it, is to submerge a can of condensed milk into a pot of water, and then boil it for 2 to 4 hours.  Some people have never had problems doing it this way, while others say that it's not safe as the can may explode.  The trick though is to make sure that the can is ALWAYS covered with water.

Just to be on the save side, I did it a different way, much safer but equally easy, I found the directions over at David Lebovitz.

2010_11250003

Homemade Dulce de Leche

Preheat the oven to 425° F (220° C).

Pour one can (400 gr/14 ounces) of sweetened condensed milk (not evaporated milk) into a glass pie plate or shallow baking dish. Stir in a few flecks of sea salt.

Set the pie plate within a larger pan, such as a roasting pan, and add hot water until it reaches halfway up the side of the pie plate.

Cover the pie plate snugly with aluminum foil and bake for 1 to 1¼ hours. (Check a few times during baking and add more water to the roasting pan as necessary).

Once the Dulce de Leche is nicely browned and caramelized, remove from the oven and let cool. Once cool, whisk until smooth.

Store in the refrigerator until ready to serve. Warm gently in a warm water bath or microwave oven before using.

*********************************

By the way, I also made one can using the traditional way and didn't have any exploding cans going on, but I did watch over it carefully and made sure that it was completely submerged in water, I also waited until the can was completely cool before opening it.  

One thing I noticed though, this way didn't produce as rich of a dark brown color as the oven method did.  Not that it matters, they're both delectable but if you're wanting a darker brown, try the recipe above.

2010_11250008

Homemade Dulce de Leche (On the stove)

Sweetened condensed milk in cans (You can do several at a time and store extras in your cupboard)
1 Big deep pot
A tea kettle
Two timers

Remove the labels. Place the cans in the pot and cover cans completely with water at least two inches above the top of the cans. Bring the water to a boil. After it starts to boil set two timers; one for 4 hours and the other for thirty minutes. Turn down the heat if the boil becomes overly vigorous.

Meanwhile fill the tea kettle with water and bring to a boil. Turn off the heat and leave on the burner. After the 30 minute timer is up refill the water that has evaporated from the pot with the water from the tea kettle. Turn the timer on for 30 more minutes and repeat until the 4 hours is up. You must keep the water filled! Exploding cans are not good!

Once 4 hours is up, turn the heat off from under the pot and let the cans cool completely in the pot of water for a couple hours. Once cool, remove the cans and rinse them off under the sink and dry them with a towel.

That’s it. Now you can open the cans and enjoy the world’s easiest caramel type sauce.

Refrigerate any leftovers in a separate container.

Wednesday, November 24, 2010

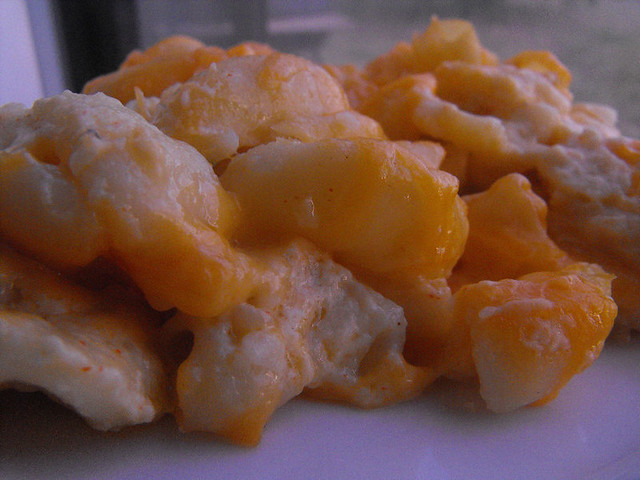
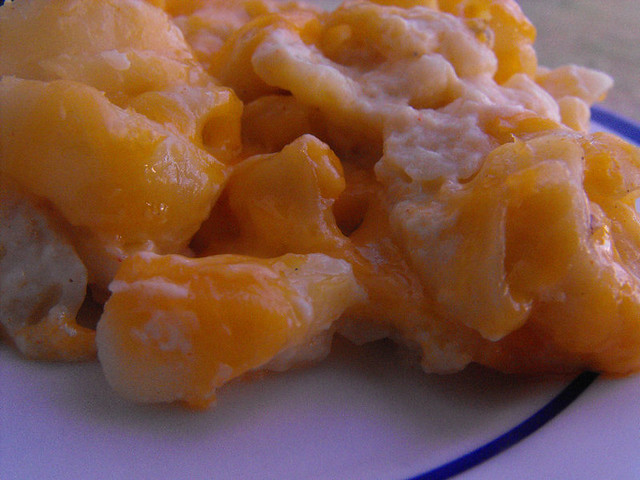
Baked Macaroni and Cheese

You may be seeing a lot of recipes popping up between today and tomorrow morning, I have a few side dishes and desserts that I want to post on here.

I've been in the kitchen pretty much all day, getting things ready for Thanksgiving.  Obviously there are certain dishes that won't be made until the morning but some of the side dishes and desserts I make the day before, saves me a whole lot of time in the kitchen.

First I'm starting with Baked Macaroni and Cheese, there's so many recipes out there but I usually turn to this one which came from Alton Brown from Food Network.  My kids LOVE it.

Note:  I made a big pan for Thanksgiving and then a smaller one for dinner.  I didn't add the panko crust topping to this one though, so that is missing from these pics.

2010_11240003

Baked Macaroni and Cheese
Credit: Alton Brown


Ingredients

* 1/2 pound elbow macaroni
* 3 tablespoons butter
* 3 tablespoons flour
* 1 tablespoon powdered mustard
* 3 cups milk
* 1/2 cup yellow onion, finely diced
* 1 bay leaf
* 1/2 teaspoon paprika
* 1 large egg
* 12 ounces sharp cheddar, shredded
* 1 teaspoon kosher salt
* Fresh black pepper

Topping:

* 3 tablespoons butter
* 1 cup panko bread crumbs

Directions

Preheat oven to 350 degrees F.

In a large pot of boiling, salted water cook the pasta to al dente.

While the pasta is cooking, in a separate pot, melt the butter. Whisk in the flour and mustard and keep it moving for about five minutes. Make sure it's free of lumps. Stir in the milk, onion, bay leaf, and paprika. Simmer for ten minutes and remove the bay leaf.

Temper in the egg. Stir in 3/4 of the cheese. Season with salt and pepper. Fold the macaroni into the mix and pour into a 2-quart casserole dish. Top with remaining cheese.

Melt the butter in a saute pan and toss the bread crumbs to coat. Top the macaroni with the bread crumbs. Bake for 30 minutes. Remove from oven and rest for five minutes before serving.

2010_11240002

Thursday, November 18, 2010

Koeksisters

There are many things I miss about South Africa, mainly my family and my friends and the surroundings.  I grew up in that beautiful country and there are days that I want nothing more than to go back, to visit everyone, to walk the streets I used to though I know I can't do that nowadays because of the violence and the crime.

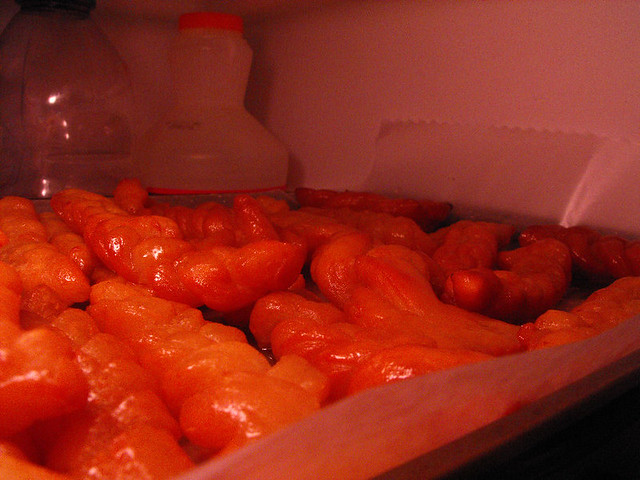
2010_11180028

In all the things that remind me of home, one of the biggest has to be food and maybe because I love cooking so much and maybe because I associated certain meals with a certain event in my life, or a person, or a time and place.

As I was looking through my facebook today, one of my friends from South Africa who is actually living in Georgia now, mentioned that she was making Koeksisters and it immediately brought me a pang of homesickness, I wanted to have them too, I wanted to take a bite and close my eyes and imagine that it's a warm South African afternoon and that I'm sitting in my kitchen after school, eating one of these.

2010_11180029

They take a little time to make but if you double the recipe like I did, you get a huge amount of Koeksisters.

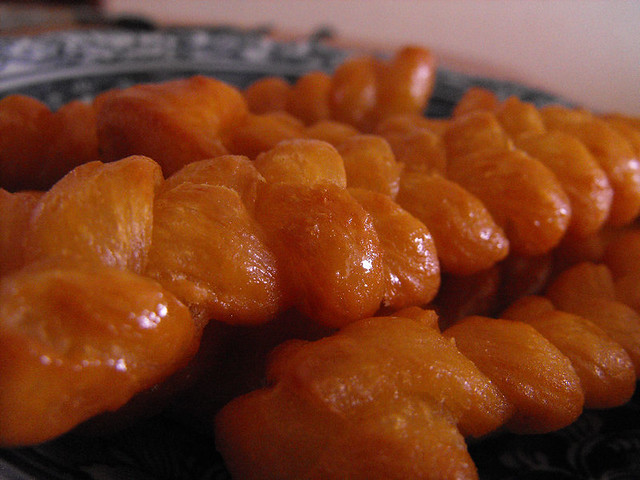
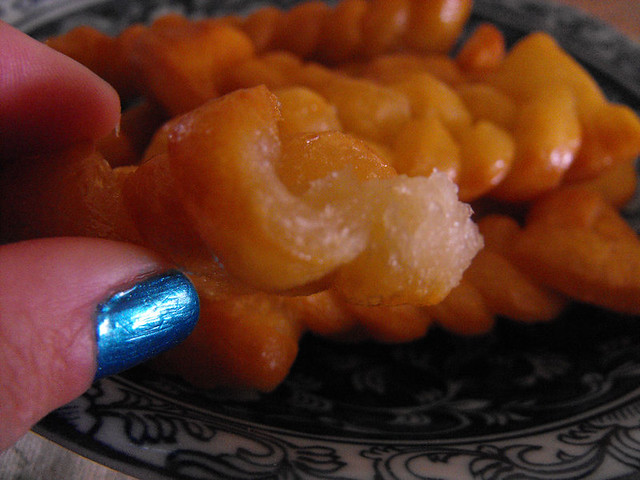
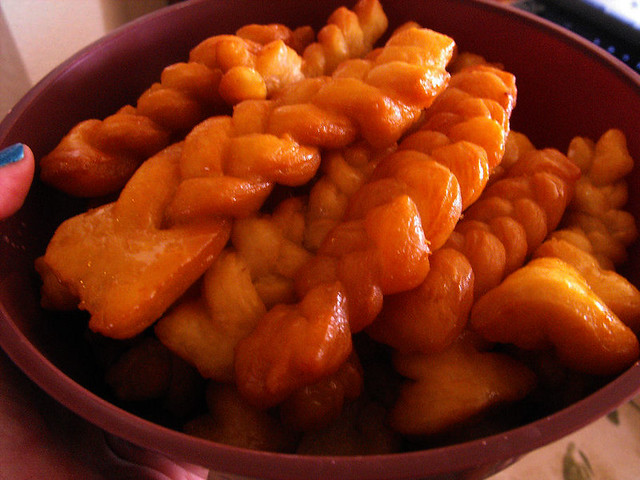
A koeksister or koesister comes from the Dutch word koekje, the diminutive of koek meaning "cake". It is a South African syrup-coated doughnut in a twisted or braided shape.  Many call them Koeksuster too!

2010_11180026


Koeksisters


Ingredients:
Syrup

* 250 ml water (1 cup)
* 625 ml white sugar (2 1/2 cups)
* 12 1/2 ml lemon juice (2 1/2 tsp.)
* 5 ml vanilla essence (1 tsp.)


Dough

* 375 ml cake flour (1 1/2 cups)
* 22 ml baking powder (4 1/2 tsp.)
* 1 ml salt (1/4 tsp.)
* 20 g butter or 20 g margarine
* 150 ml milk (5 oz or about 3/4 cups) (I had to add a little bit more to get my dough to form, it was way too dry with just the 5/8 cup of milk)
* 750 ml canola oil (3 cups)

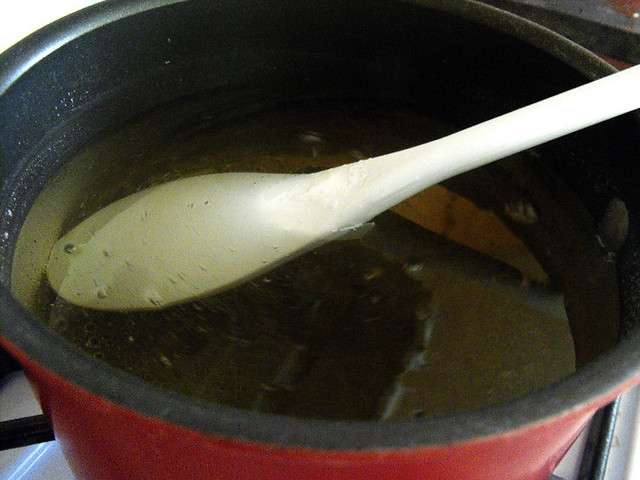
Put the water and sugar in a ot and bring to boil on low heat. Stir frequently until the sugar is completely dissolved. Boil for 7 minutes.

2010_11180007

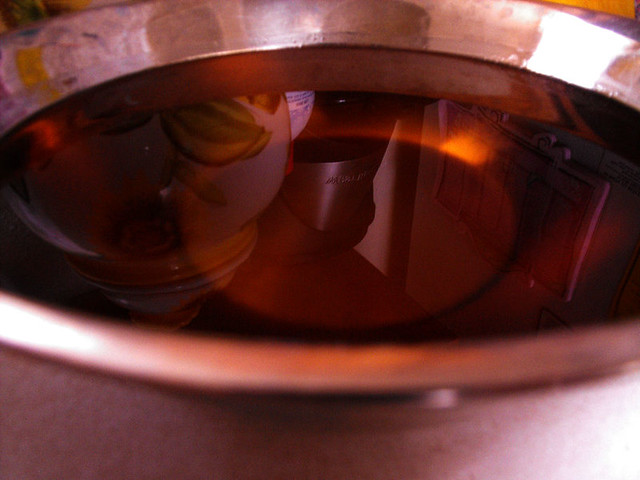
Remove the pot from the stove and stir in the lemon juice and vanilla essence. Put the pot into the fridge.

2010_11180009

Mix the flour, salt, and baking powder thoroughly in a mixing bowl. Break the butter or margarine into small pieces and add to the four mixture. Add the milk. Mix well until a dough is formed.

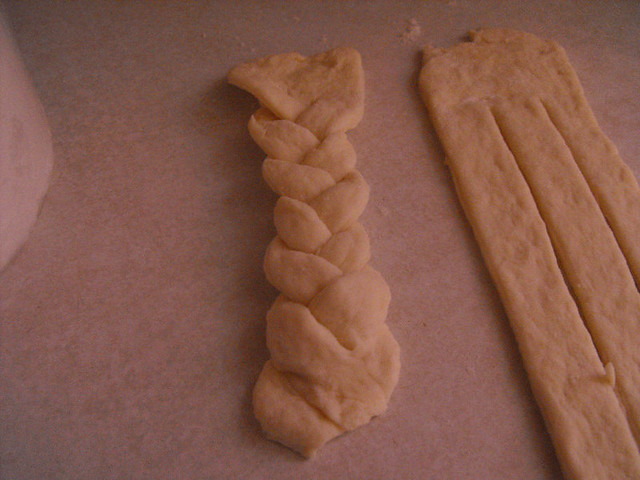
Roll the dough out to a thickness of 5 mm (+ or - 1/4 in.). Cut the dough into thin (+ or - 10 mm or 1/2 in.) strips. Take 3 strips and join their ends on one side. Braid the strips to desired koeksister length and join other ends.

2010_11180011

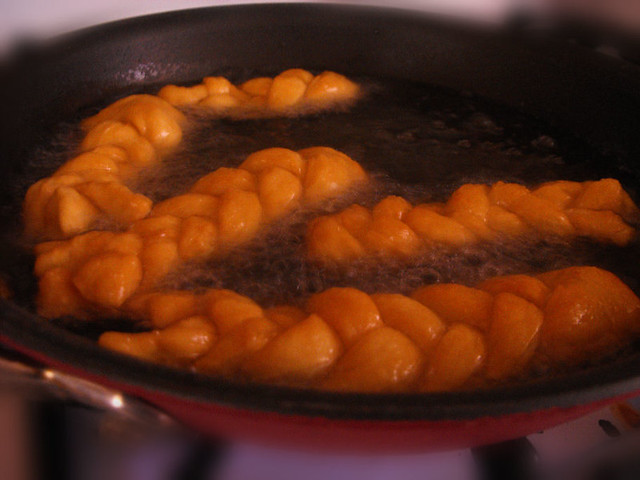
Heat the oil in a pot until fairly hot. Put about 3 koeksisters (or what can fit)at a time in the oil and fry them on both sides until they get a golden-brown color.

2010_11180014

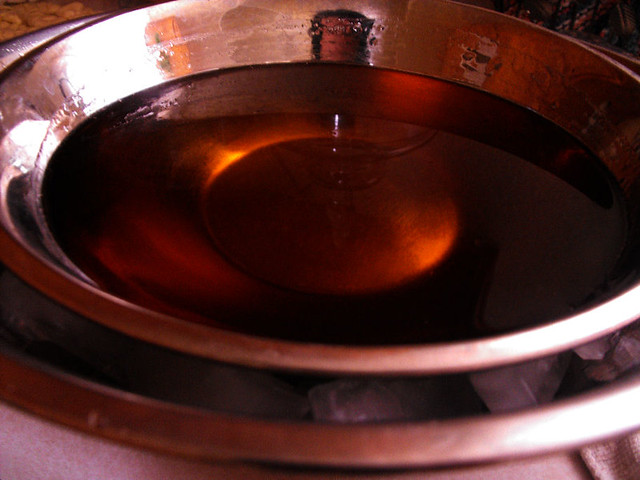
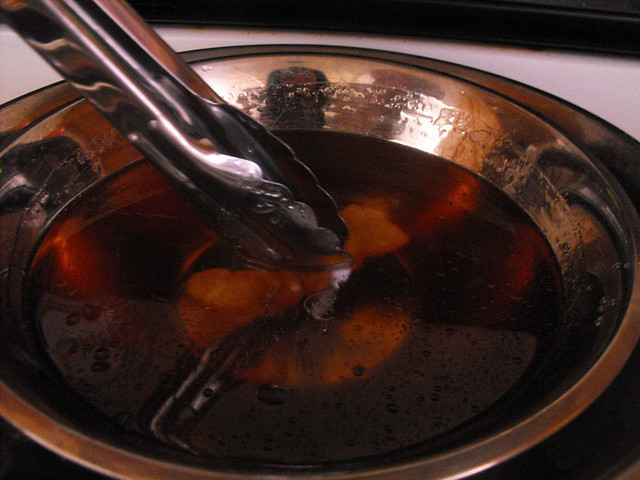
As you remove the koeksisters for the oil, place them directly ito the syrup from the fridge. It is important to keep the syrup cool, so between soakings, return the syrup to the fridge to maintain its coolness. (I actually place my bowl inside a bigger bowl with a bed of ice and pop some in between the bowls too, it keeps it nice and cool)

2010_11180015

2010_11180018

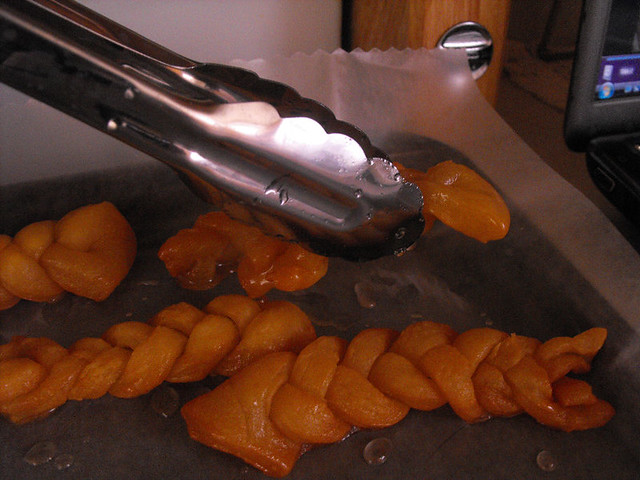
Remove the koeksisters from the syrup and allow the excess syrup to drip off. Place them in the refrigerator to cool and then eat!

2010_11180017

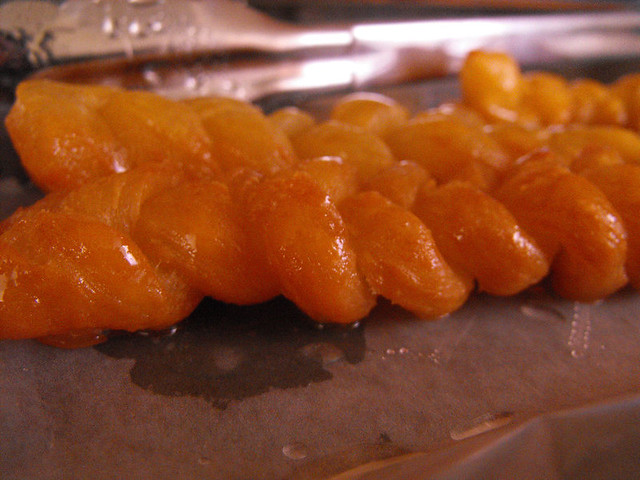
They are amazing.  You have this twisted donut that is drenched in syrup.

2010_11180020

You HAVE to put them in the fridge, they need to be nice and chilled when you eat them.  YUM!

2010_11180024

As you can see, I doubled the recipe and it made a HUGE batch, there are so many here that I'm going to give some away to friends, let them taste a little bit of South Africa and see what they think.

2010_11180025

Let me know if you try them, they are ridiculously addictive, quite rich and sweet so I don't make them very often but believe it or not, after being in the fridge it takes away some of that sweetness so it's just right.

Enjoy!

Bob Evan's Mashed Potatoes Review

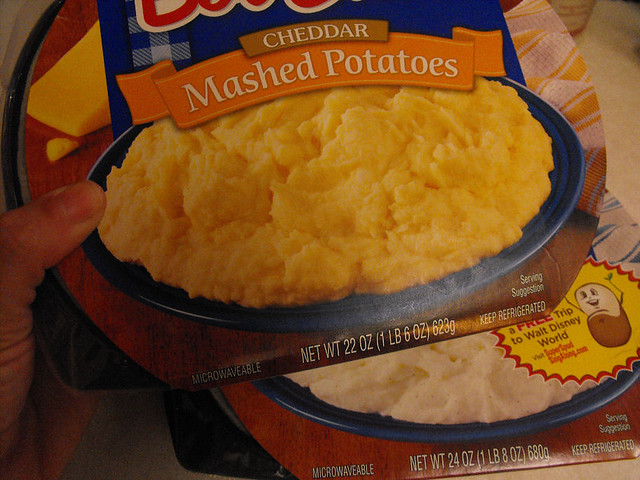
2010_11150002

Bob Evan's!  Have you heard of the Bob Evans products?  I'm sure you have, they are one of the brands of Breakfast Sausage that I buy for my house, but I had yet to try their Mashed Potatoes.

I'm a little iffy when it comes to Mashed Potatoes, it's very seldom that I find a brand of ready made either frozen or dry potatoes that I think taste good, they always seem to have this taste in the background that screams "NOT HOMEMADE".

When the wonderful folks at Bob Evans asked me if I would consider trying their Mashed Potatoes, I said yes, I mean what do I have to loose?  If anything I can find something I like and that I did.

Not only do our mashed potatoes provide a convenient solution for your hectic mealtime schedule, but they taste homemade. But don’t just take our word for it – check out what other people are saying about them by clicking here.  
And do you know that right now Bob Evan's is looking for families to do their best impression of American Idol to enter for a chance to win a FREE trip for four to Walt Disney World or a MinoHD Digital Flip Video Camera?   Here's what you have to do:

It’s as simple as visiting our Super Spud Sing Along website and uploading a home video of you, your kids, your spouse – or even your pet – doing your own rendition of our Super Spud song on www.superspudsingalong.com.

But back to our potatoes.  I received a box in the mail with two packages, one of the original Bob Evans Mashed Potatoes and one of the Cheddar Mashed Potatoes.

I made both and served them with our dinner that night and I have to tell you, they were GONE in a matter of minutes.

2010_11150003

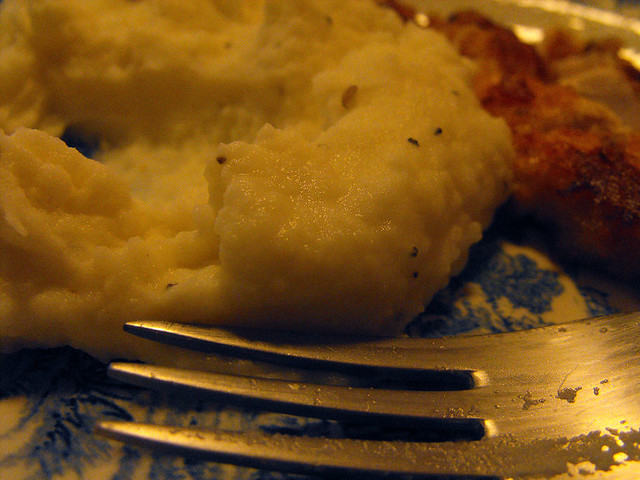
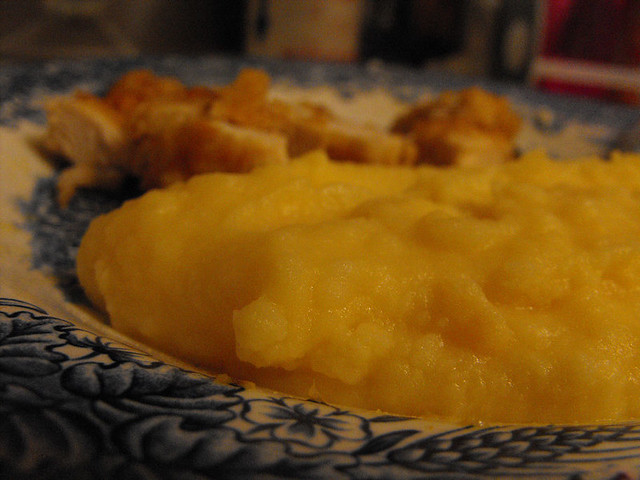
What struck me was how much they tasted like homemade mashed potatoes and I'm not kidding you, the creamiest tastiest frozen mashed potatoes I have ever and I mean EVER tasted......and the Cheddar ones????  Lordy they were so good too.

2010_11150004

I went right out and bought a few more of the potatoes as well as some of their Seasoned Hashbrowns too.

Really, if you're looking for a quick, inexpensive side dish that tastes like real good ol' homemade food, look no further than Bob Evans.

Thank you to Bob Evans for sending me the two products for review.  All opinions and thoughts are mine alone.